
Workout plans are an important part of your fitness app. Your users must select a plan during the sign up process. App users can switch between plans at anytime and their progress will be saved in each plan. You can modify, update and add new plans at anytime and your app will be updated automatically. The Hype Burst dashboard is designed to give you the maximum amount of customisation when creating a workout plan so the power is in your hands!
Creating Your Plan
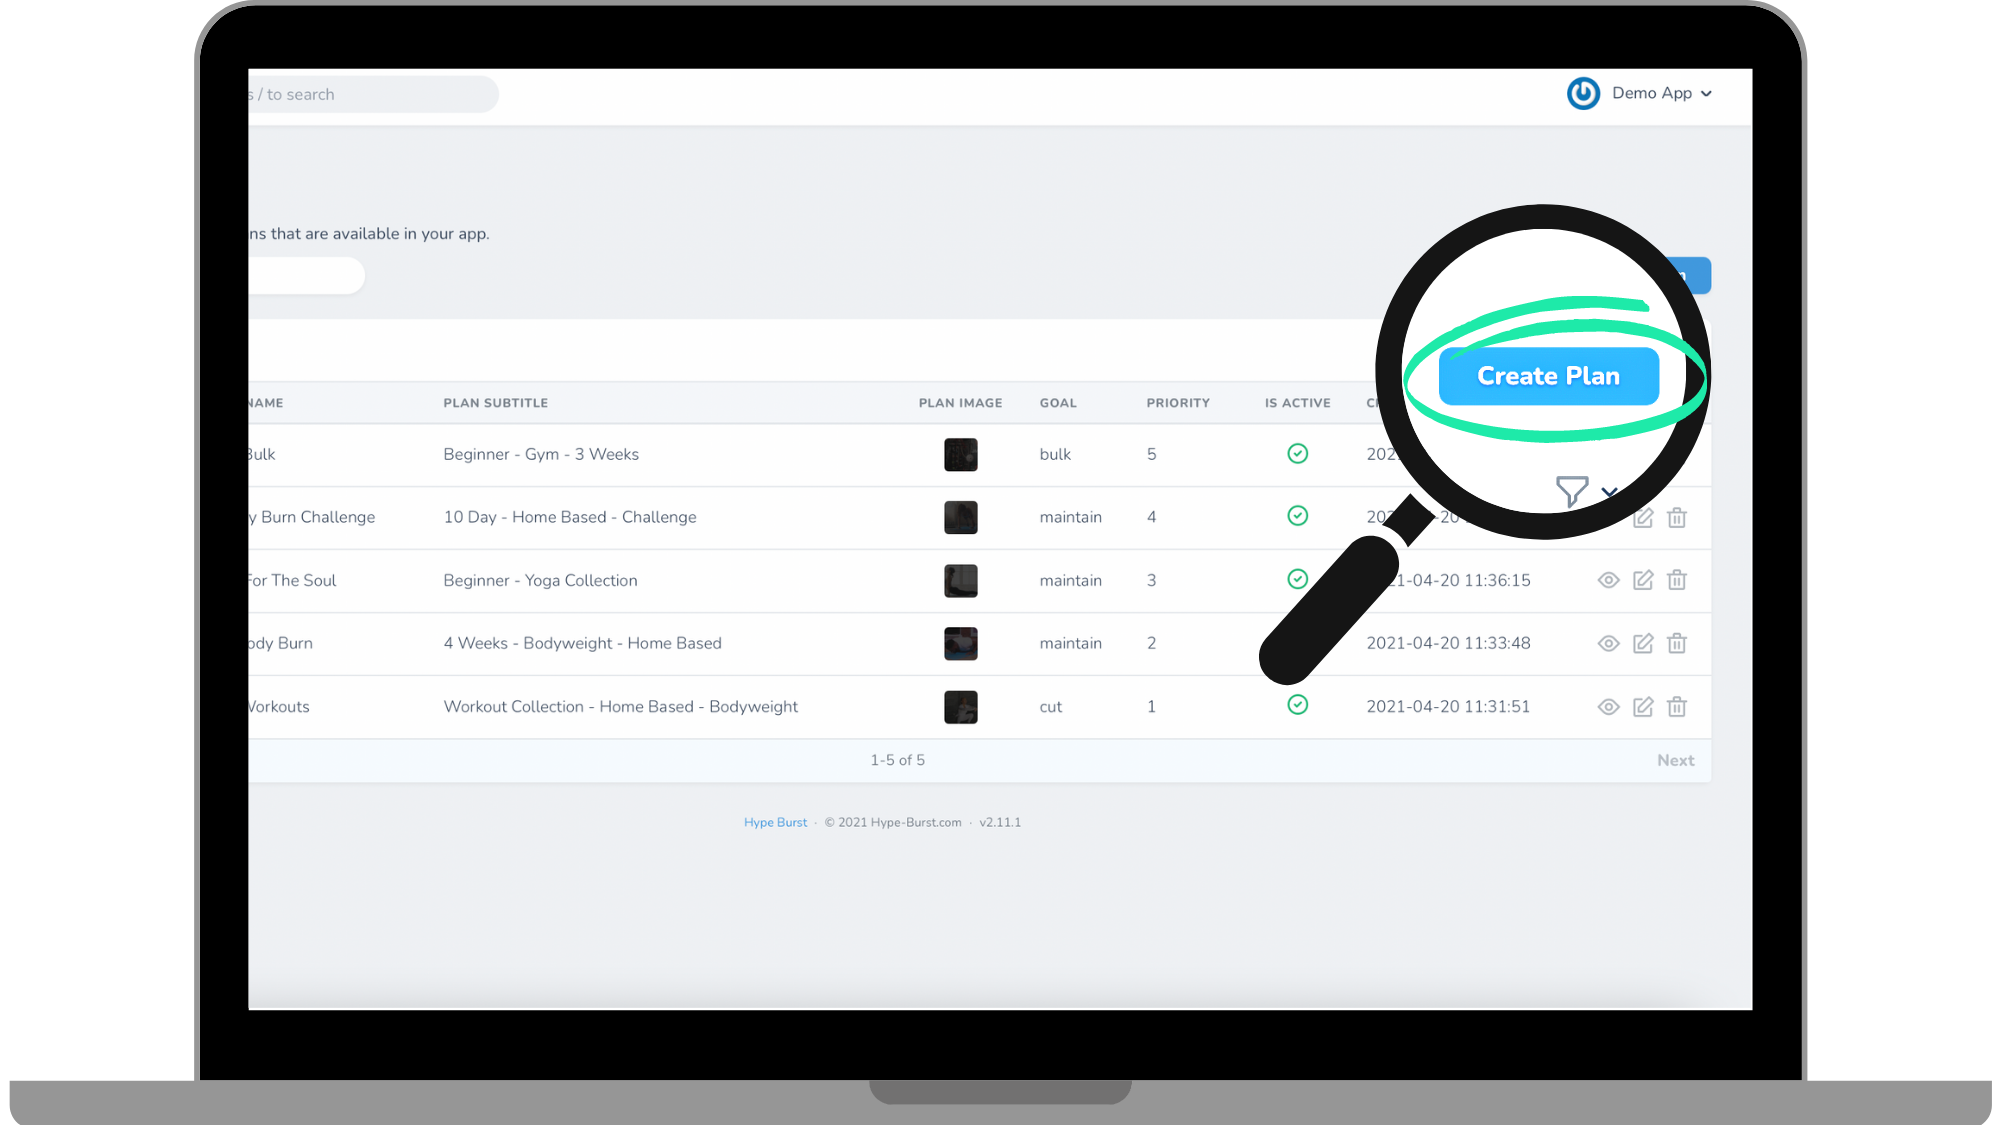
Step 1: Click the "Plans" section in the menu on the Dashboard

Step 2: Click the "Create Plan" button in the right corner.
Step 3: Enter Plan information
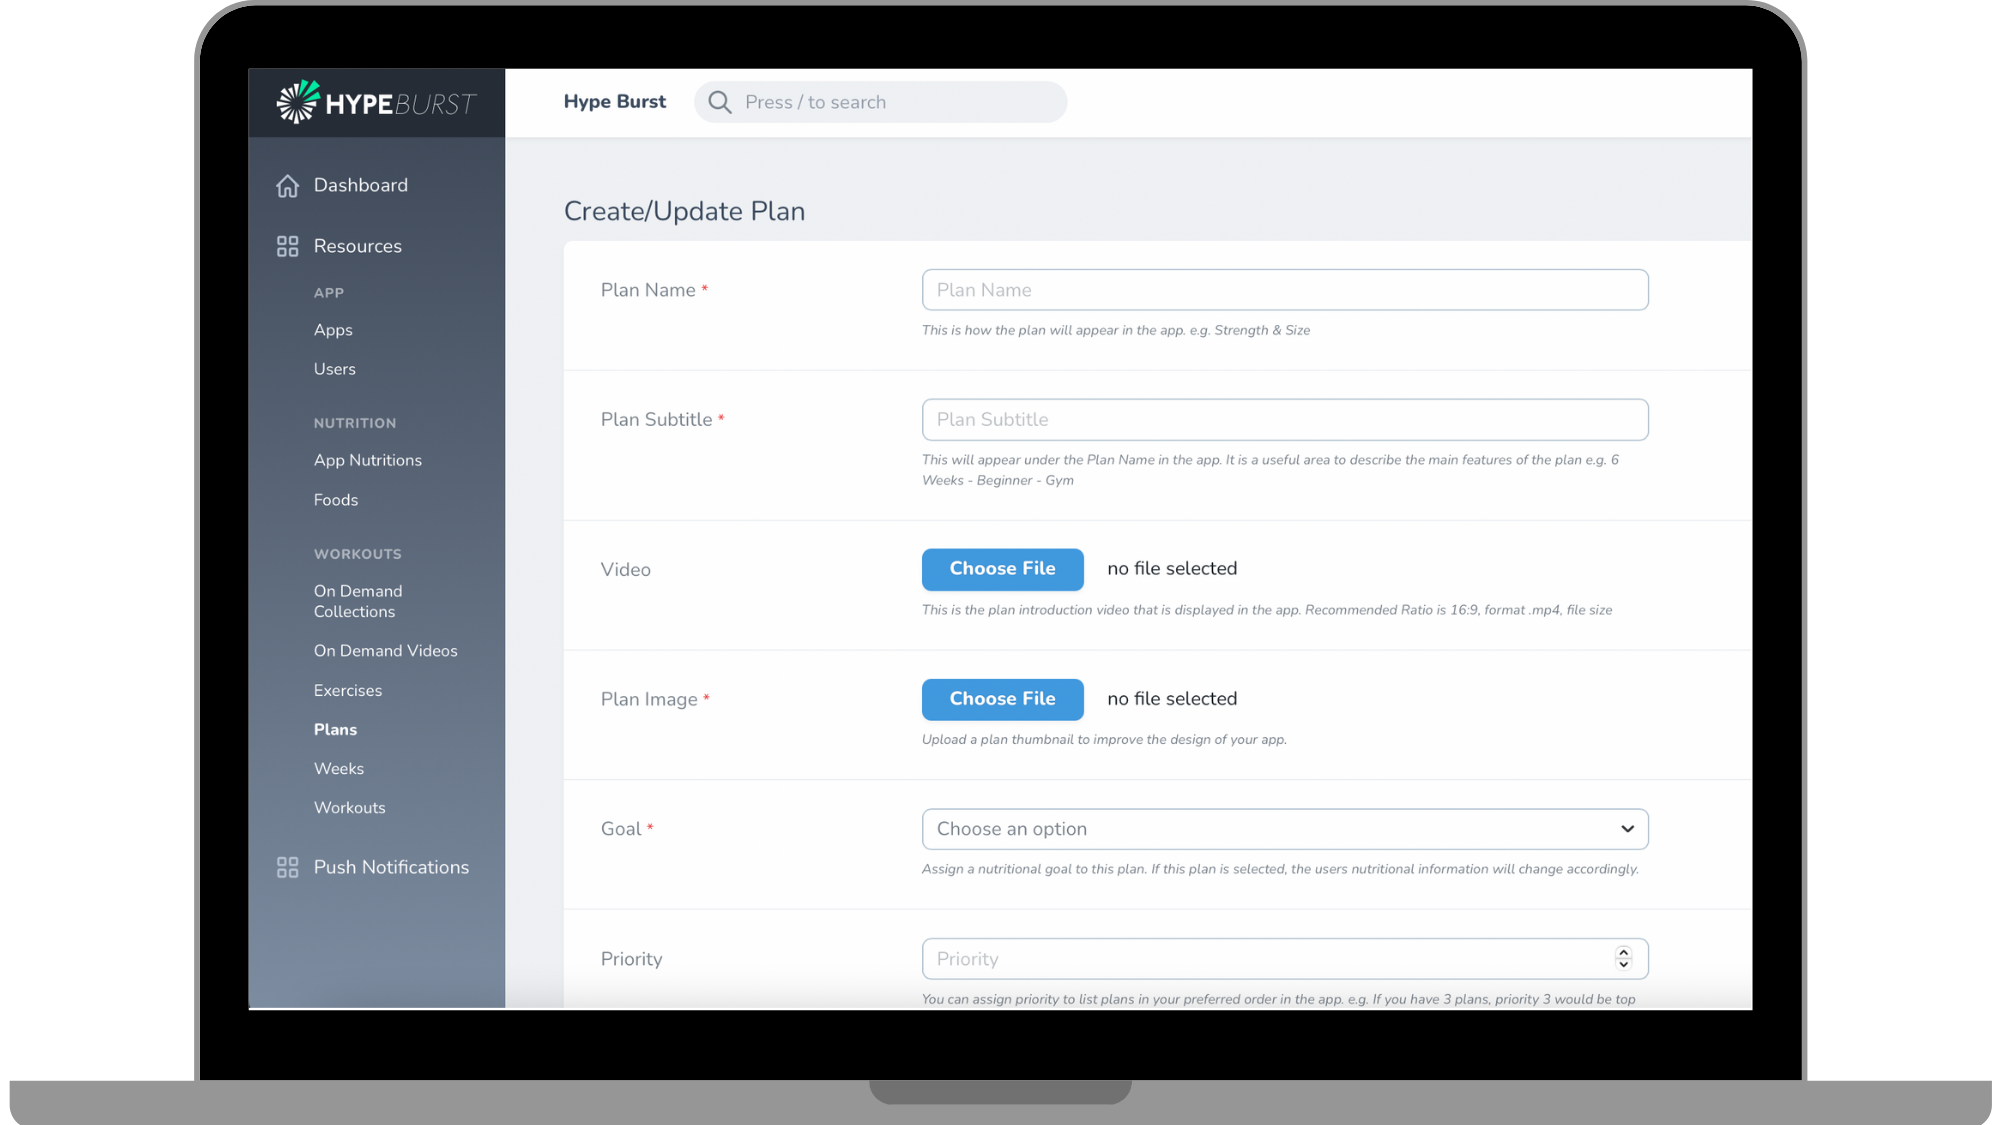
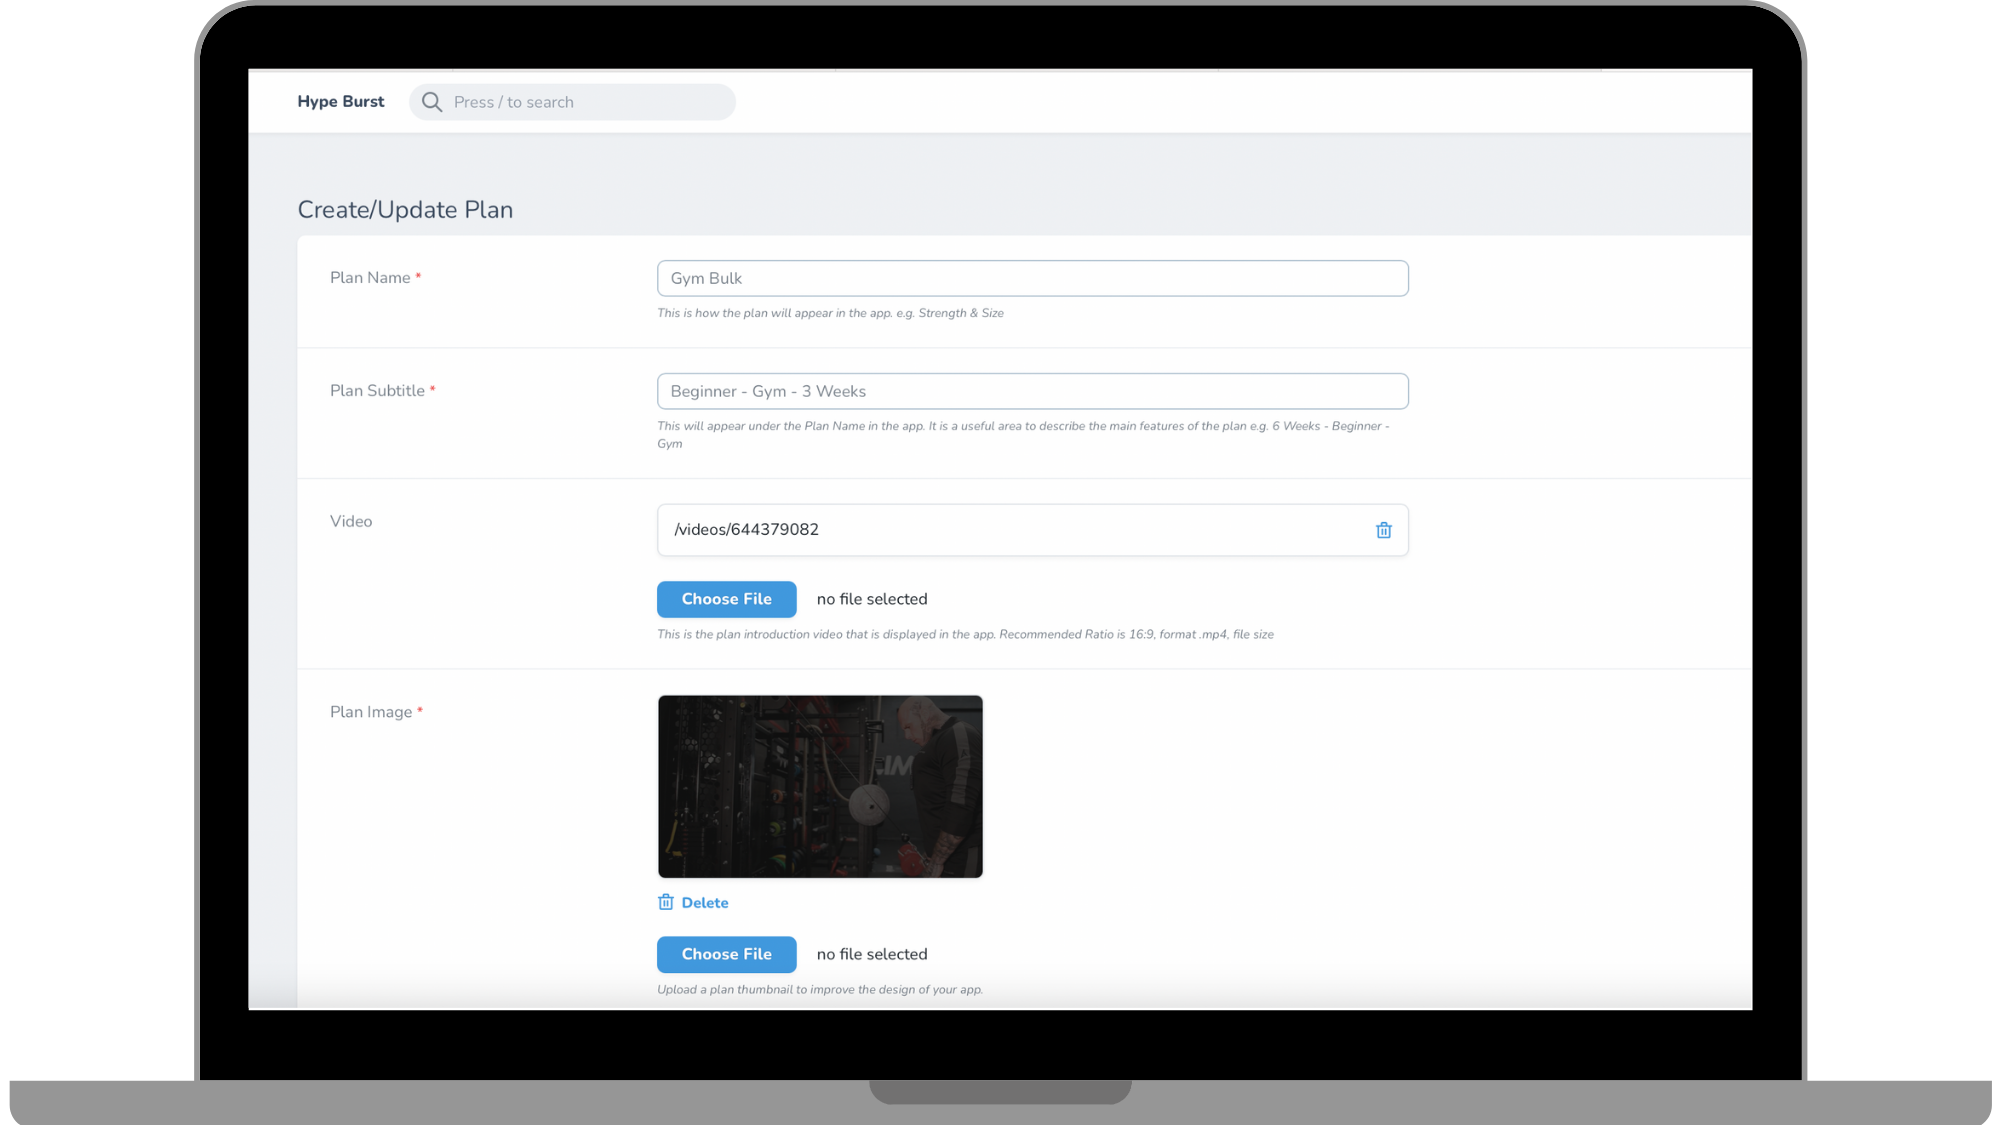
Step 1: Create Plan Name
Enter the name of your Plan here. This is how your Plan will be labelled in your app. Check out the blog on Creating Plan Names for tips and tricks.
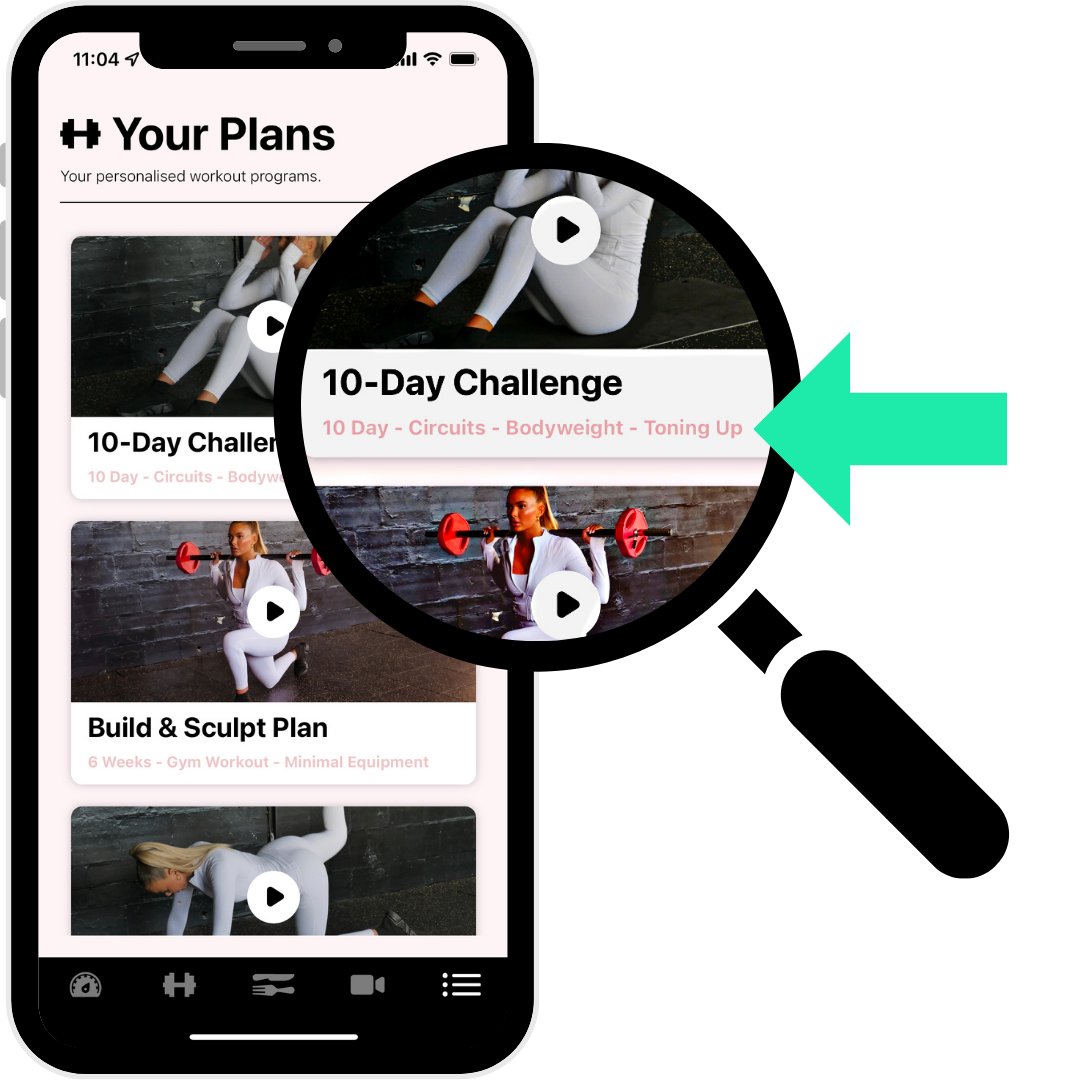
Step 2: Enter Plan Subtitle
Your plan subtitle will be shown under the plan name in the app. This is where you explain the plan to make it clear for the app user.
Step 3: Upload Your Plan Intro Video (Optional But Recommended)
Uploading a Plan Intro video is an optional step but we highly suggest to do so. If you are uploading a video directly, the video must be in .mp4 format and we recommend 16x9 ratio (landscape). The plan intro video is where you can introduce the Plan to your users with the goals, the types of workouts, duration, intensity etc. so the app user has an idea of what to expect.
Note: You do not have to upload a video directly, you can instead use Vimeo and add the Vimeo ID link in the Vimeo ID box. Click here to see more about uploading videos via Vimeo.
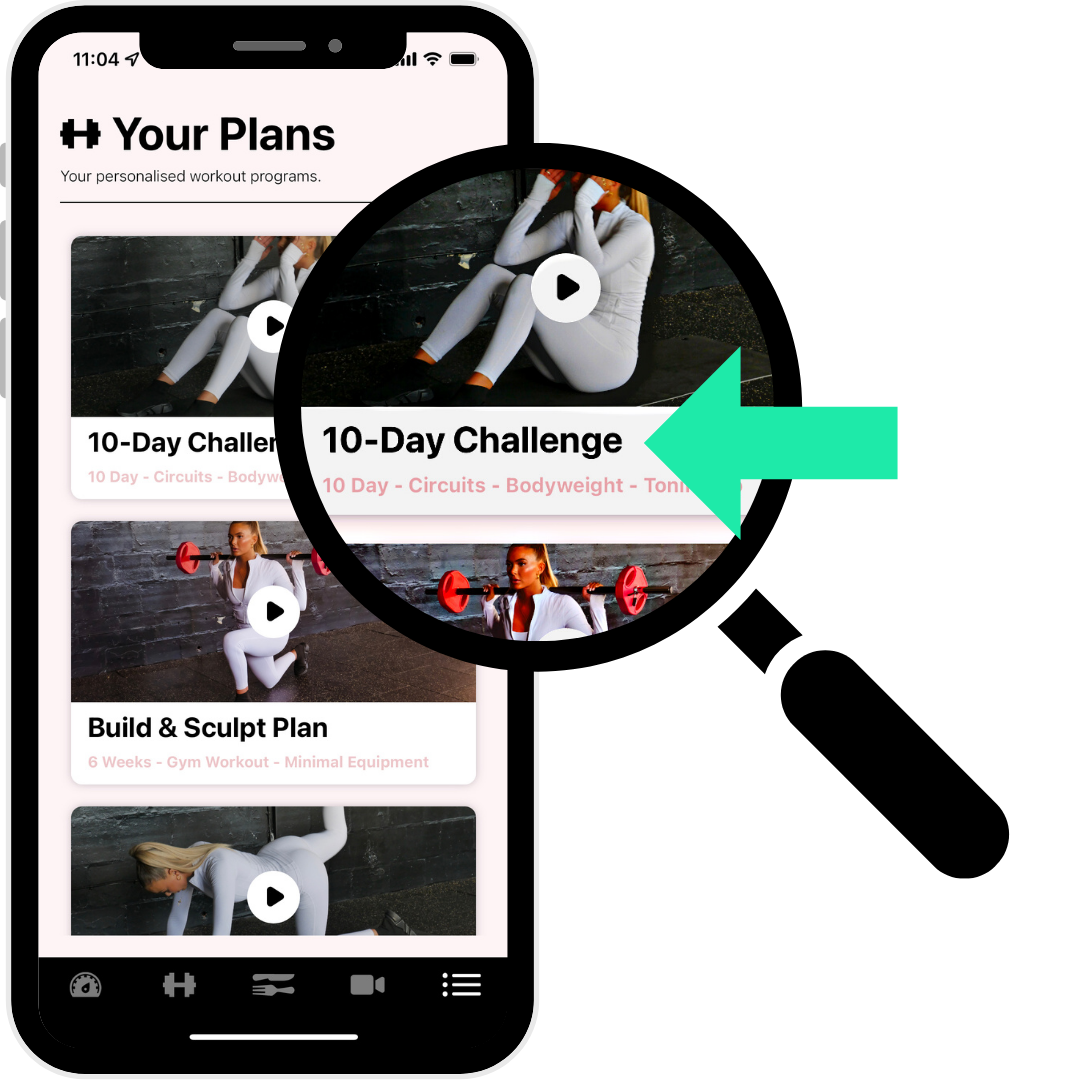
Step 4: Upload Your Plan Image
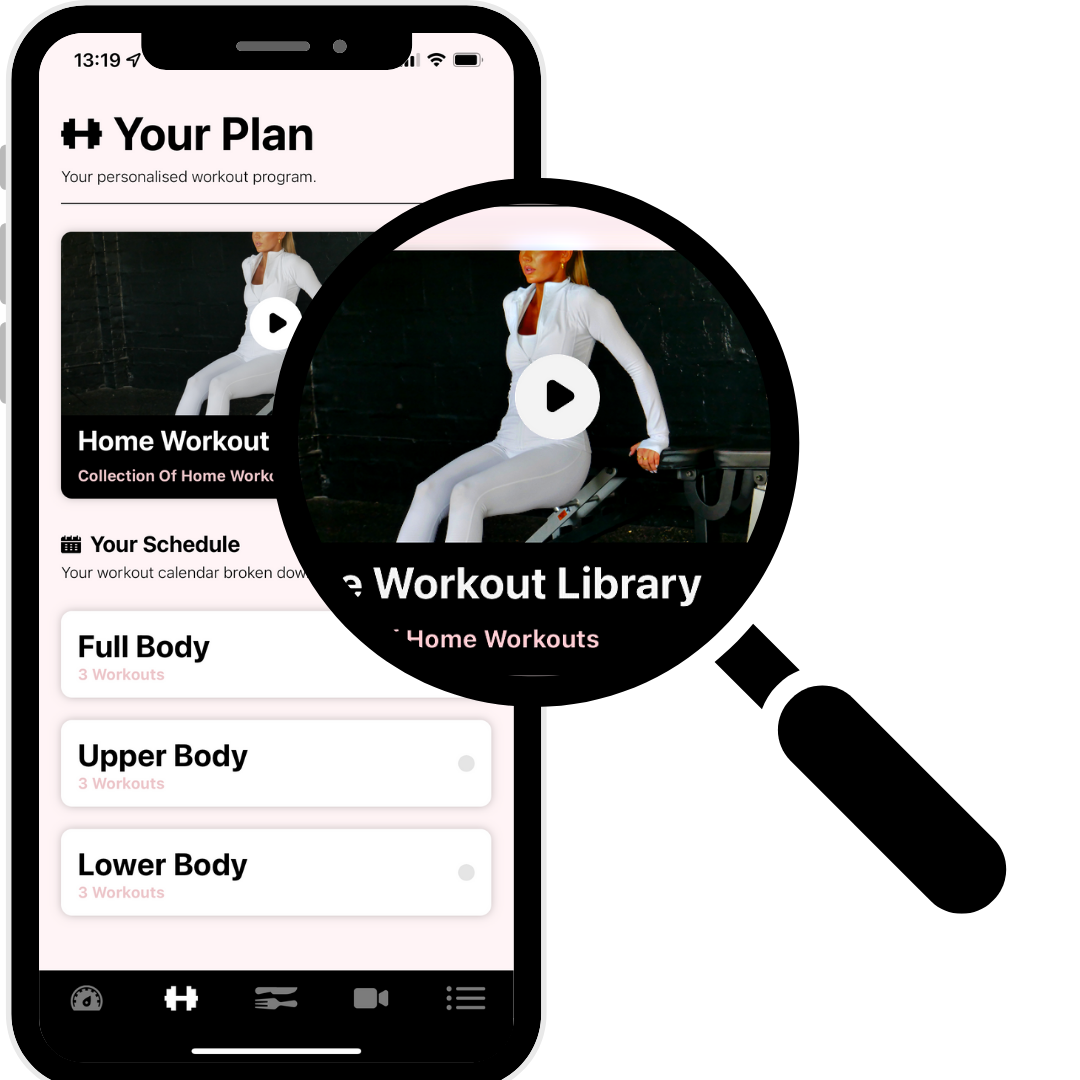
The plan image is what the app user will see in the app as the Plan thumbnail. To access the video from step 3, the user will click on the thumbnail. In-app graphics such as thumbnails will effect the overall design and user experience of your app so they should be high quality and professional. The best output is using the 16x9 ratio (landscape).
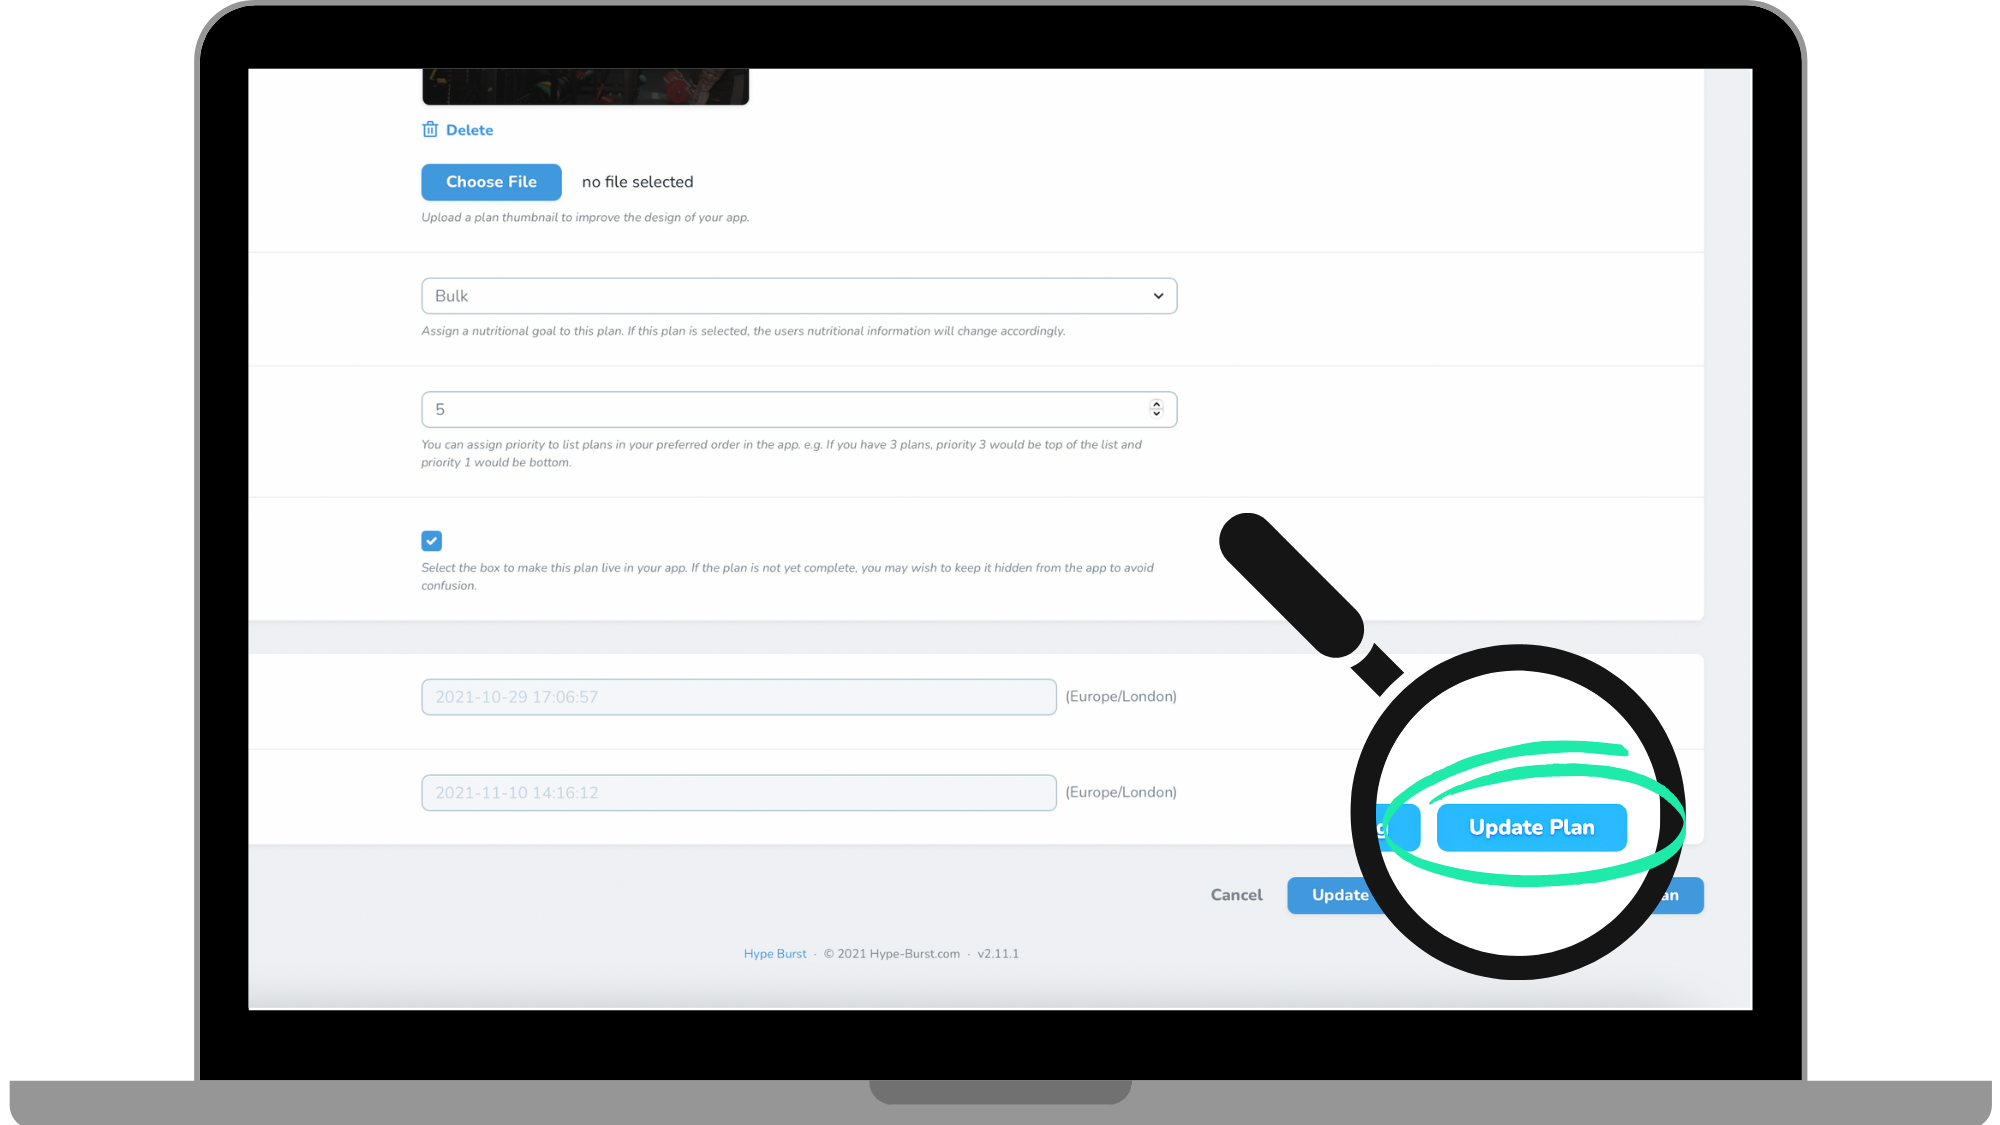
Step 5: Set Your Plans Goal
Every workout Plan is attached to a "Goal". You can choose between 3 goals: bulk, cut, or maintain. The goal will affect the formula used to calculate the users daily macros and calorie requirements. Bulk will result in a calorie surplus. Cut will result in a calorie deficit. Maintain will recommend maintenance calories. You can edit the bulk, surplus and cut deficit in the nutrition section. Click here for more information on Nutrition.
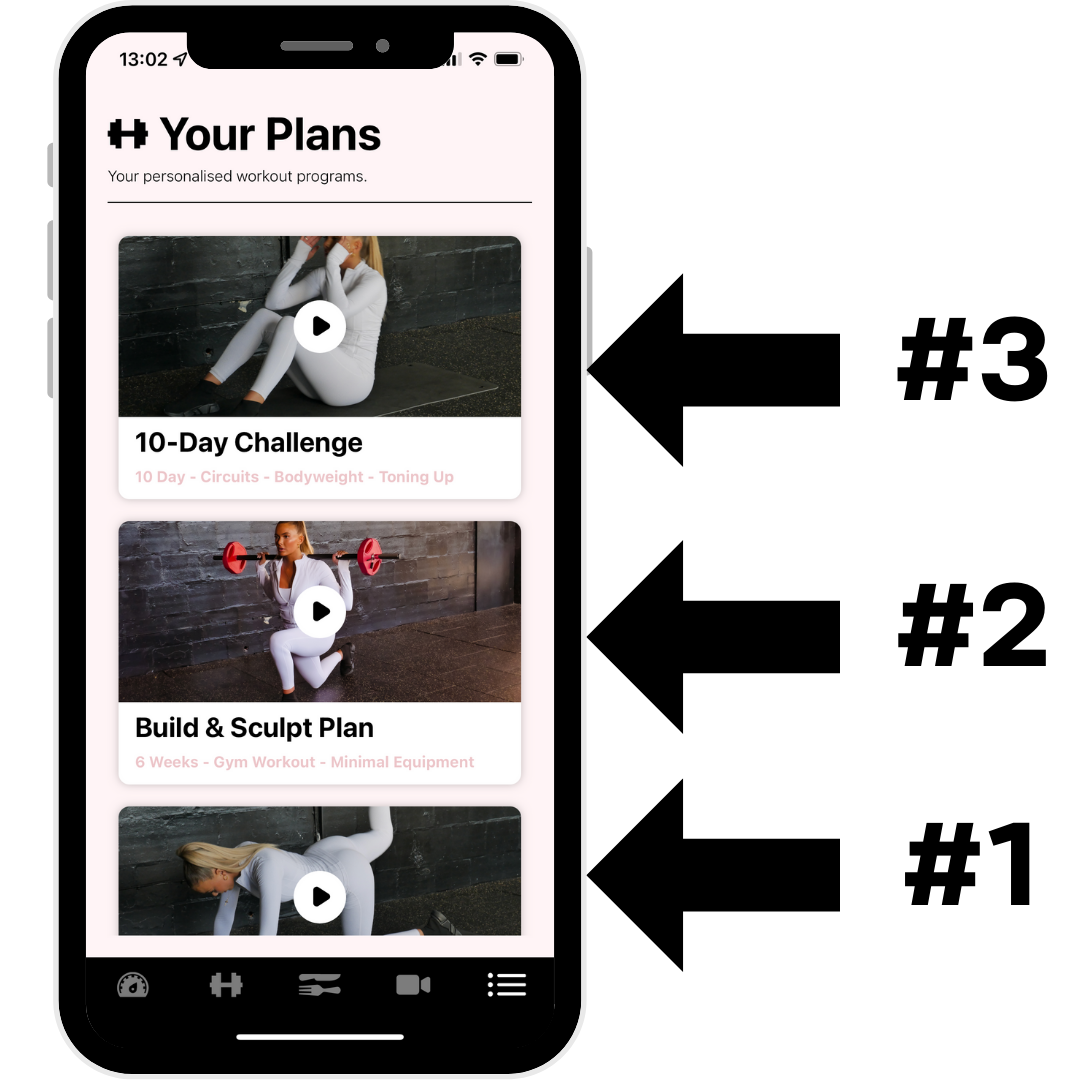
Step 6: Priority
Priority refers to how Plans are ranked in a list in your app. The list works in descending order, so the highest number will appear first in the list and 1 will be the lowest entry in the list. For example, if you have 3 plans, the plan with Priority 3 will be at the top of the list.
Step 7: Is Active
Check the "Is Active" box if you want the plan to be published in your app for everyone to see. Since this is a cloud-based software, it is updated instantly. So if you make this plan active, it will be active in your app immediately.
NOTE: A plan must be "active" to be able to view it in the App Previewer regardless of whether your app is published or not.
As a reference, you can refer to the image below of what a filled out 'plan' page should look like. This is what your plan page should look like before you create it.
Step 4: Click "Create Plan" at the bottom of the screen
Once you have filled out all of the required fields in the previous step, you can save your Plan. Click the button 'Create Plan'. Remember you can always go back and edit the plan at anytime.
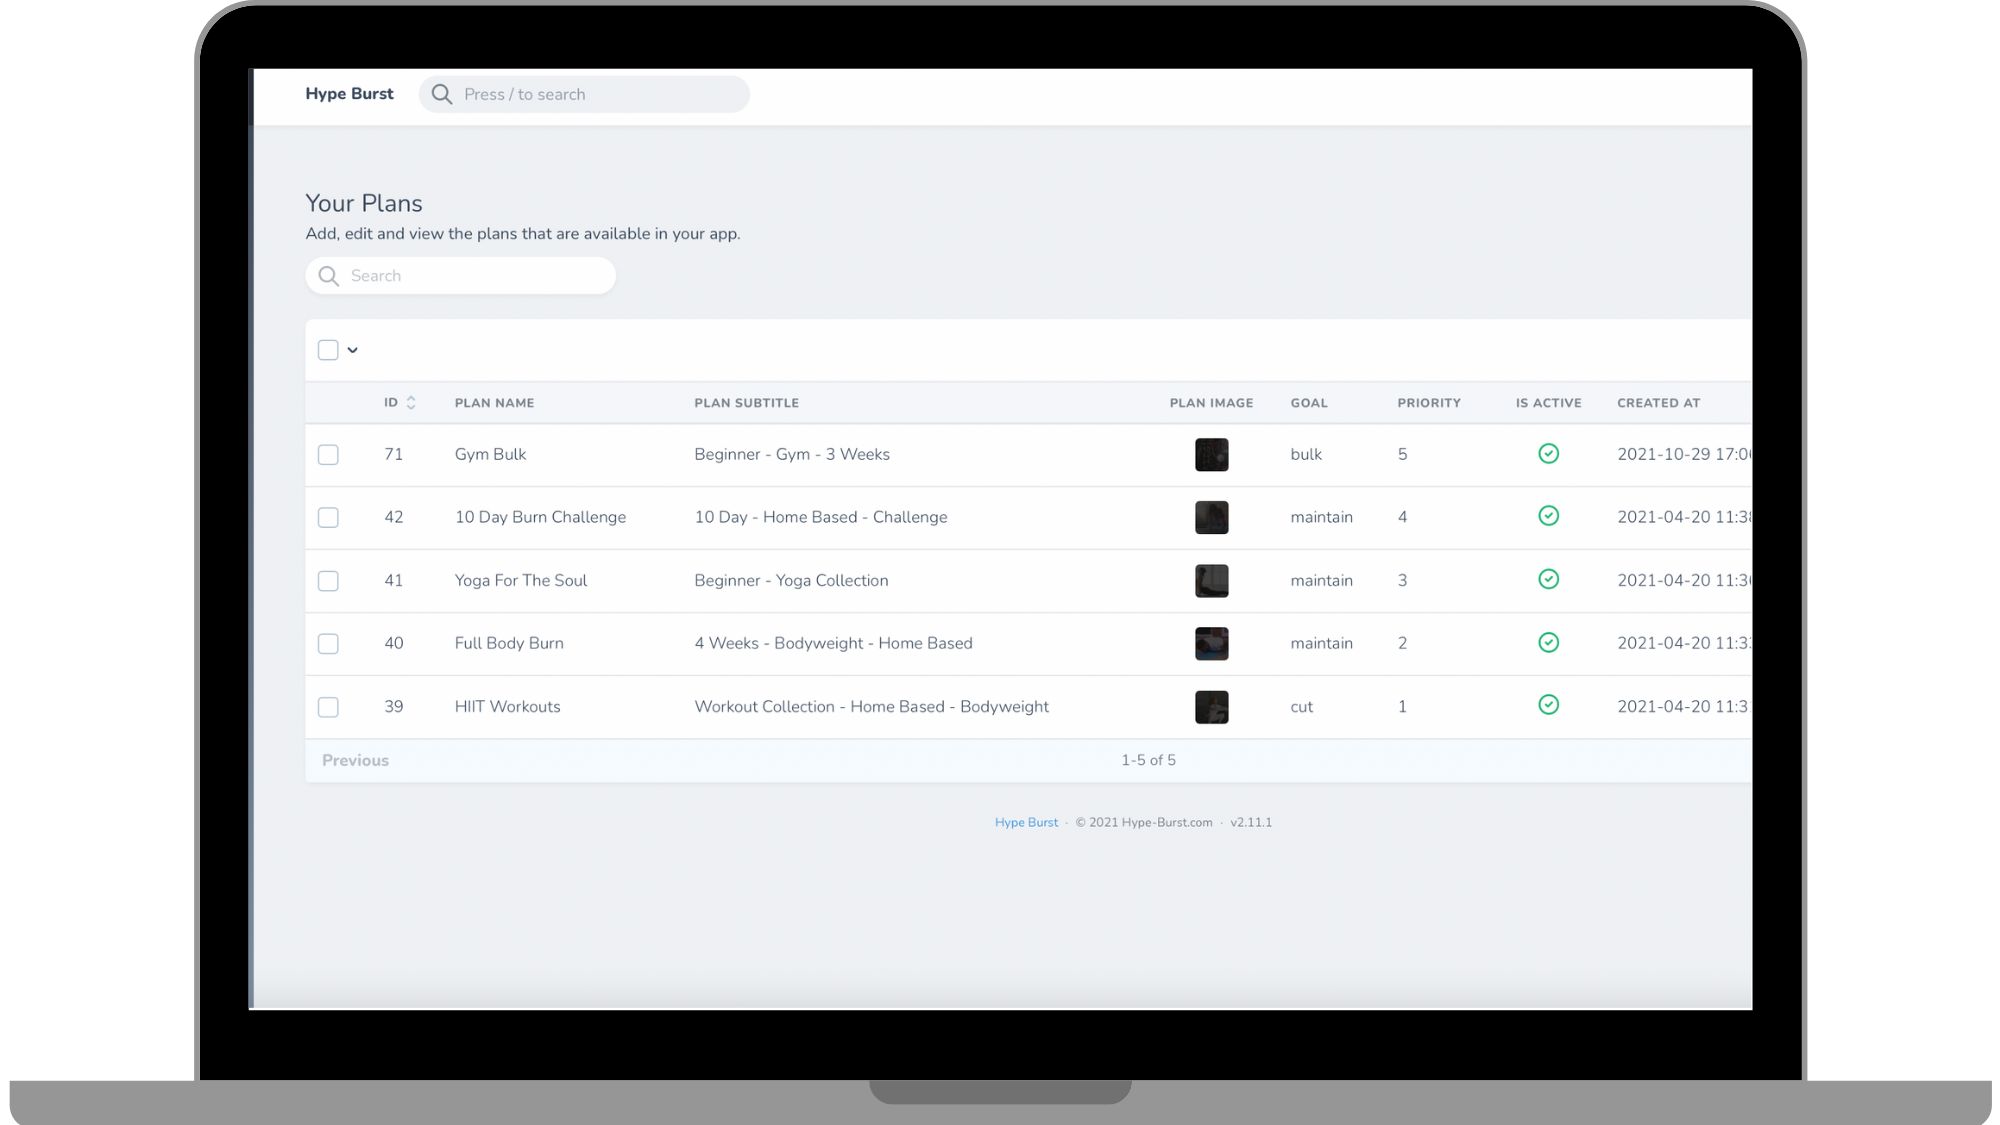
You can see a list of all saved plans in your 'Plans' section.
Once you have created your Plan, you are ready to start creating Weeks to add to your Plan. Please read the guide on how to create Weeks here: https://hypeburst.zendesk.com/hc/en-gb/articles/4410575531793-How-to-add-a-week-subcategory-
How to get started?
Log into your dashboard at https://account.hype-burst.com/admin/login and go through the 4 simple steps to create a Plan.
Comments
0 comments
Please sign in to leave a comment.