
Plans are made up of Weeks. Once you have created your Plans, you can now break them up into subsections. In the dashboard, you will find this as 'Weeks' on the left panel. You can label your Weeks however you like. You should have already created a Plan before creating Weeks, as Weeks belong inside a Plan.
Creating your weeks/subcategories
Before creating Weeks, you should have the Plan you are assigning the Week to already created. If you haven't, please refer to the guide on how to create a Plan here: https://hypeburst.zendesk.com/hc/en-gb/articles/4410495236497-How-to-add-a-plan-section
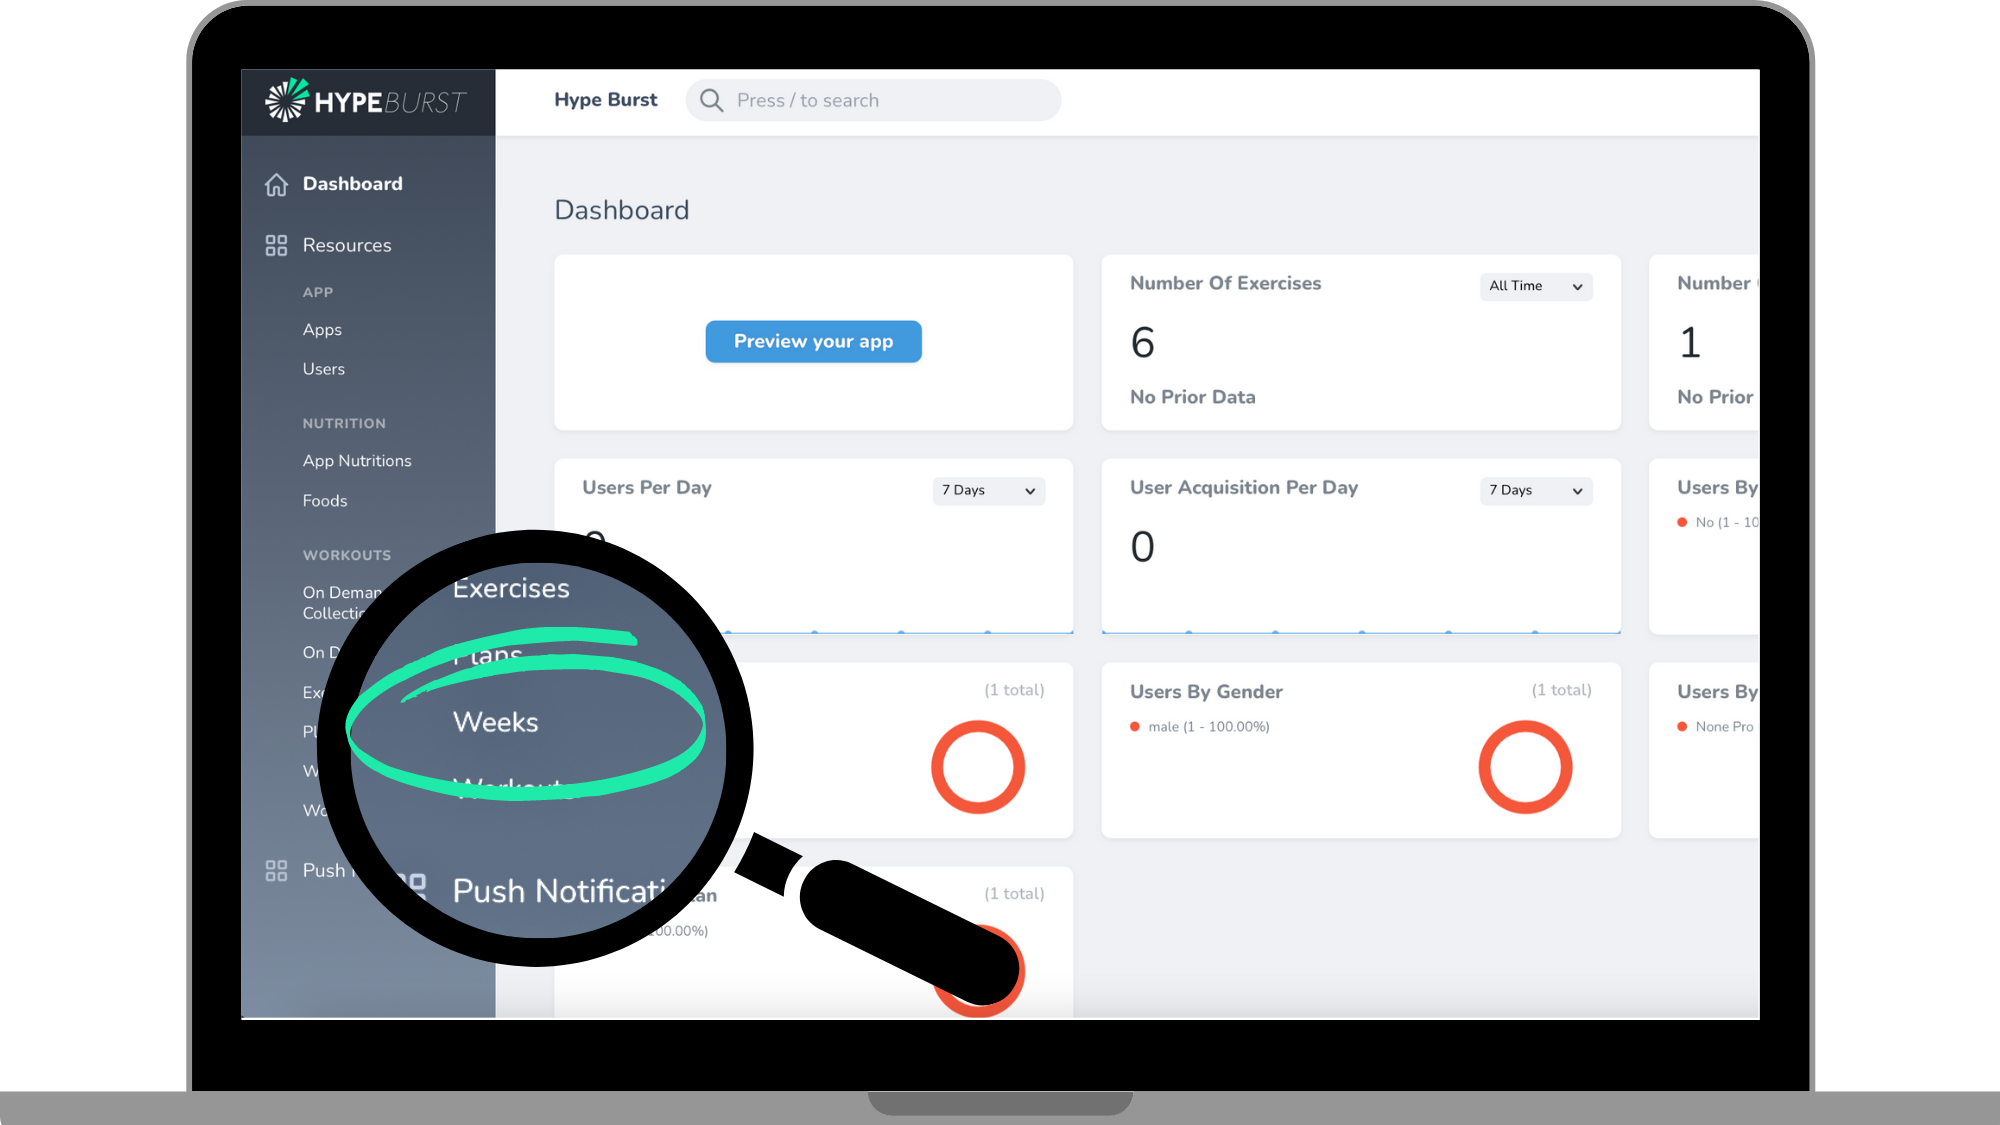
Step 1: Click the "Weeks" section in the menu on the Dashboard
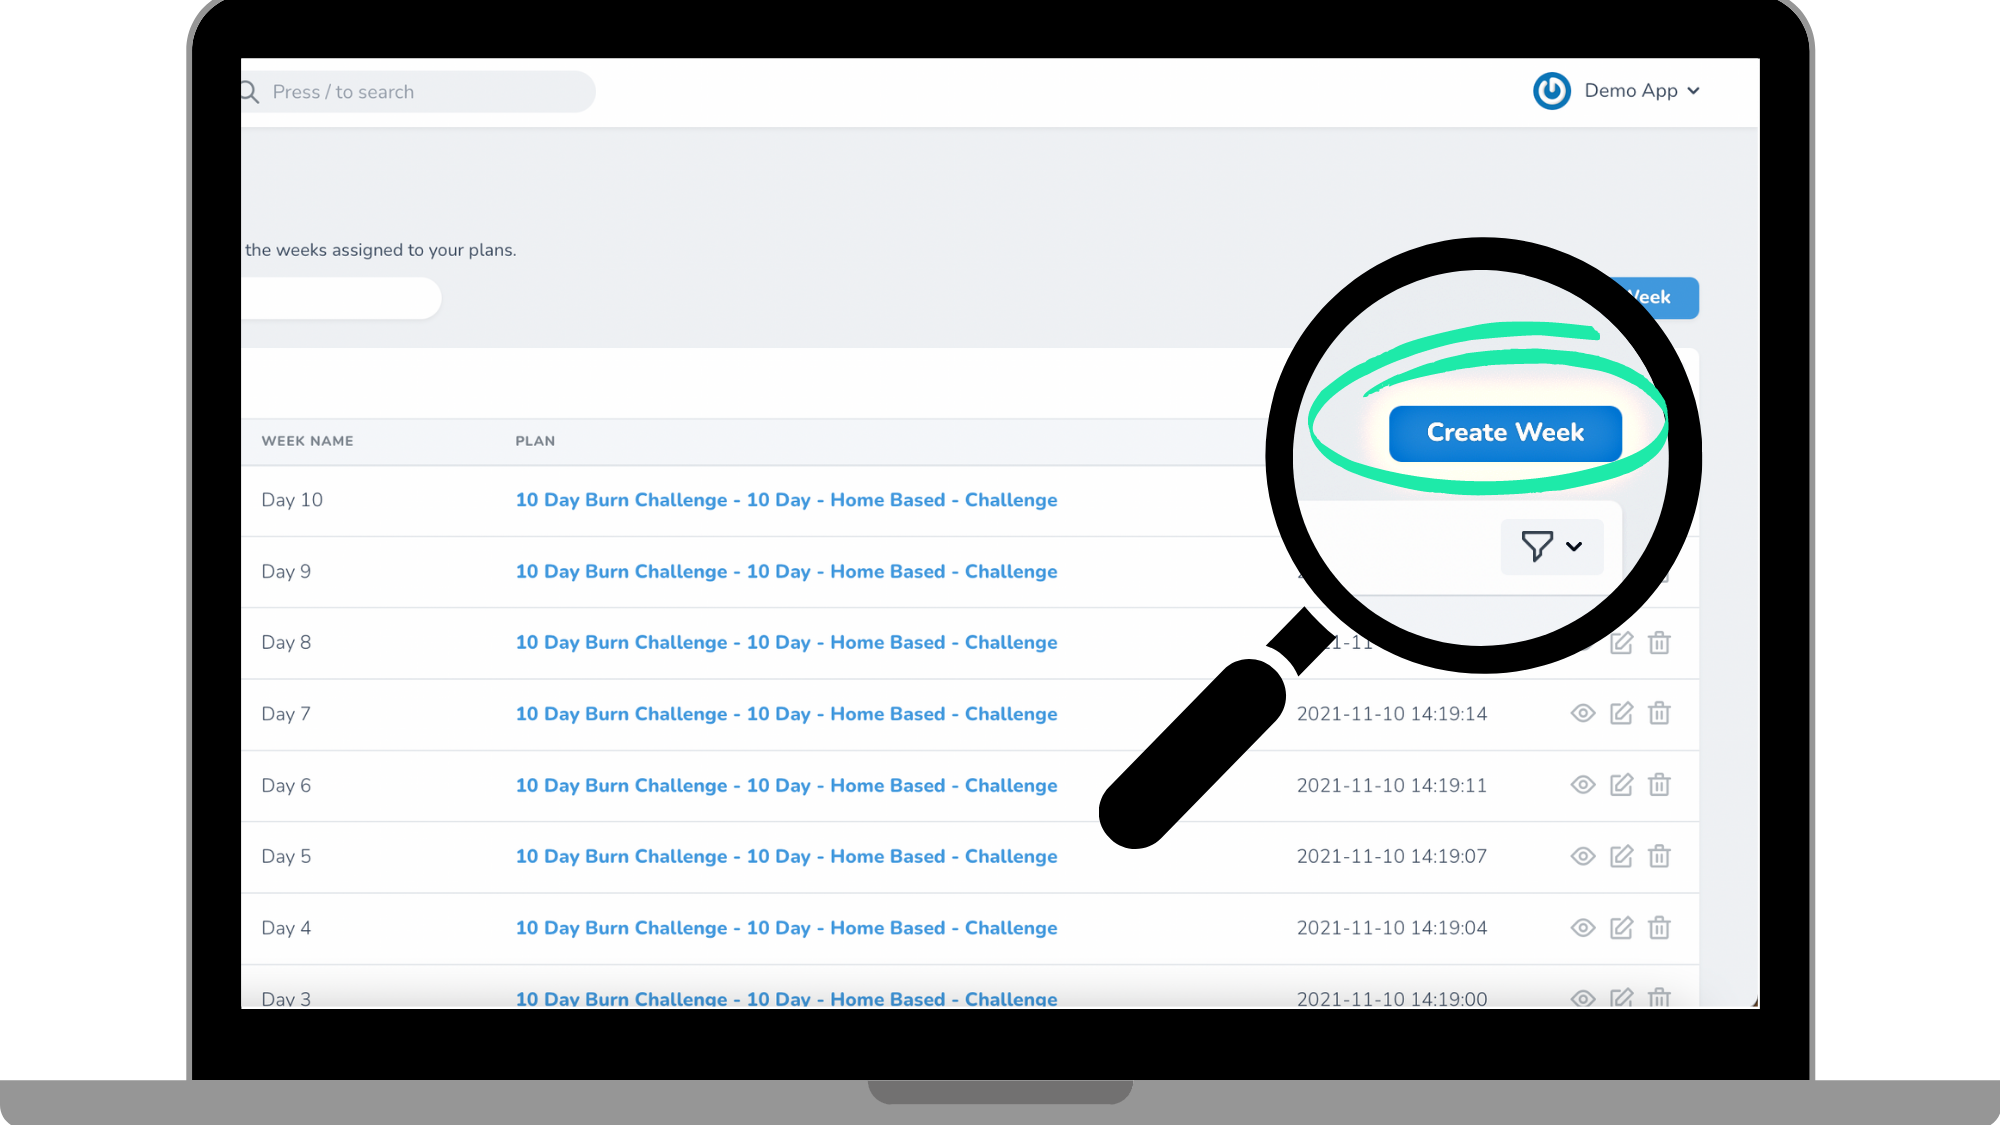
Step 2: Click the "Create Week" button in the right corner
Step 3: Enter Week Information
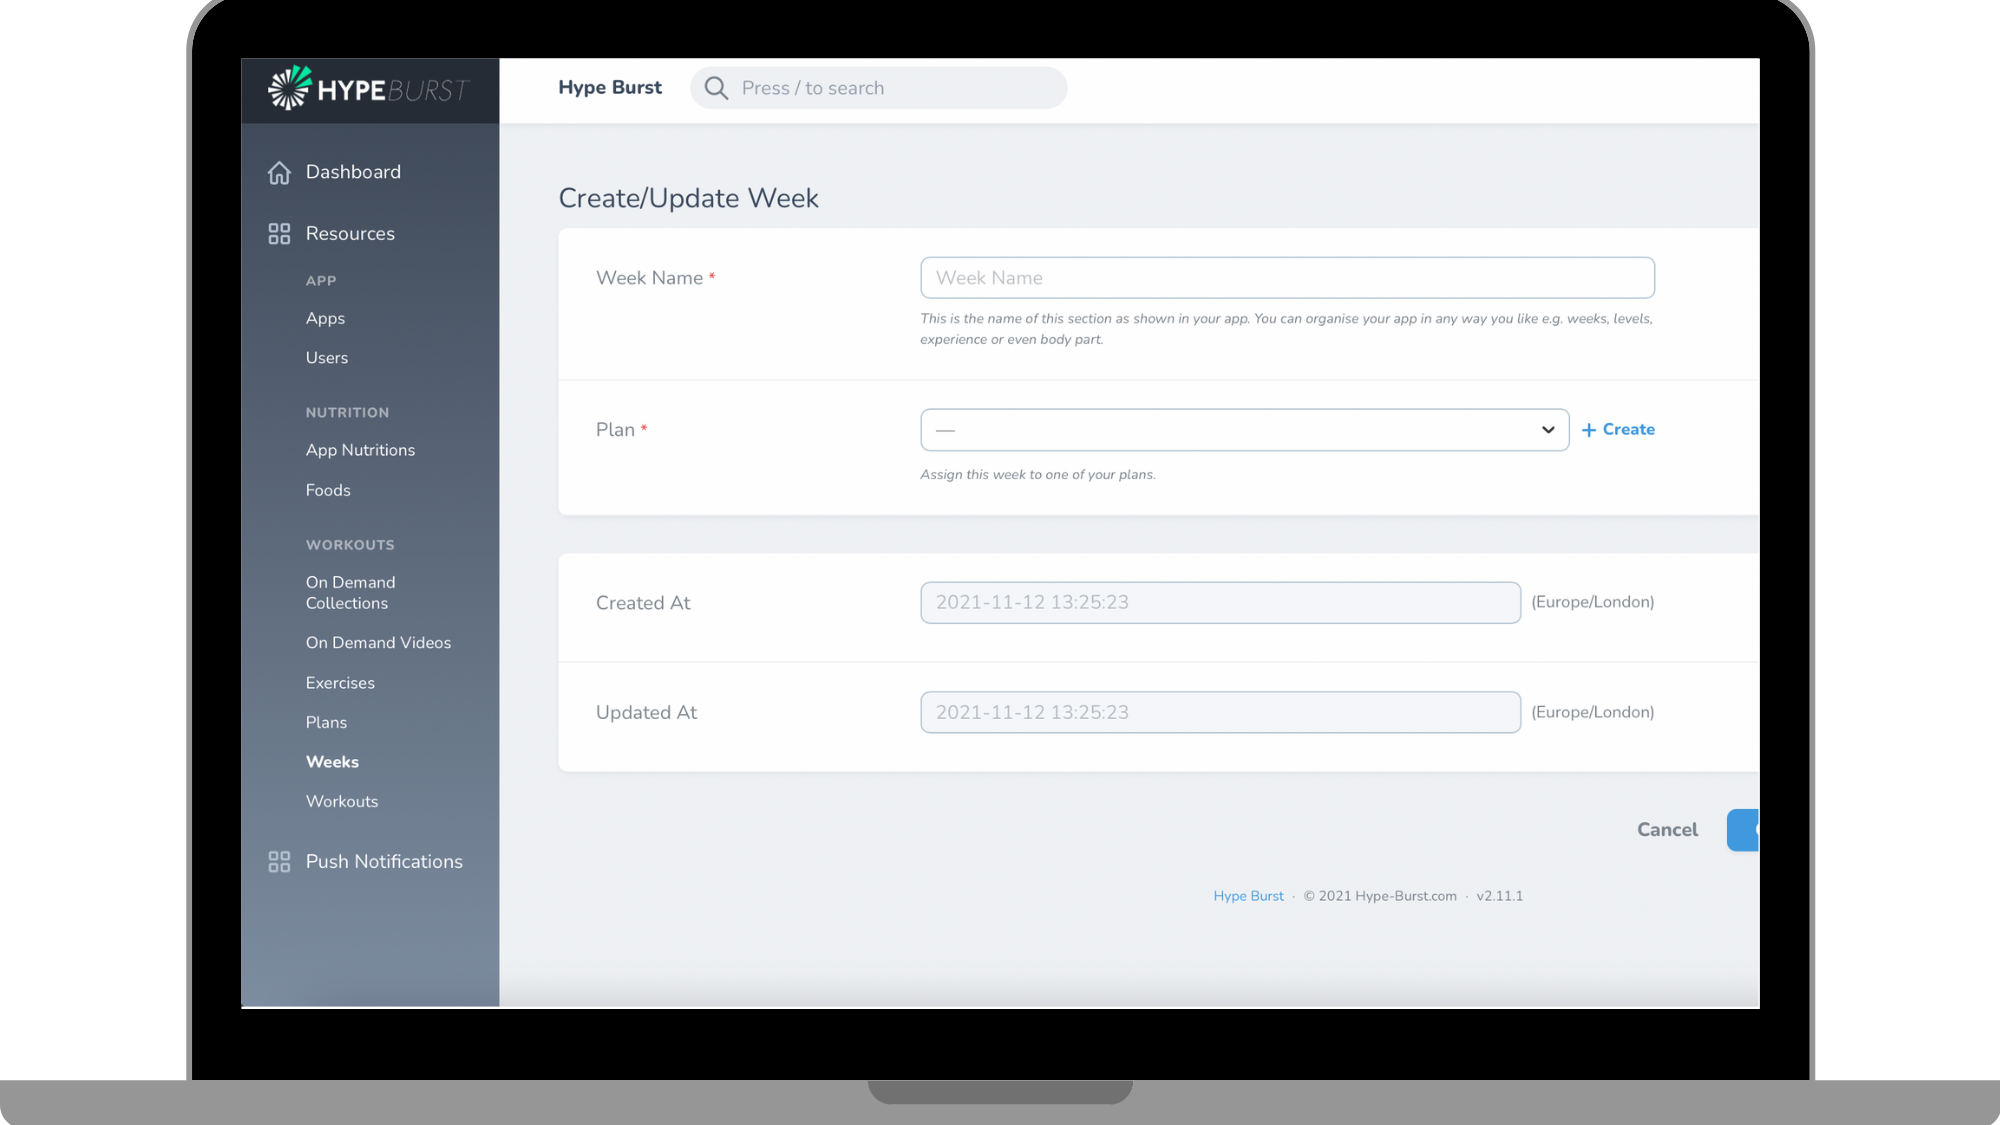
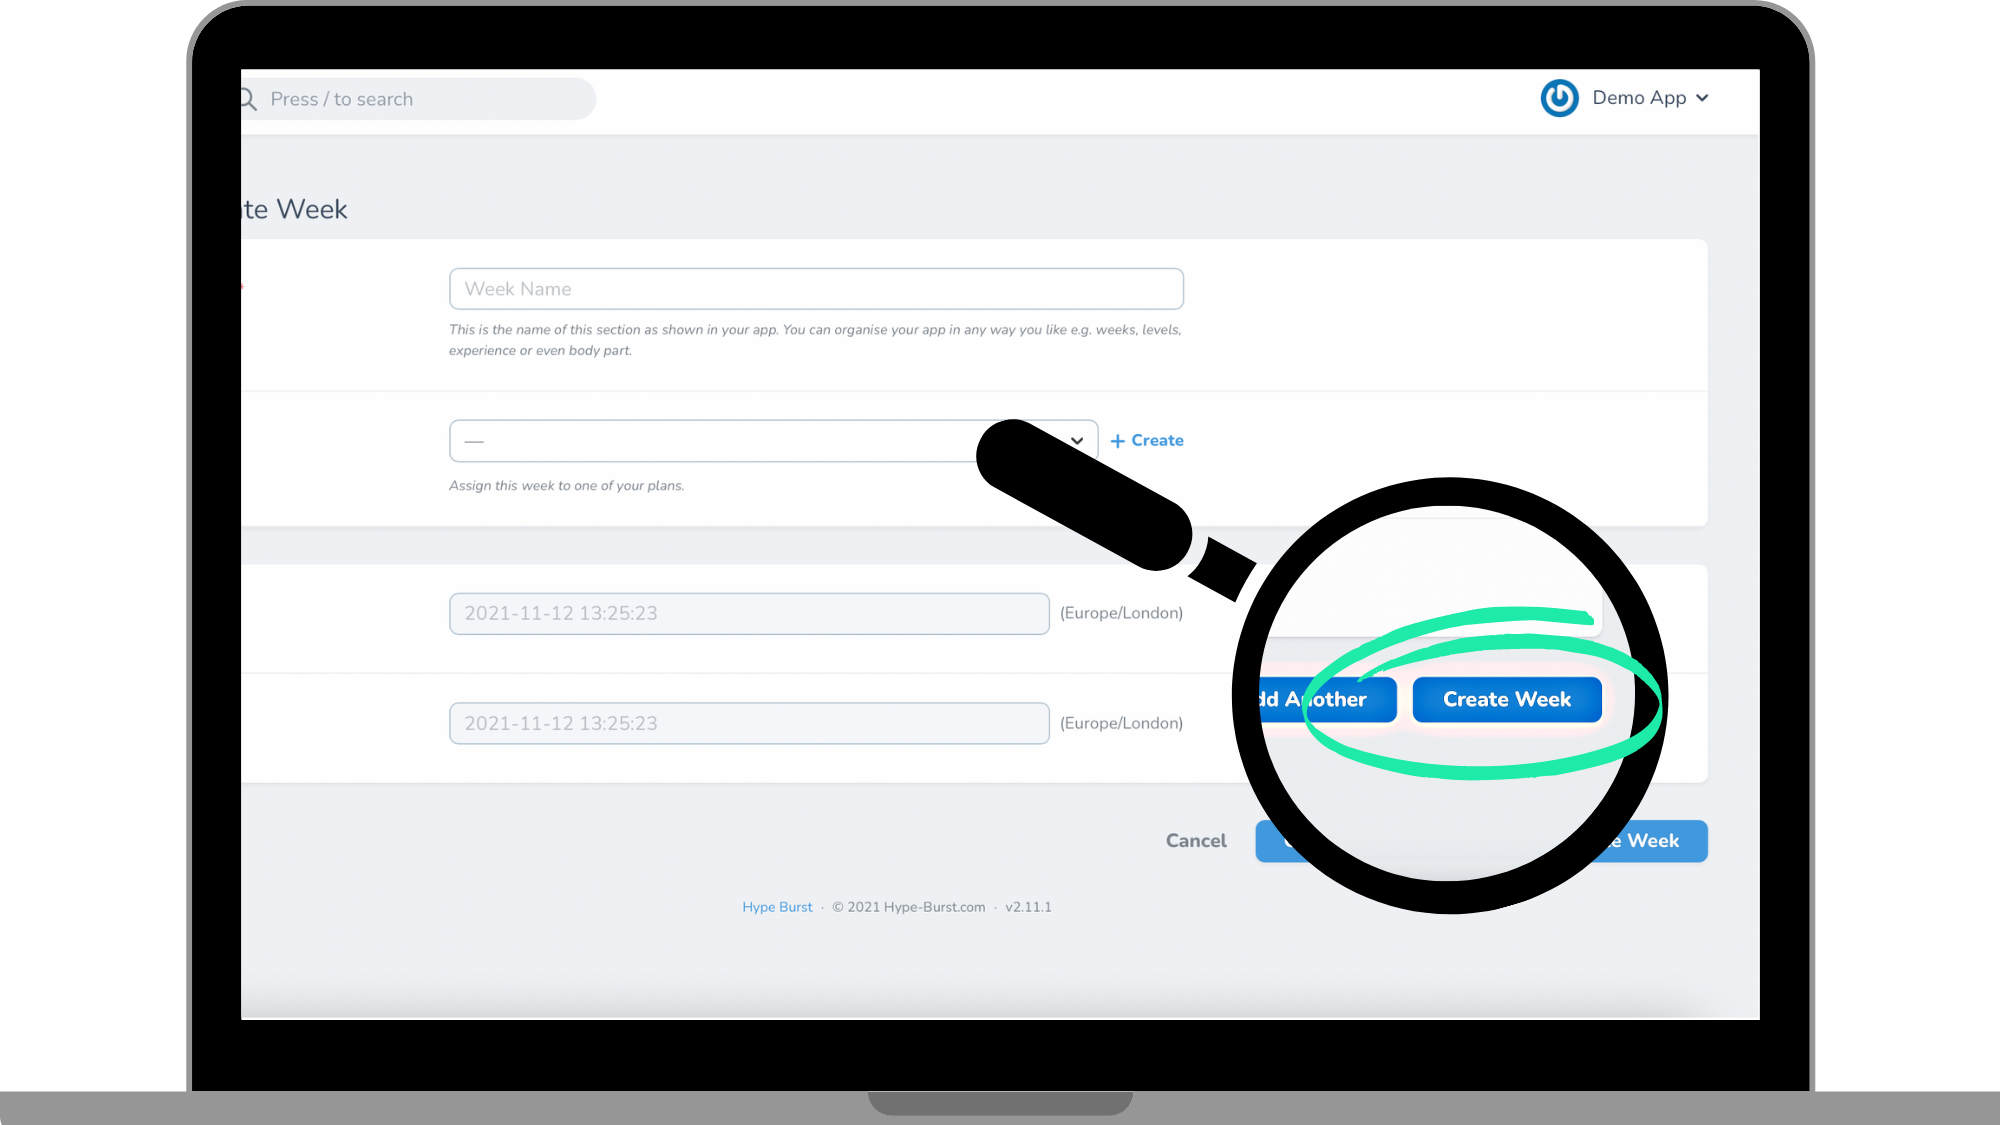
Create Week Name
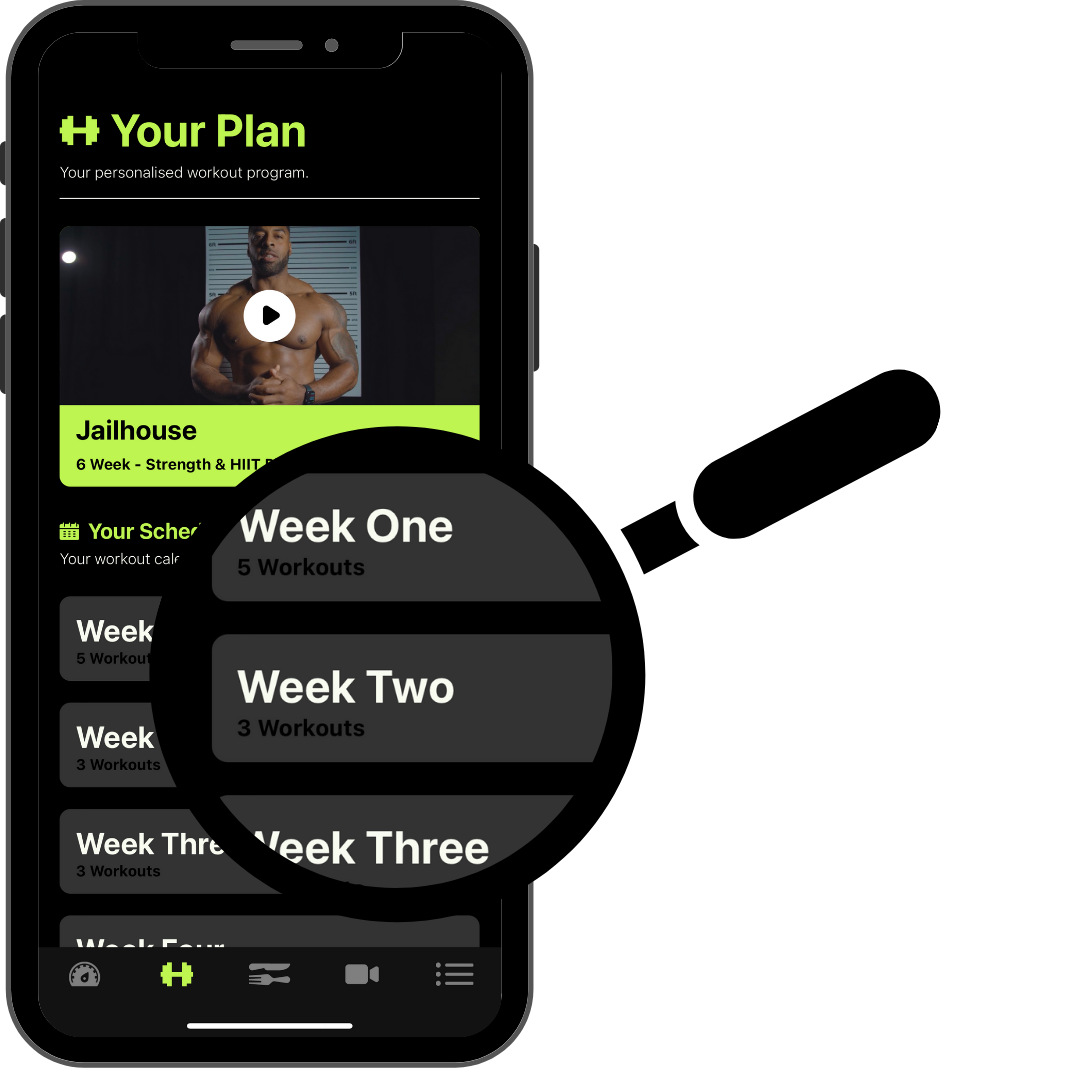
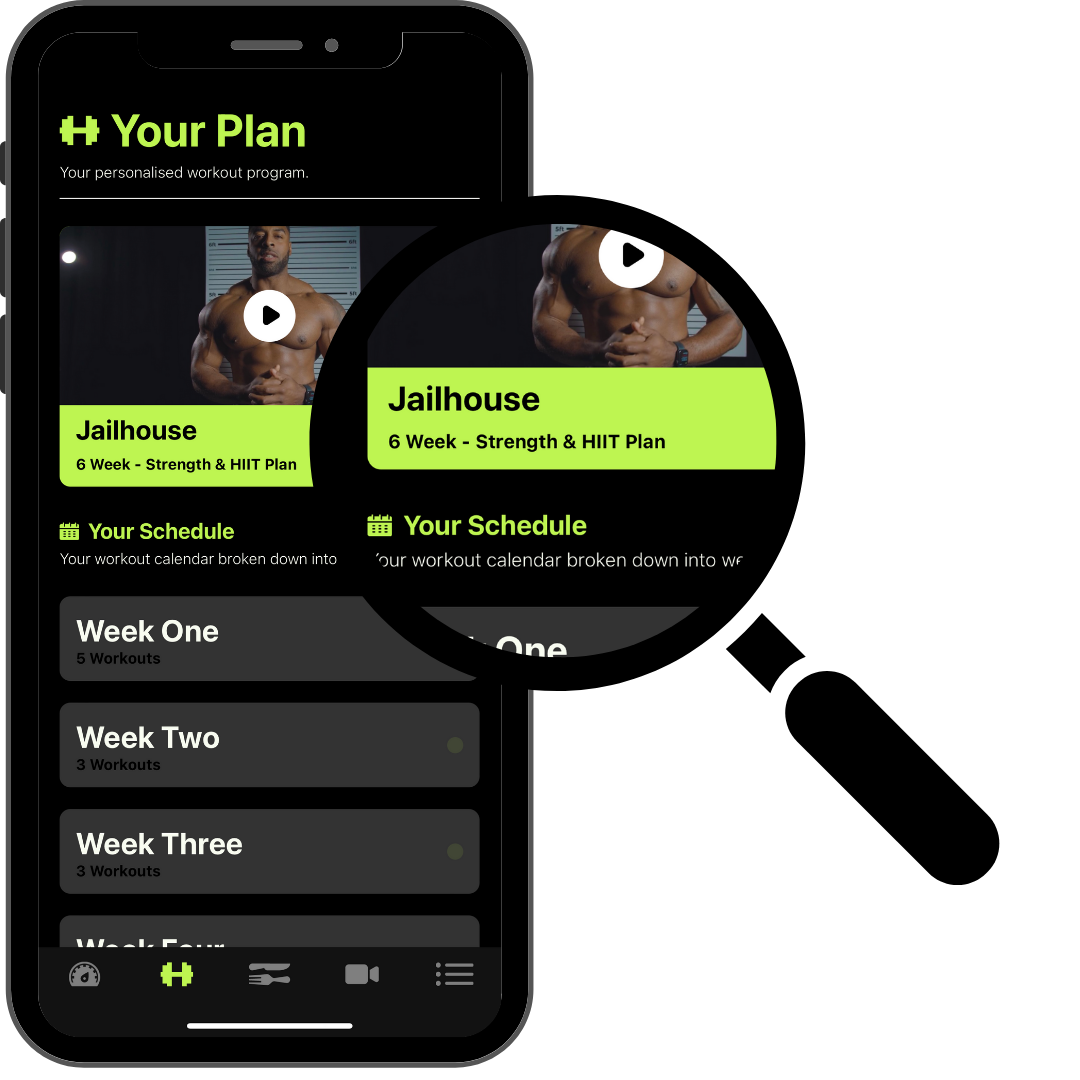
Enter the name of your Week here. This is how your Week will be labelled in your app (as shown below). This does not necessarily have to labelled as a Week, it is completely up to you how you decide to label your subcategories. Each subcategory will contain workouts.
Step 2: Assign your Week to a Plan
Use the dropdown menu to assign your Week (subcategory) to a Plan. If you have not created your plans yet, create one using the "Create" button next to the drop down menu.
Read the guide on adding Plans here: https://hypeburst.zendesk.com/hc/en-gb/articles/4410495236497-How-to-add-a-plan-section
Step 4: Click "Create Week" at the bottom of the screen
Once you have filled out all of the required fields in the previous step, you can save your Week. Click the button 'Create Week'. Remember you can always go back and edit the Week at anytime.
Once you have created your Weeks to assign to a Plan, you are ready to start adding Workouts to those Weeks. Please read the guide on how to create a Workout here: https://hypeburst.zendesk.com/hc/en-gb/articles/4410587849105-How-to-add-a-workout-
How to get started?
Log into your dashboard at https://account.hype-burst.com/admin/login to get started.
Comments
0 comments
Please sign in to leave a comment.