
Exercises are the most important part of your fitness app within the Plans section. To be able to create a Workout, you need to have your Exercises. You can add new Exercises by clicking 'Exercises' in the left menu on the Dashboard. You can form your 'Exercise Library' where the Exercises you upload can be used in multiple Workouts.
For an overview of the Plans section, please refer to the guide listed here: https://hypeburst.zendesk.com/hc/en-gb/articles/4410552815761-An-overview-of-Plans-in-your-fitness-app
Creating an Exercise
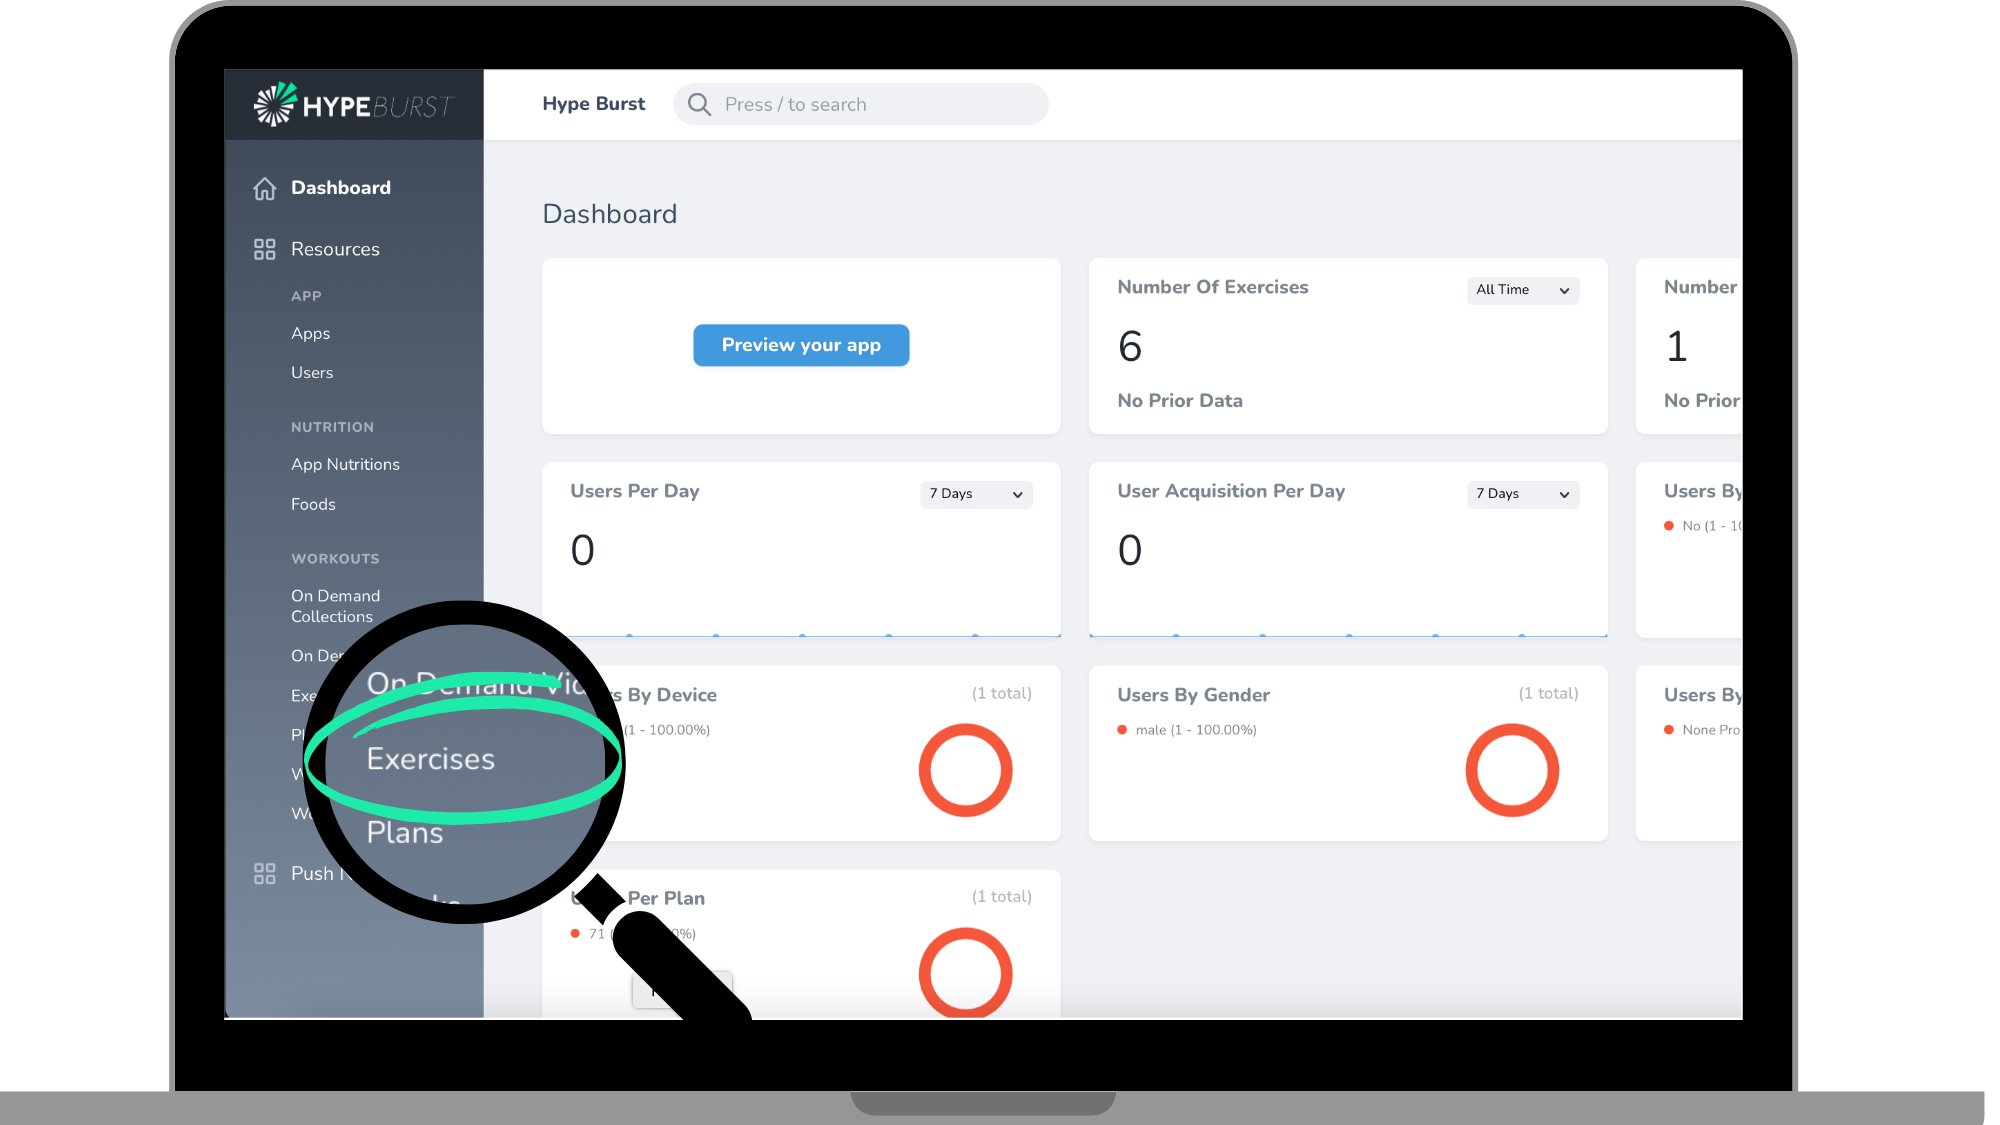
Step 1: Click the 'Exercises' section in the menu on the Dashboard
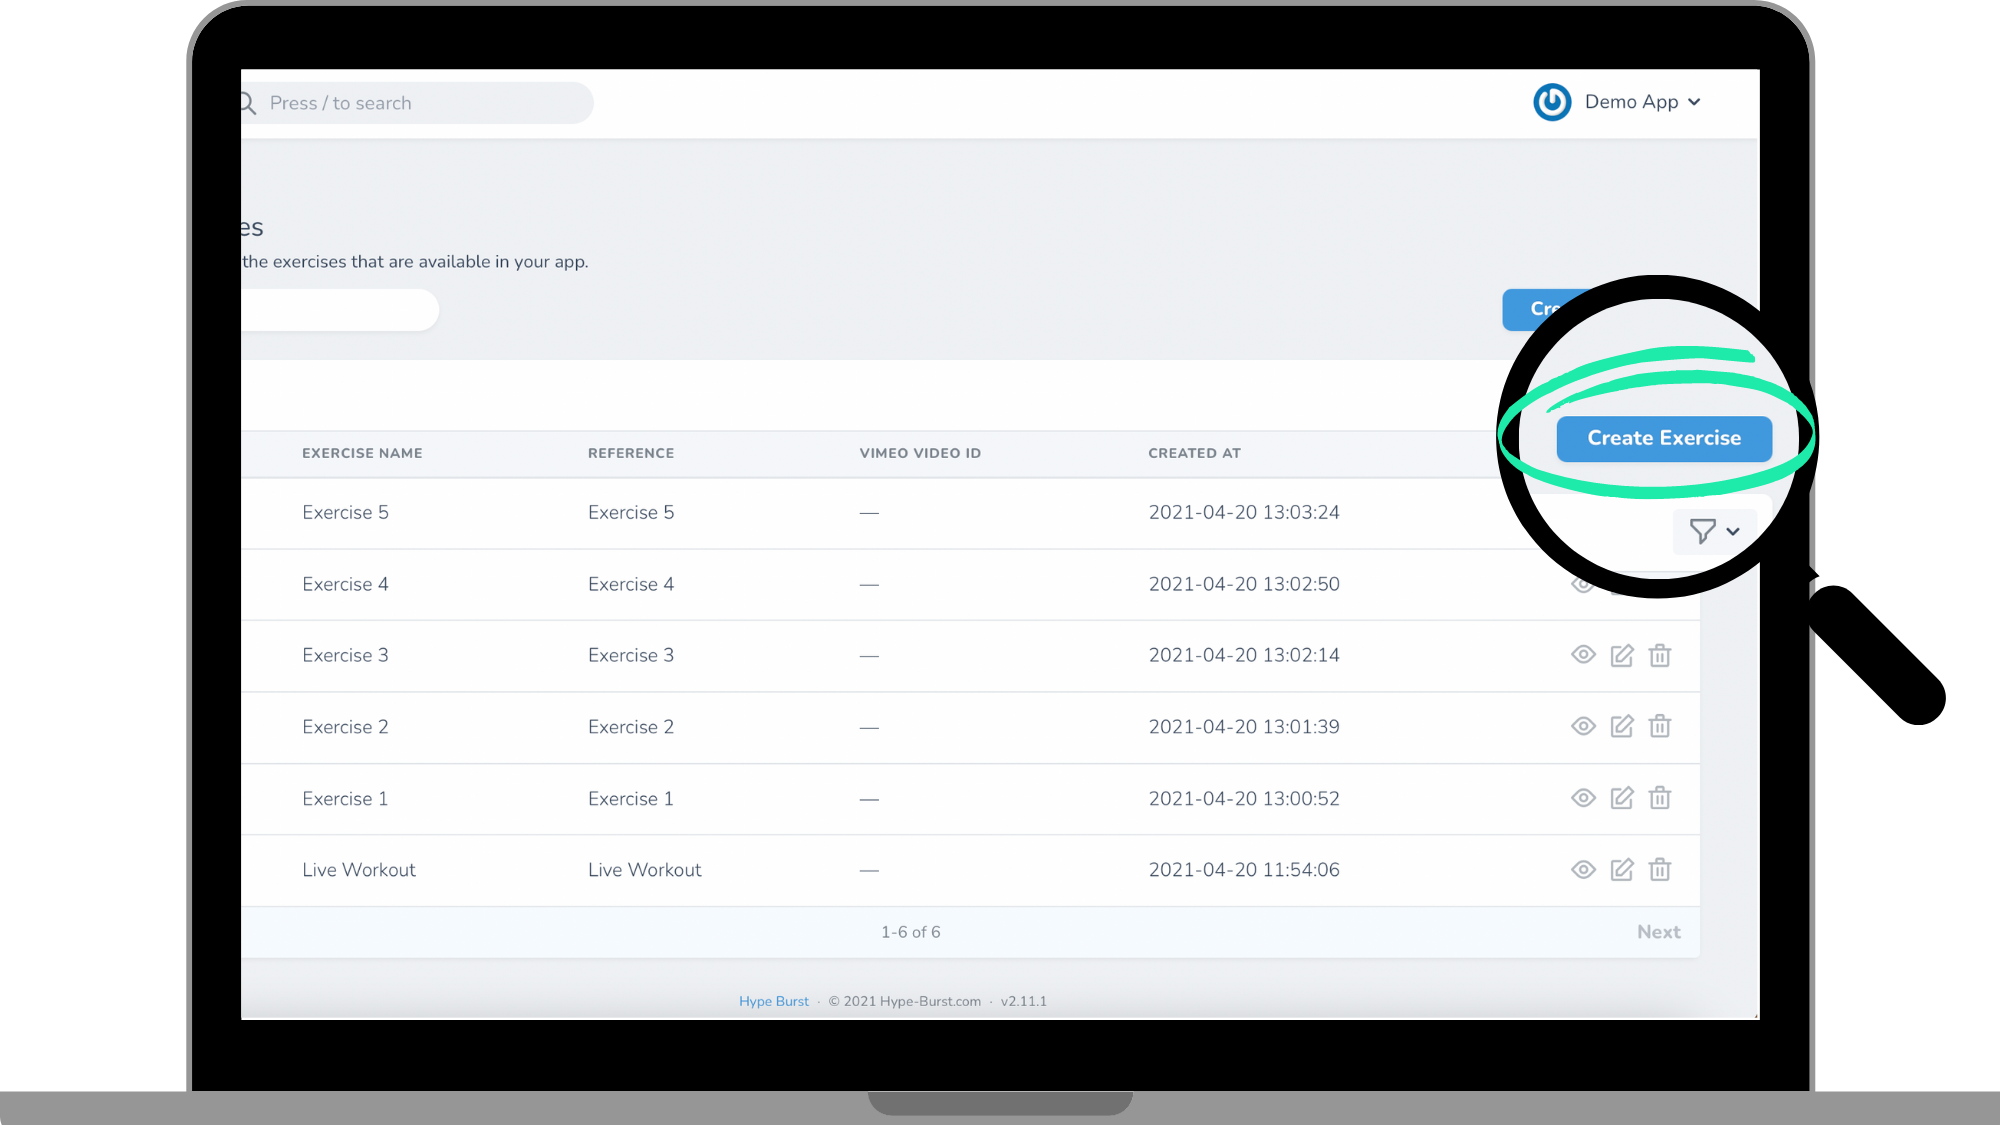
Step 2: Click the 'Create Exercise' button in the right corner
Step 3: Enter Exercise information
1. Creating 'Exercise Name'
Enter the name of your Exercise here. This is how your Exercise will be labelled in your app for your user to see.
2. Entering a 'Reference' (OPTIONAL)
This is optional but you can enter a reference for the Exercise that you will be able to see in the Exercise page. This is for your eyes only and can be a good way to make notes or add a private tag to the Exercise. When you add in Exercises to a Workout, you will see the Exercise with the reference next to it so it is a good way to add a reminder or a specific about that Exercise.
3. Uploading a 'Video' for the Exercise
Upload the video to your Exercise here. If you are uploading a video directly, the video must be in .mp4 format and we recommend 16x9 ratio (landscape).
Note: You do not have to upload a video directly, you can instead use Vimeo and add the Vimeo ID link in the Vimeo ID box. Click here to see more about uploading videos via Vimeo.

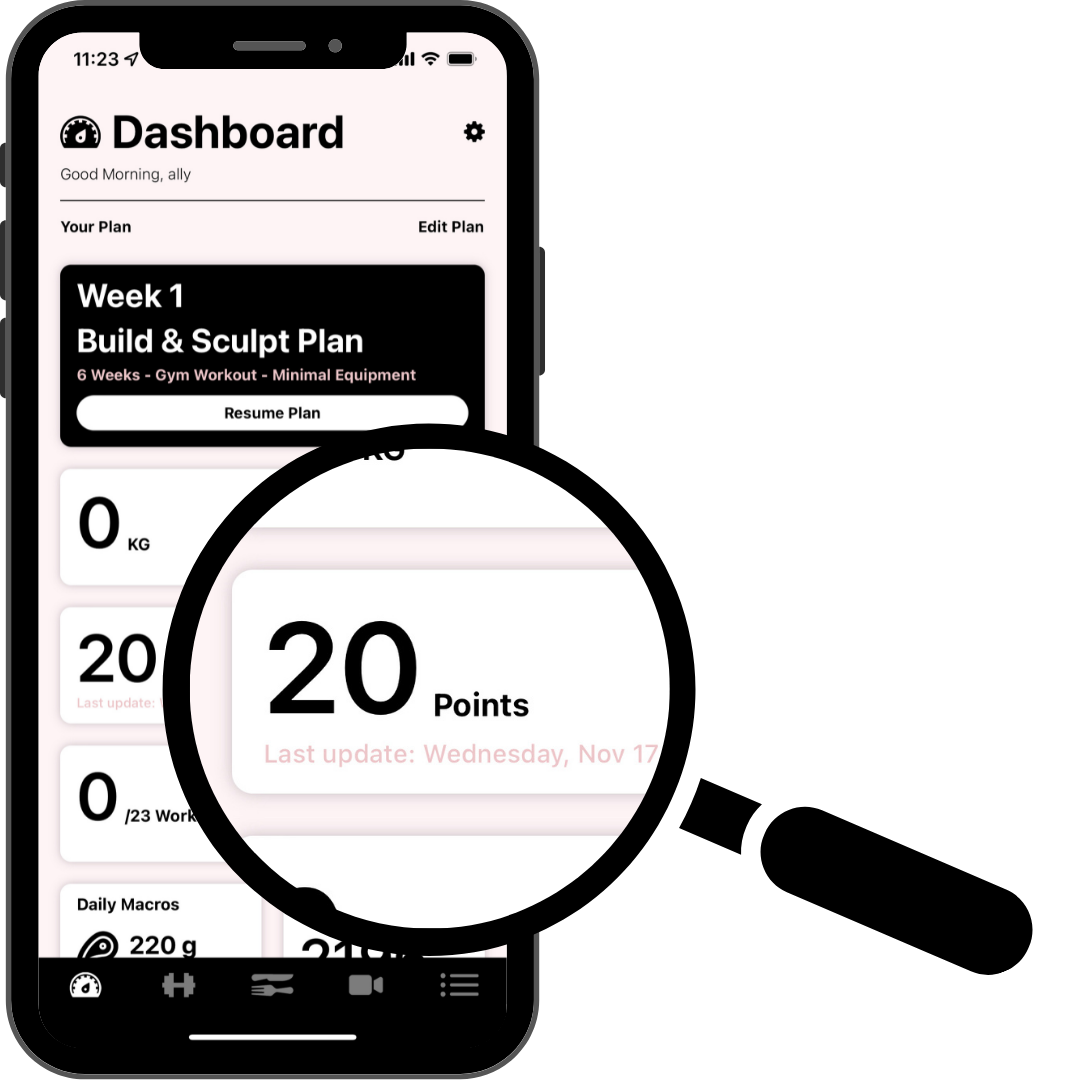
4. Assigning 'Points' to the Exercise
Enter the points for the Exercise here. The points will show up in the app user's Dashboard in the app. If you were to assign 10 points to an Exercise, the app user would get 10 points every time they completed that Exercise.
Points are a good way to create competition and give rewards to the app users. Click here to read the blog learning more about giveaway ideas for a fitness app.
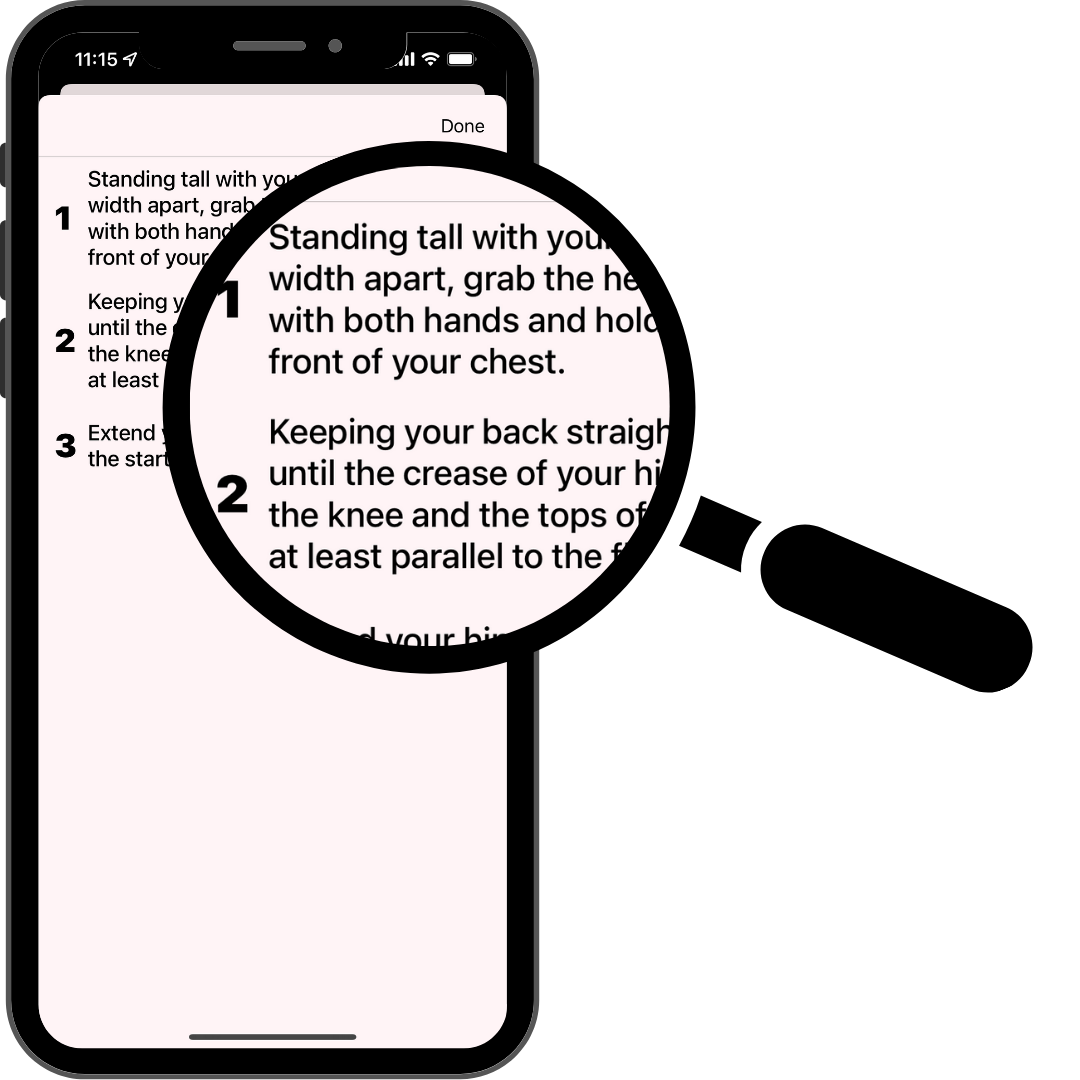
5. Entering 'Exercise Description'
Enter the description to the Exercise here. You do not have to use all the lines available but this is where you describe the step-by-step instructions for the Exercise.
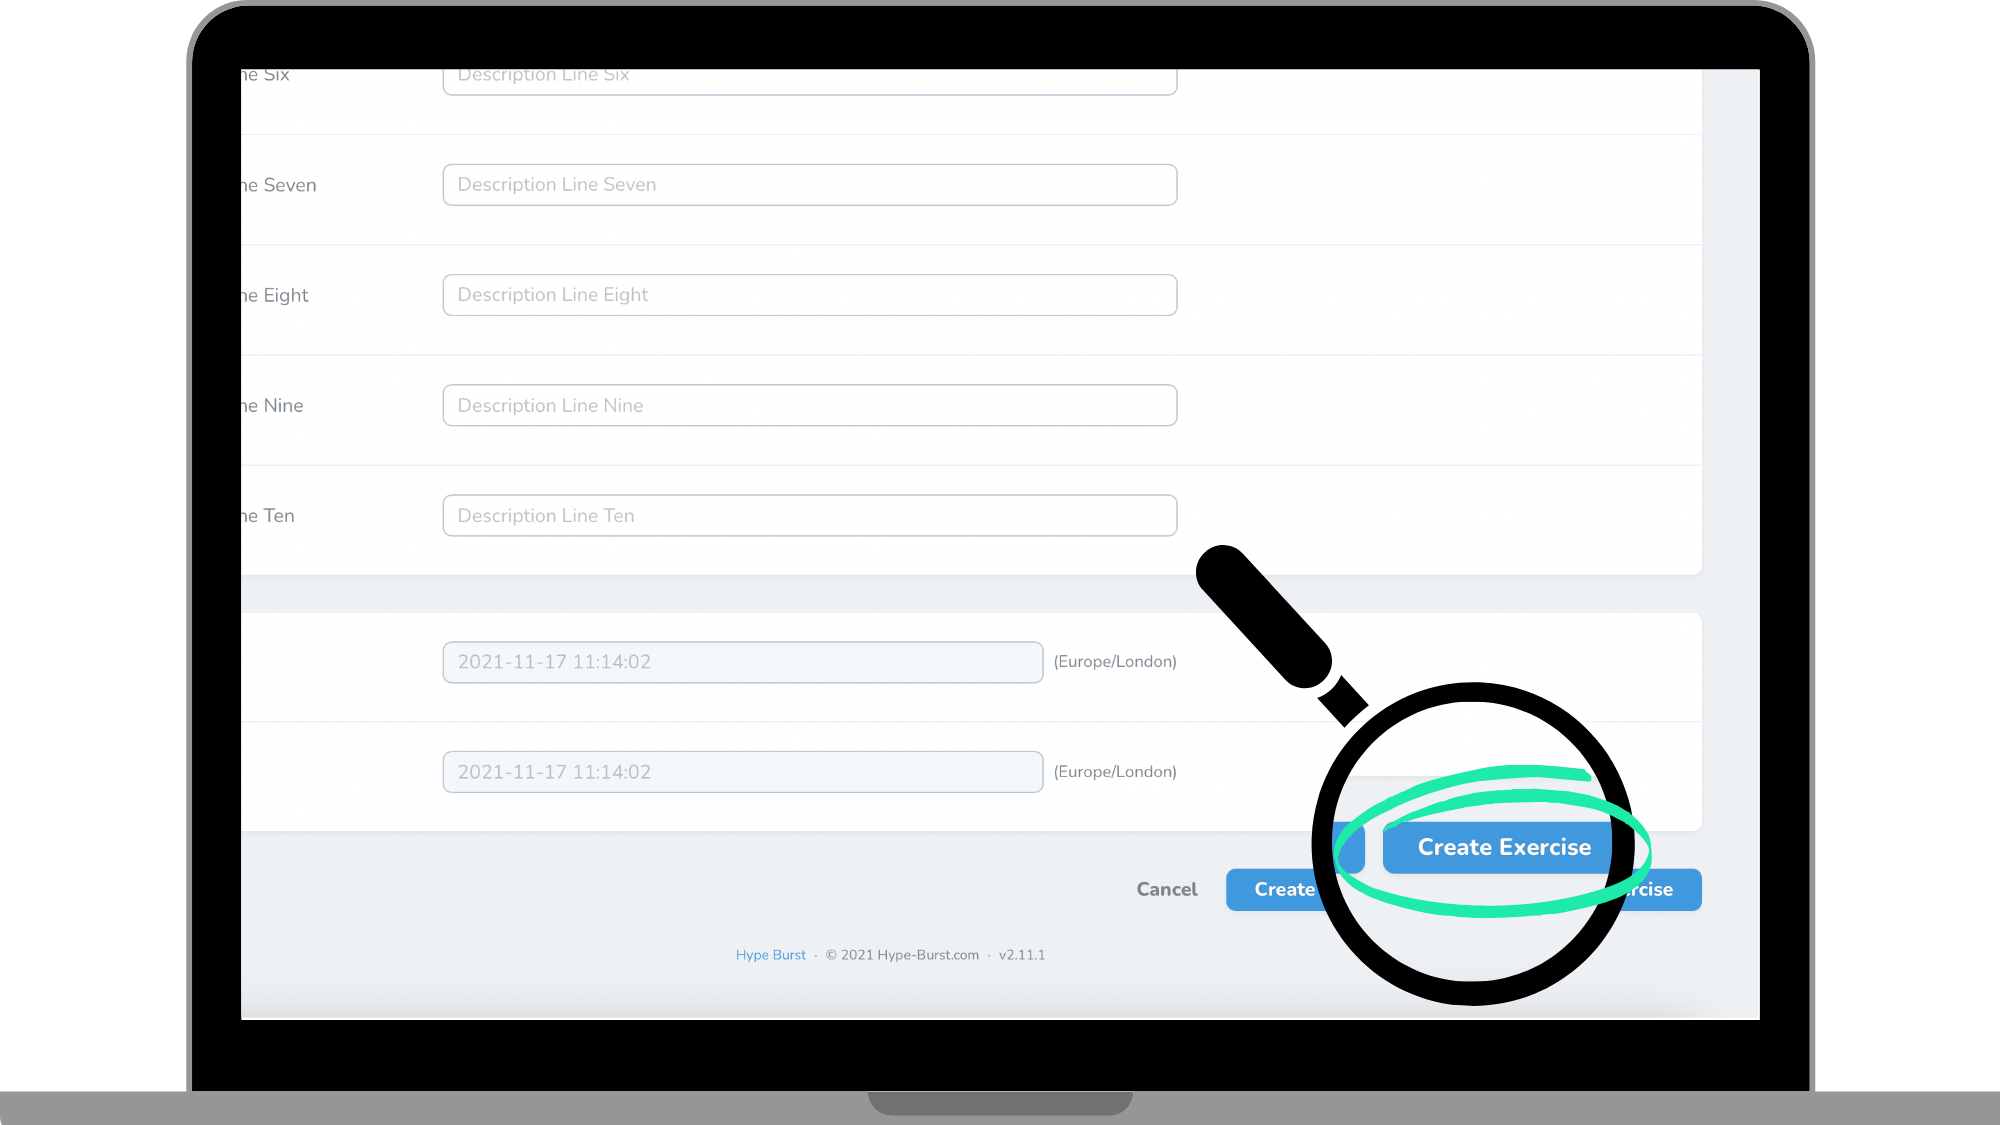
Step 4: Click 'Create Exercise' at the bottom of the screen
Once you have filled out all of the required fields in the previous step, you can save your Exercise. Click the button 'Create Exercise'. Remember you can always go back and edit the Exercise at anytime. You are able to see all of your Exercises if you are in the Exercise page.
Once you have created the Exercises, you are ready to start making Plans. Please read the guide on how to create a Workout Plan here: https://hypeburst.zendesk.com/hc/en-gb/articles/4410495236497-How-to-add-a-plan-section
How to get started?
Log into your dashboard at https://account.hype-burst.com/admin/login to get started.
Comments
0 comments
Please sign in to leave a comment.