
In order to get paid through web subscriptions, you need to have a Stripe account. This will allow you to automatically get paid every time someone purchases a monthly or yearly subscription through your Hype Burst fitness account.
Creating Your Stripe Account
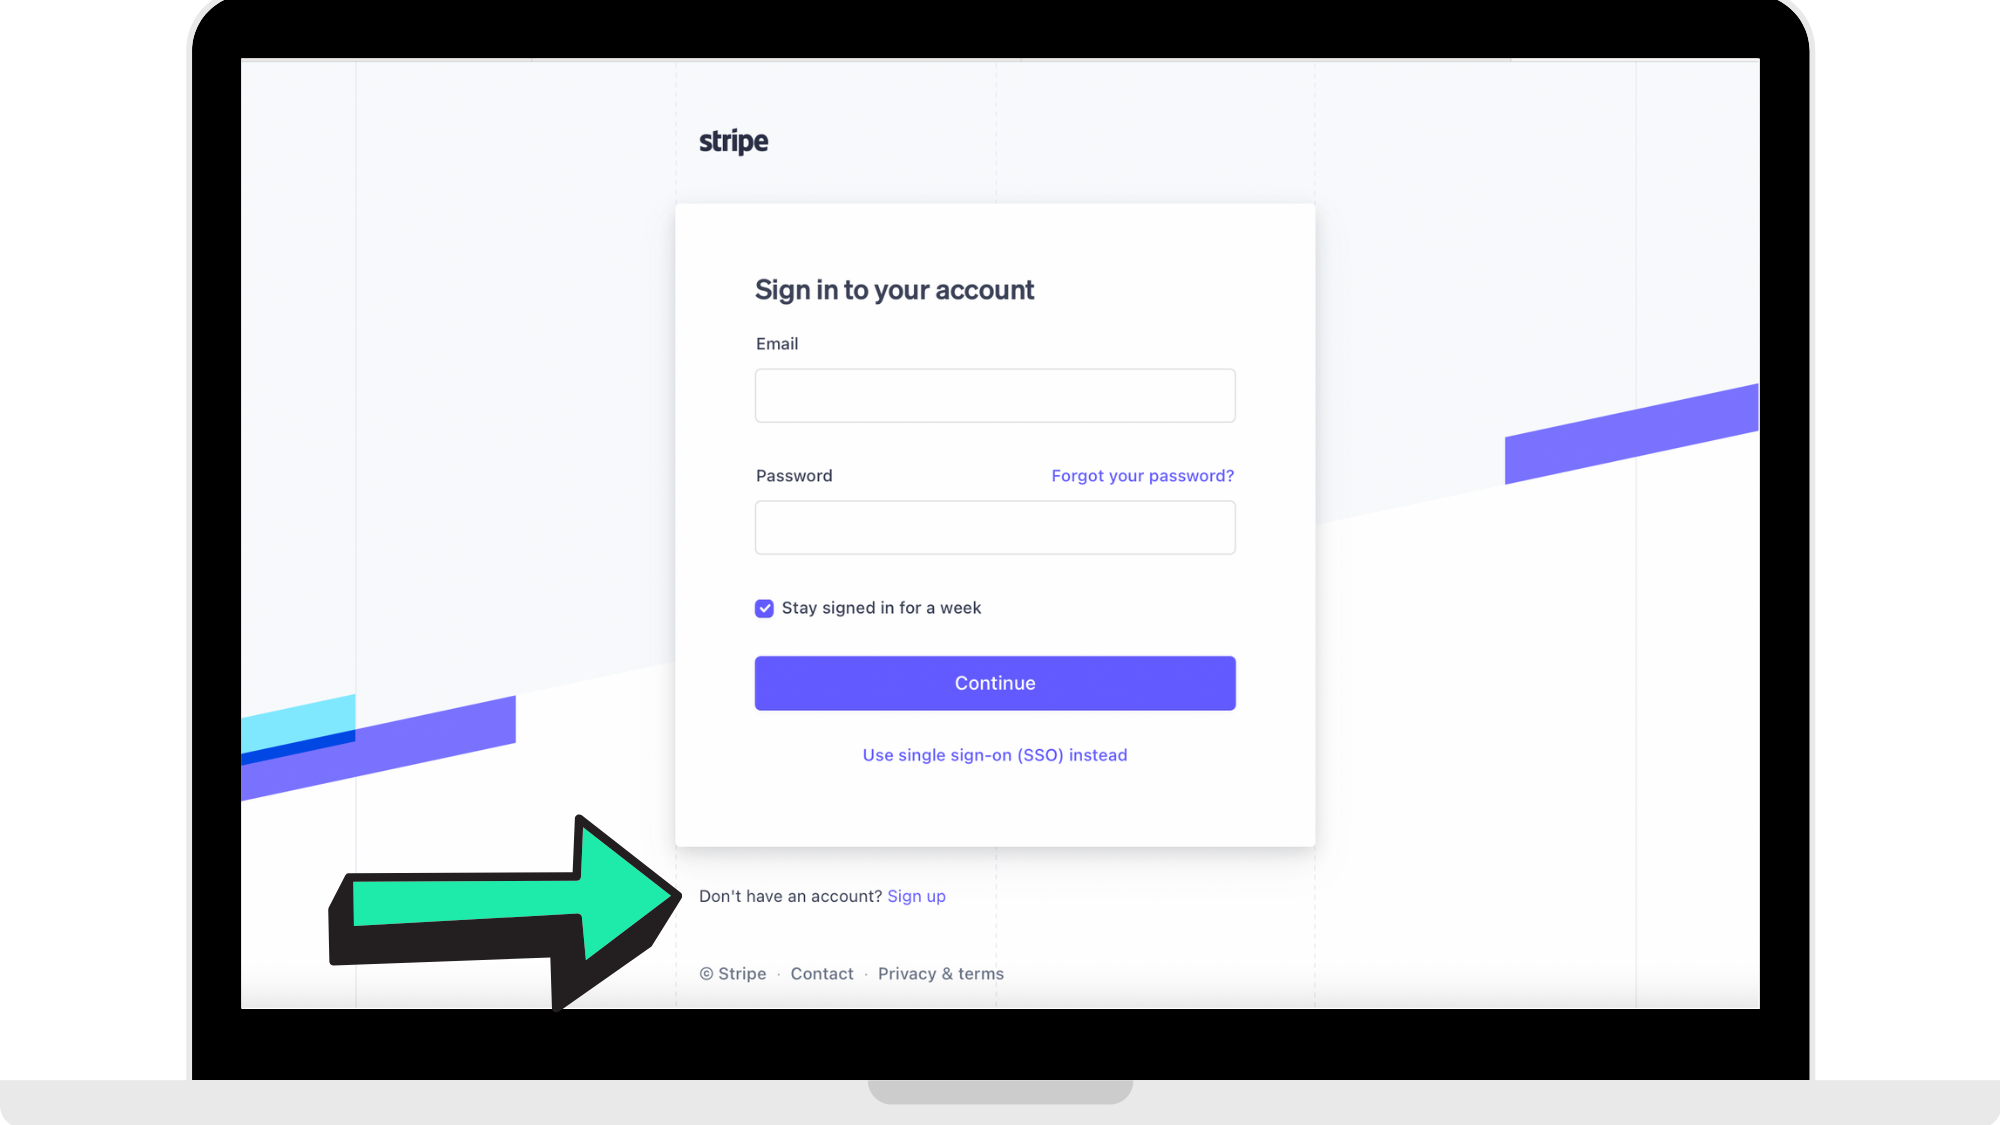
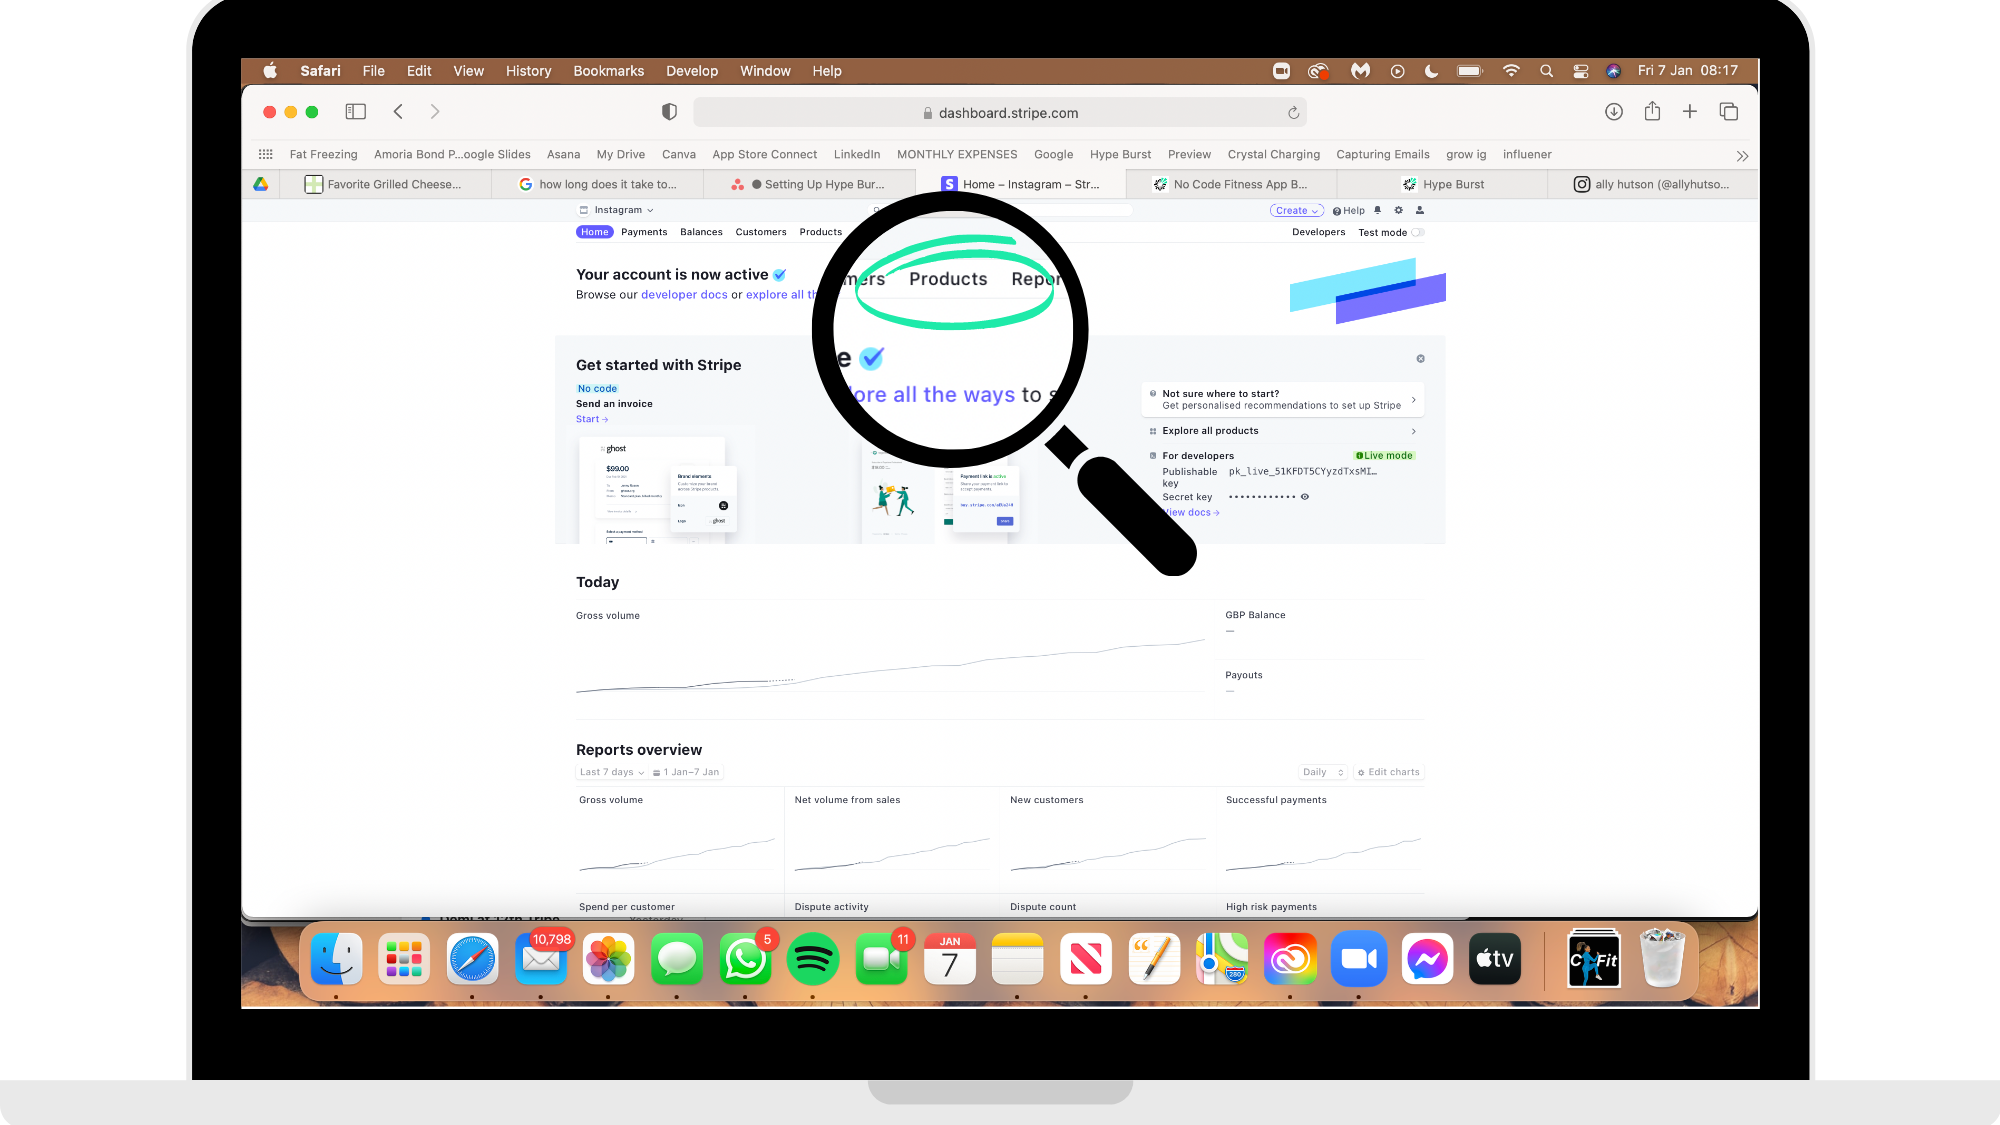
Step 1: Head to Stripe
Head to https://dashboard.stripe.com/register to register and create your Stripe account.
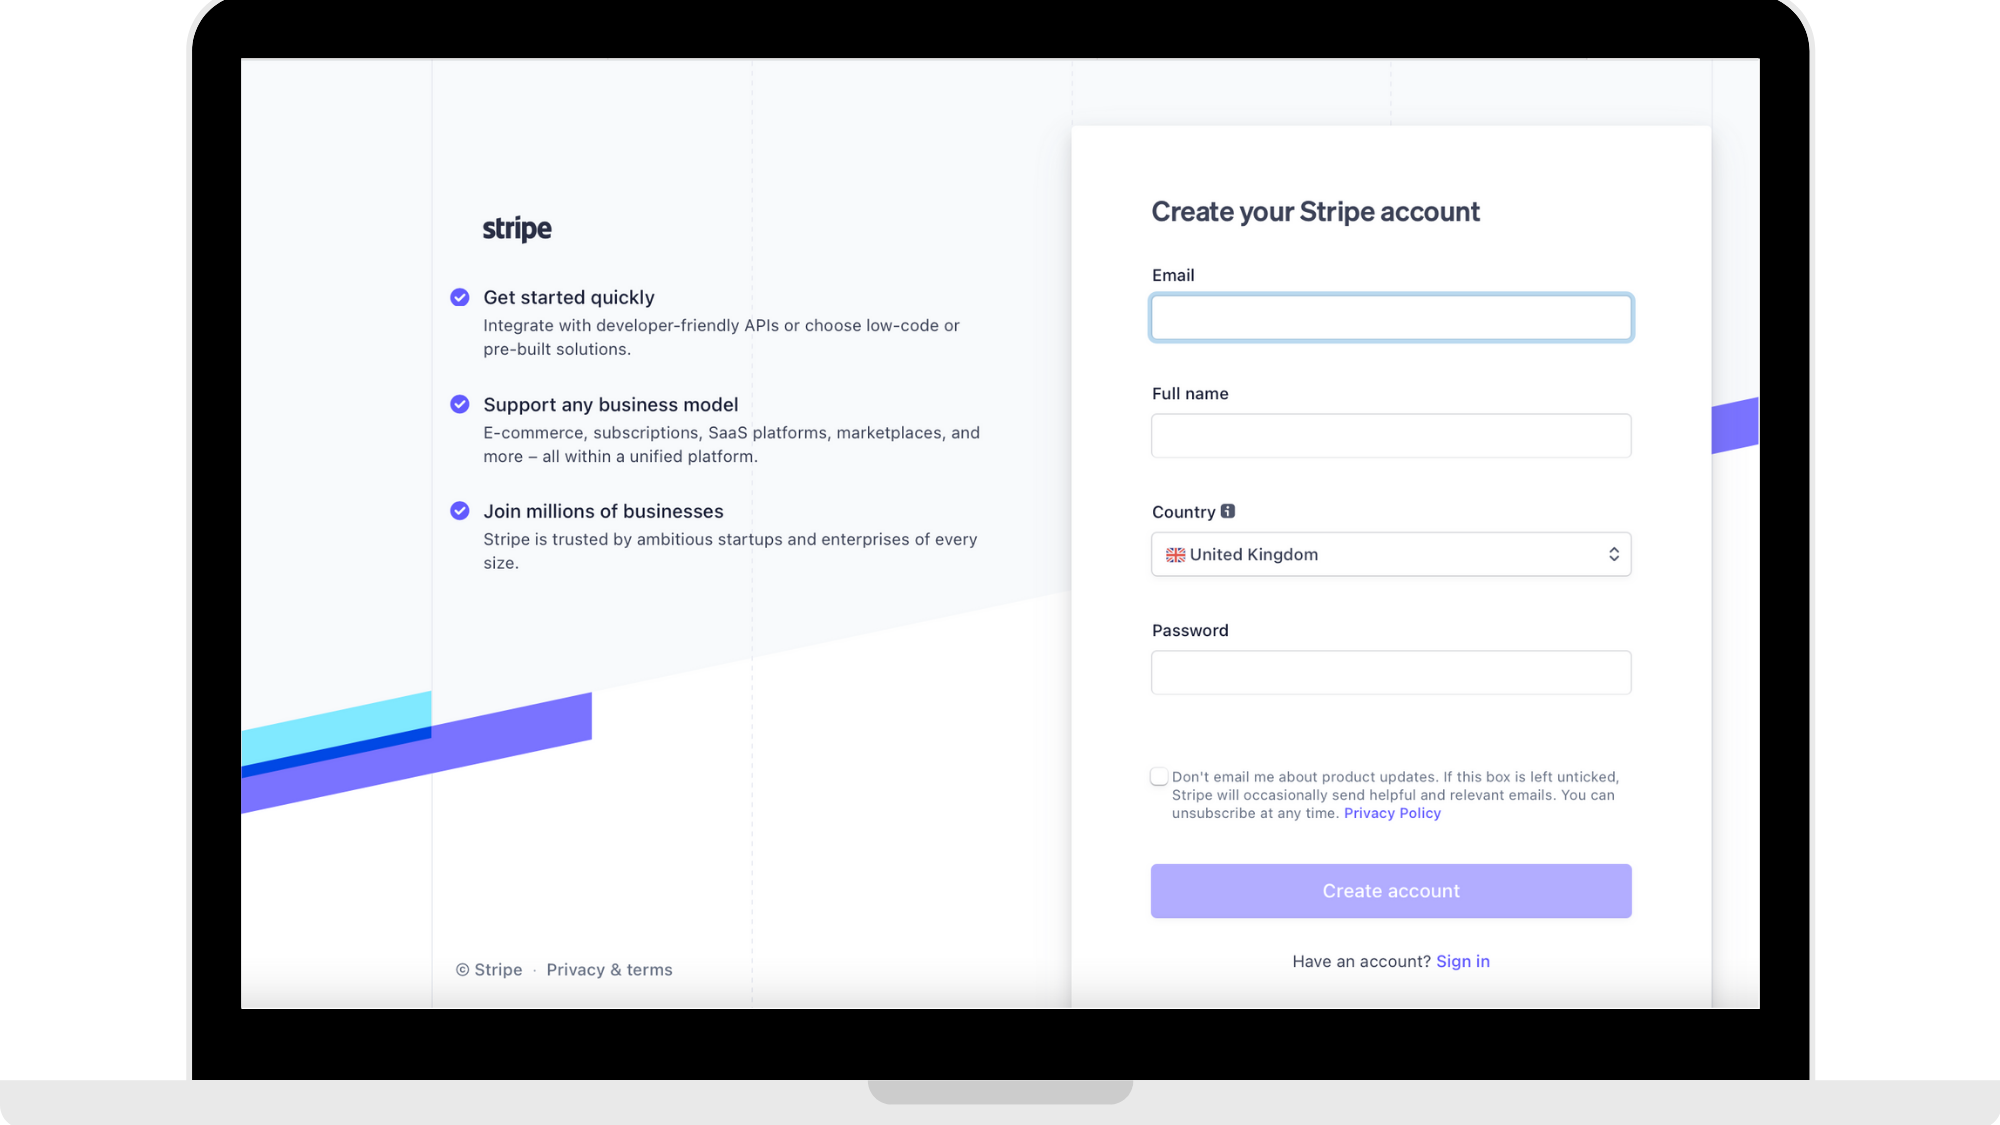
Step 2: Enter details to create an account
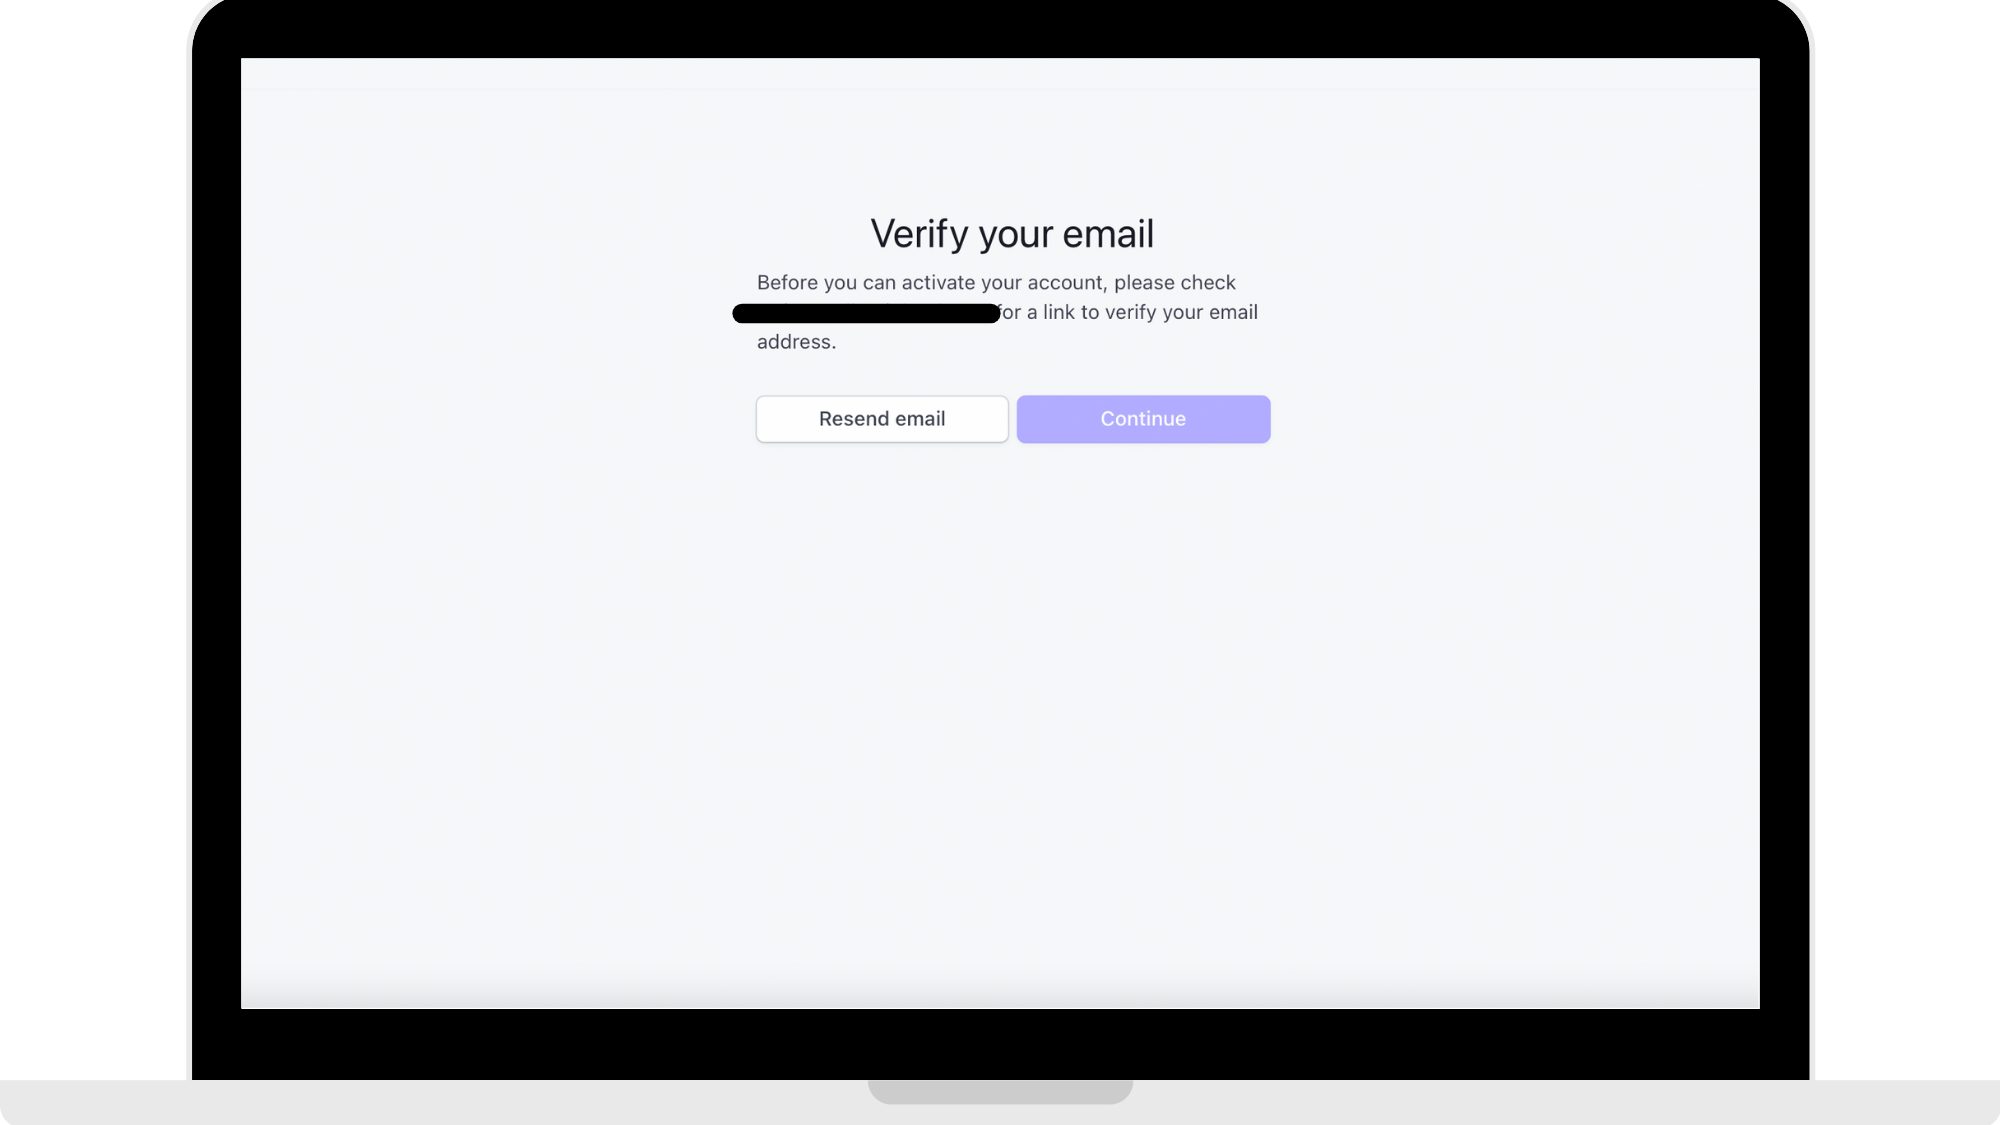
Step 3: Verify your email address
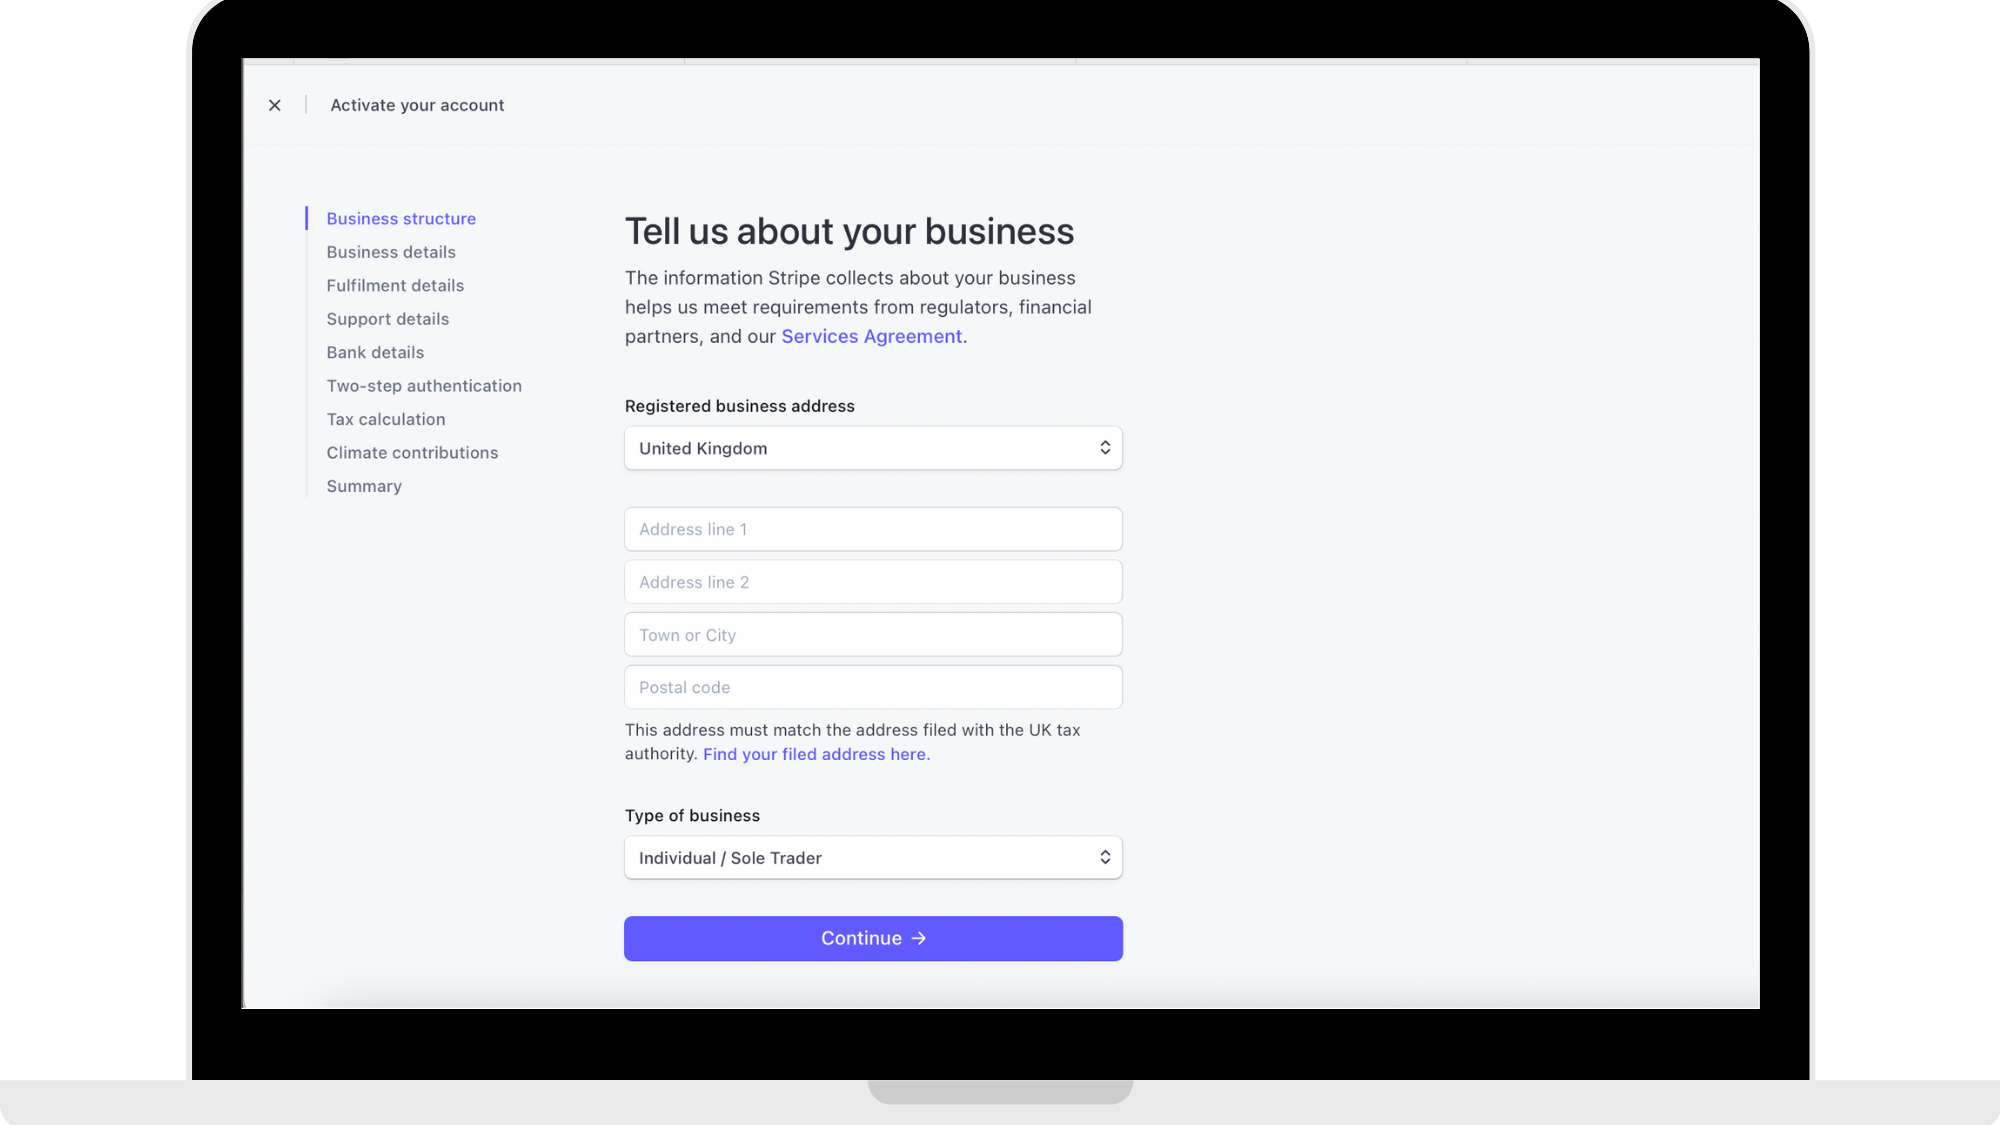
Step 4: Enter business information
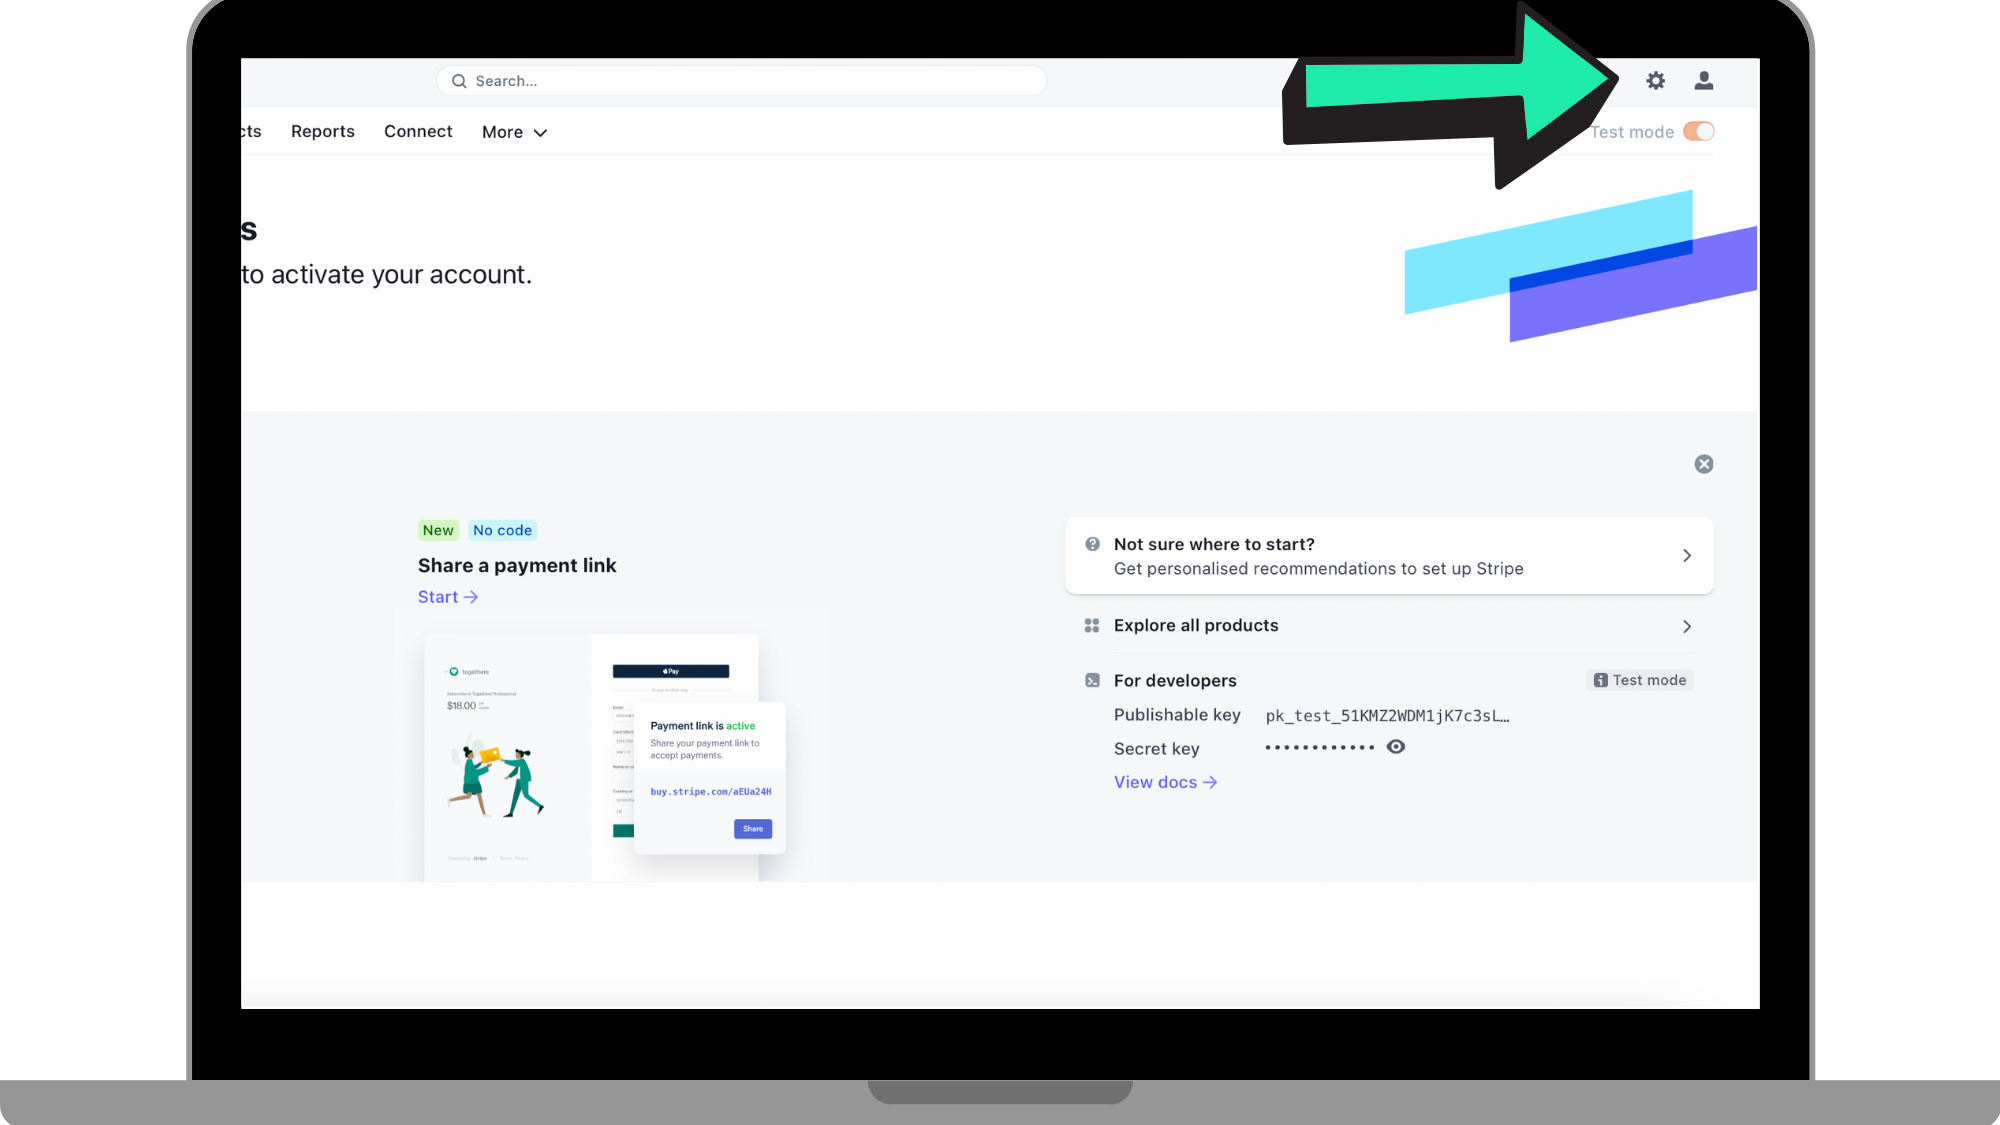
Once you have clicked the link in your email from step 3 to verify your email address, on the home page click on the 'Active Account' button above the panel. This will lead you to a page that should be seen like reference picture below. This is where you enter your information for your business. As you can see in the reference picture below you will be entering information about your business and bank details for when you get paid by people subscribing to your fitness app through web subscriptions.
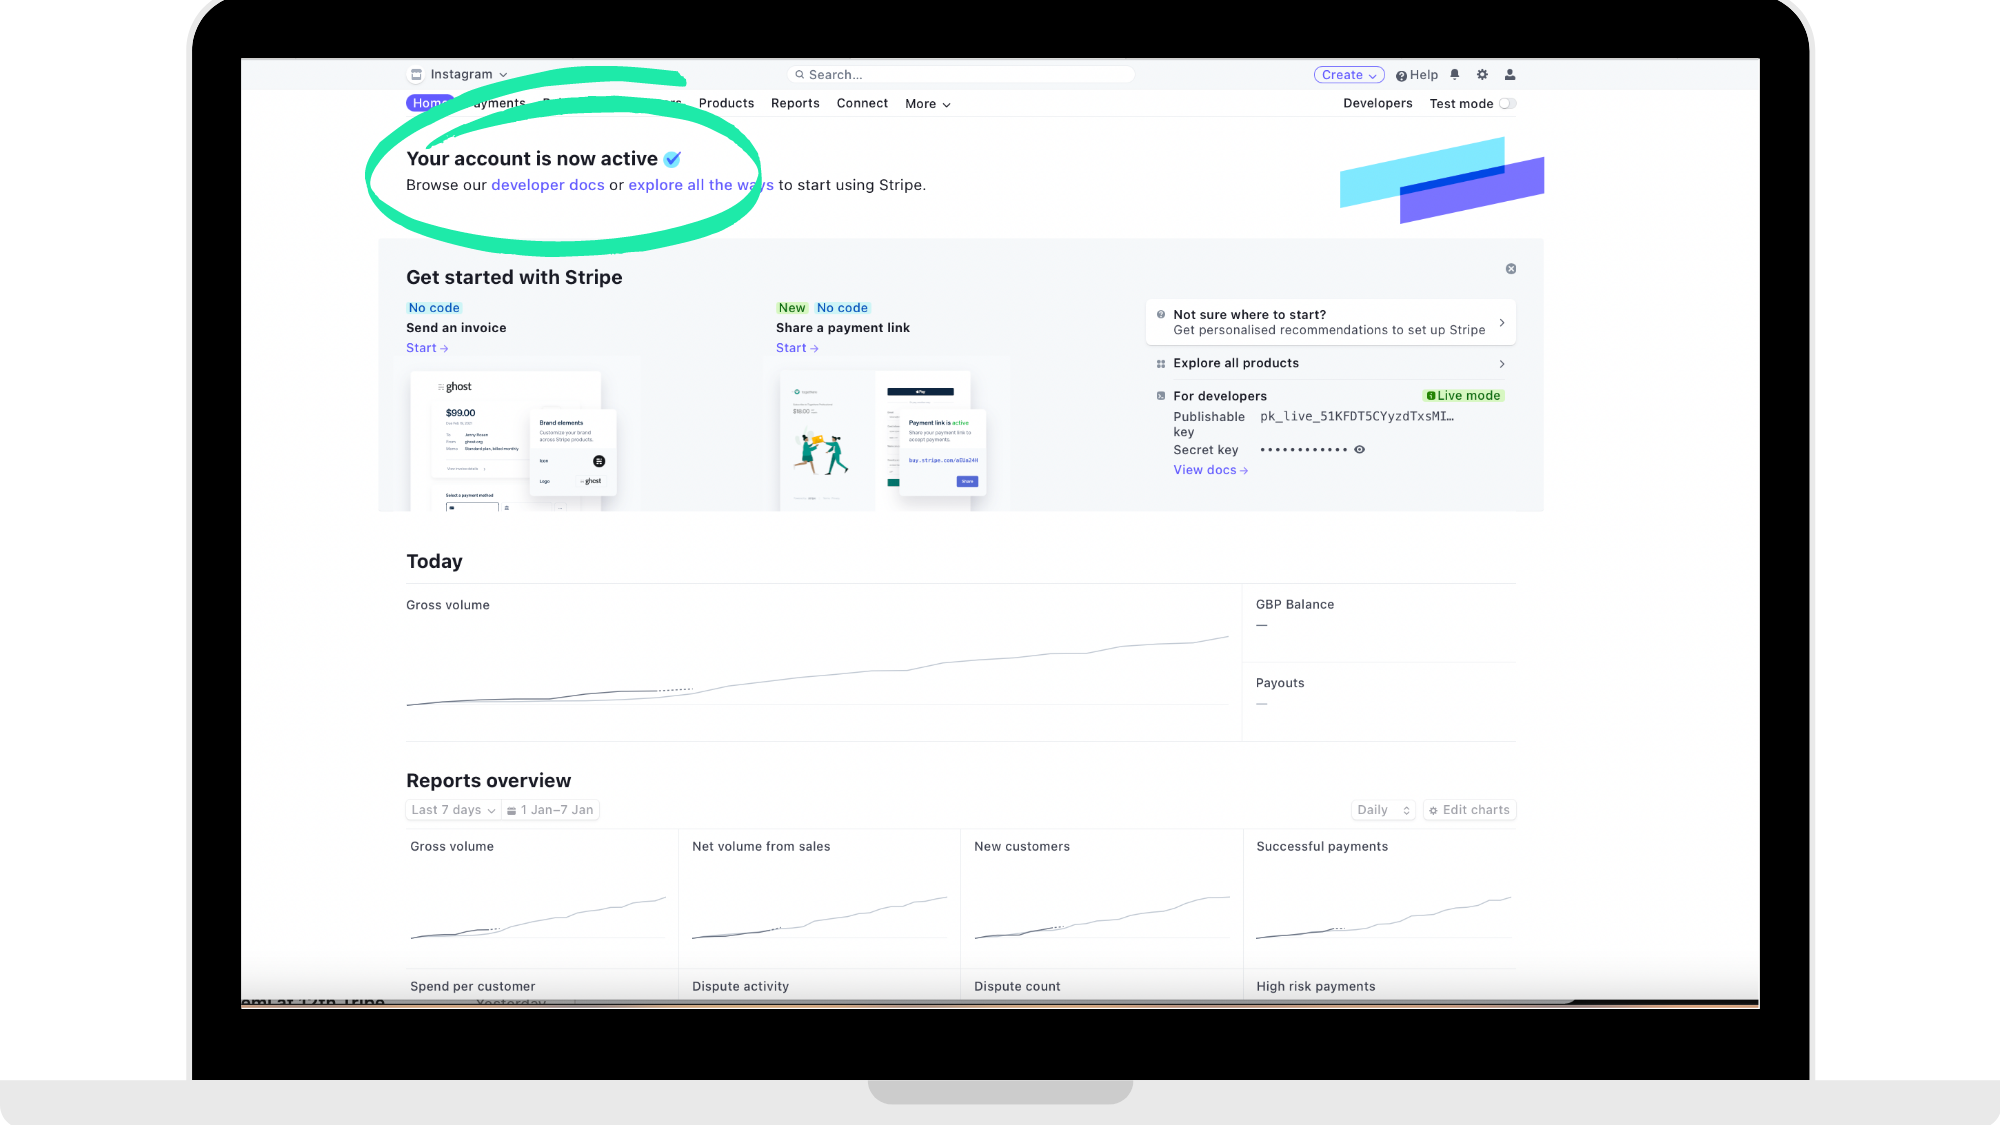
After step 3 and 4, your dashboard should read that "Your account is now active" as seen in the reference picture below.
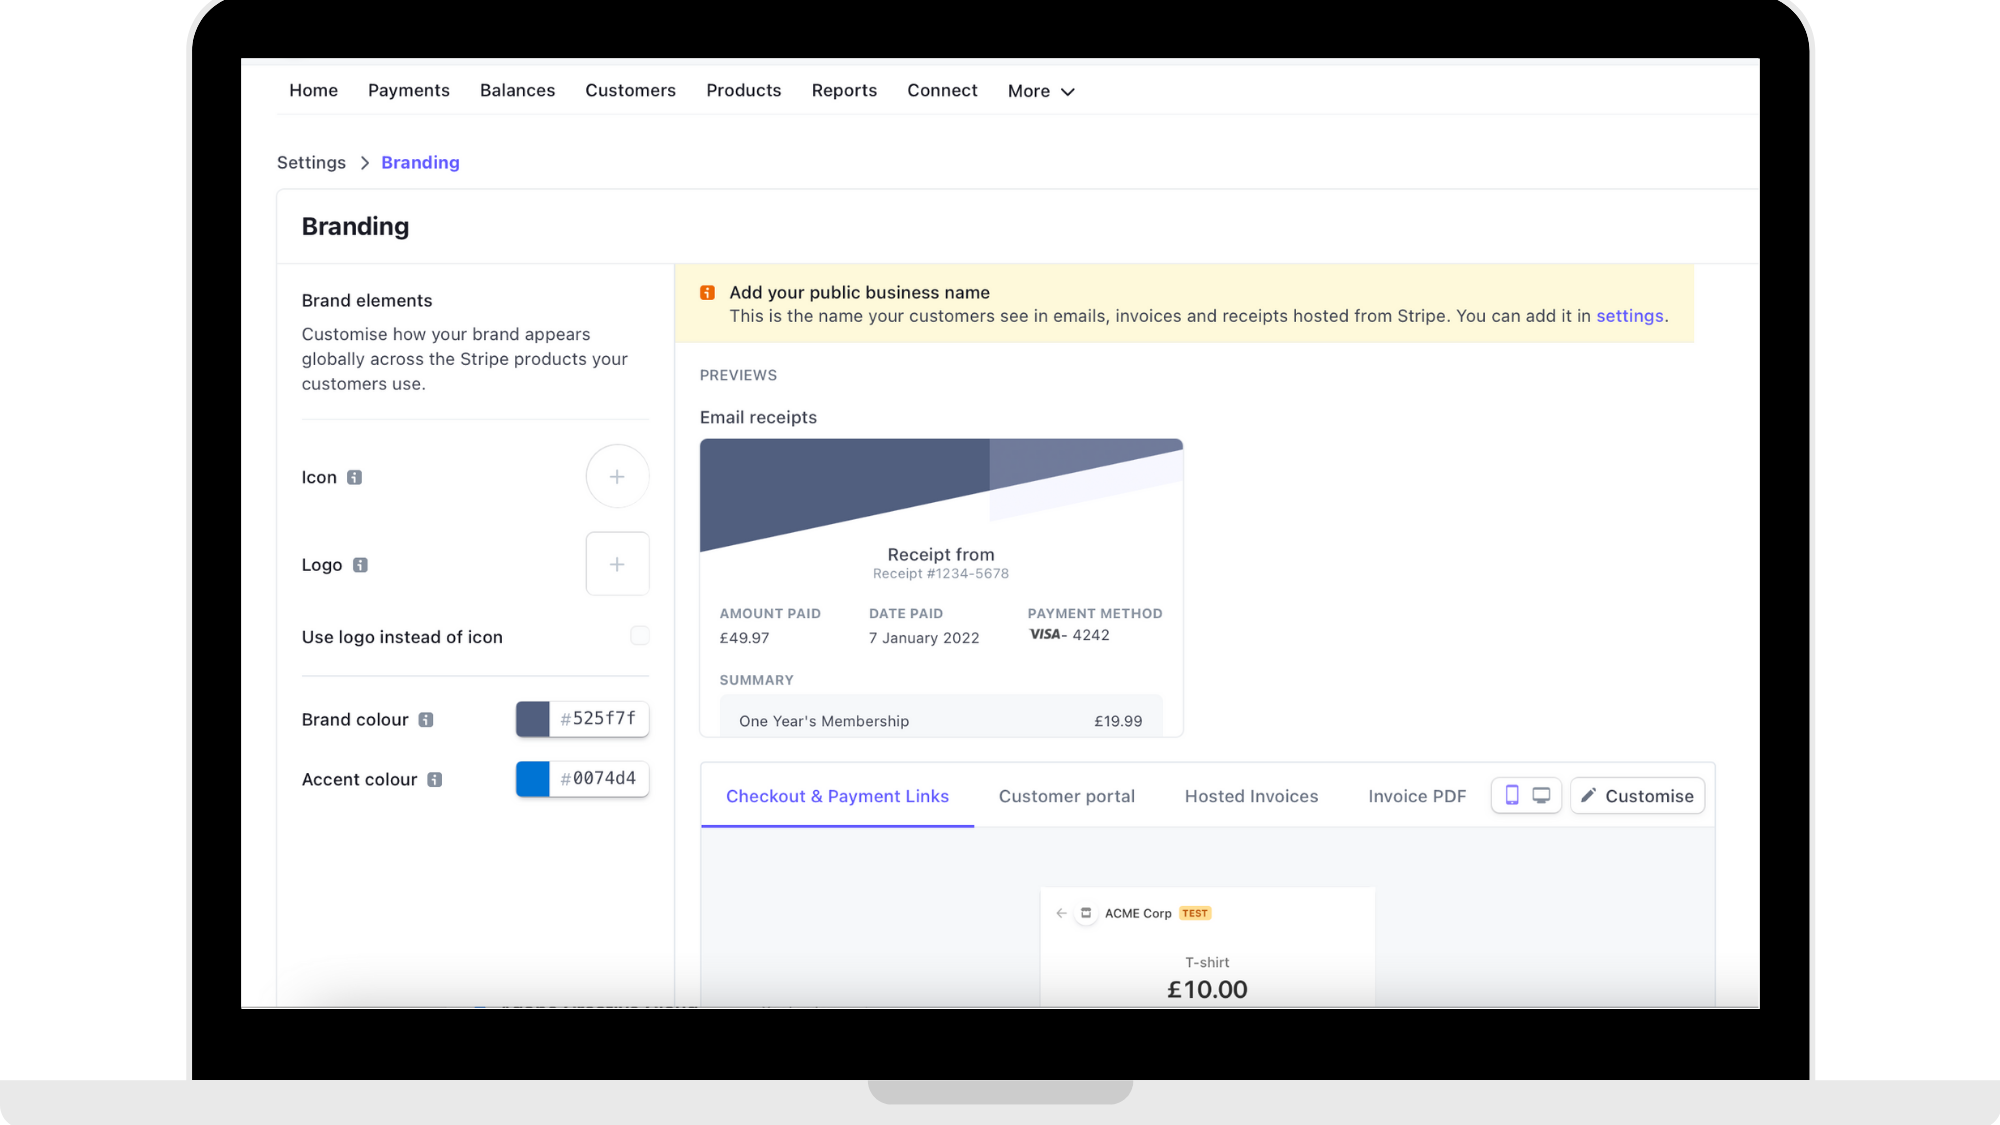
Step 5: Go to branding settings
Click on branding under settings panel and enter in the information to customise your branding for your fitness business brand model.
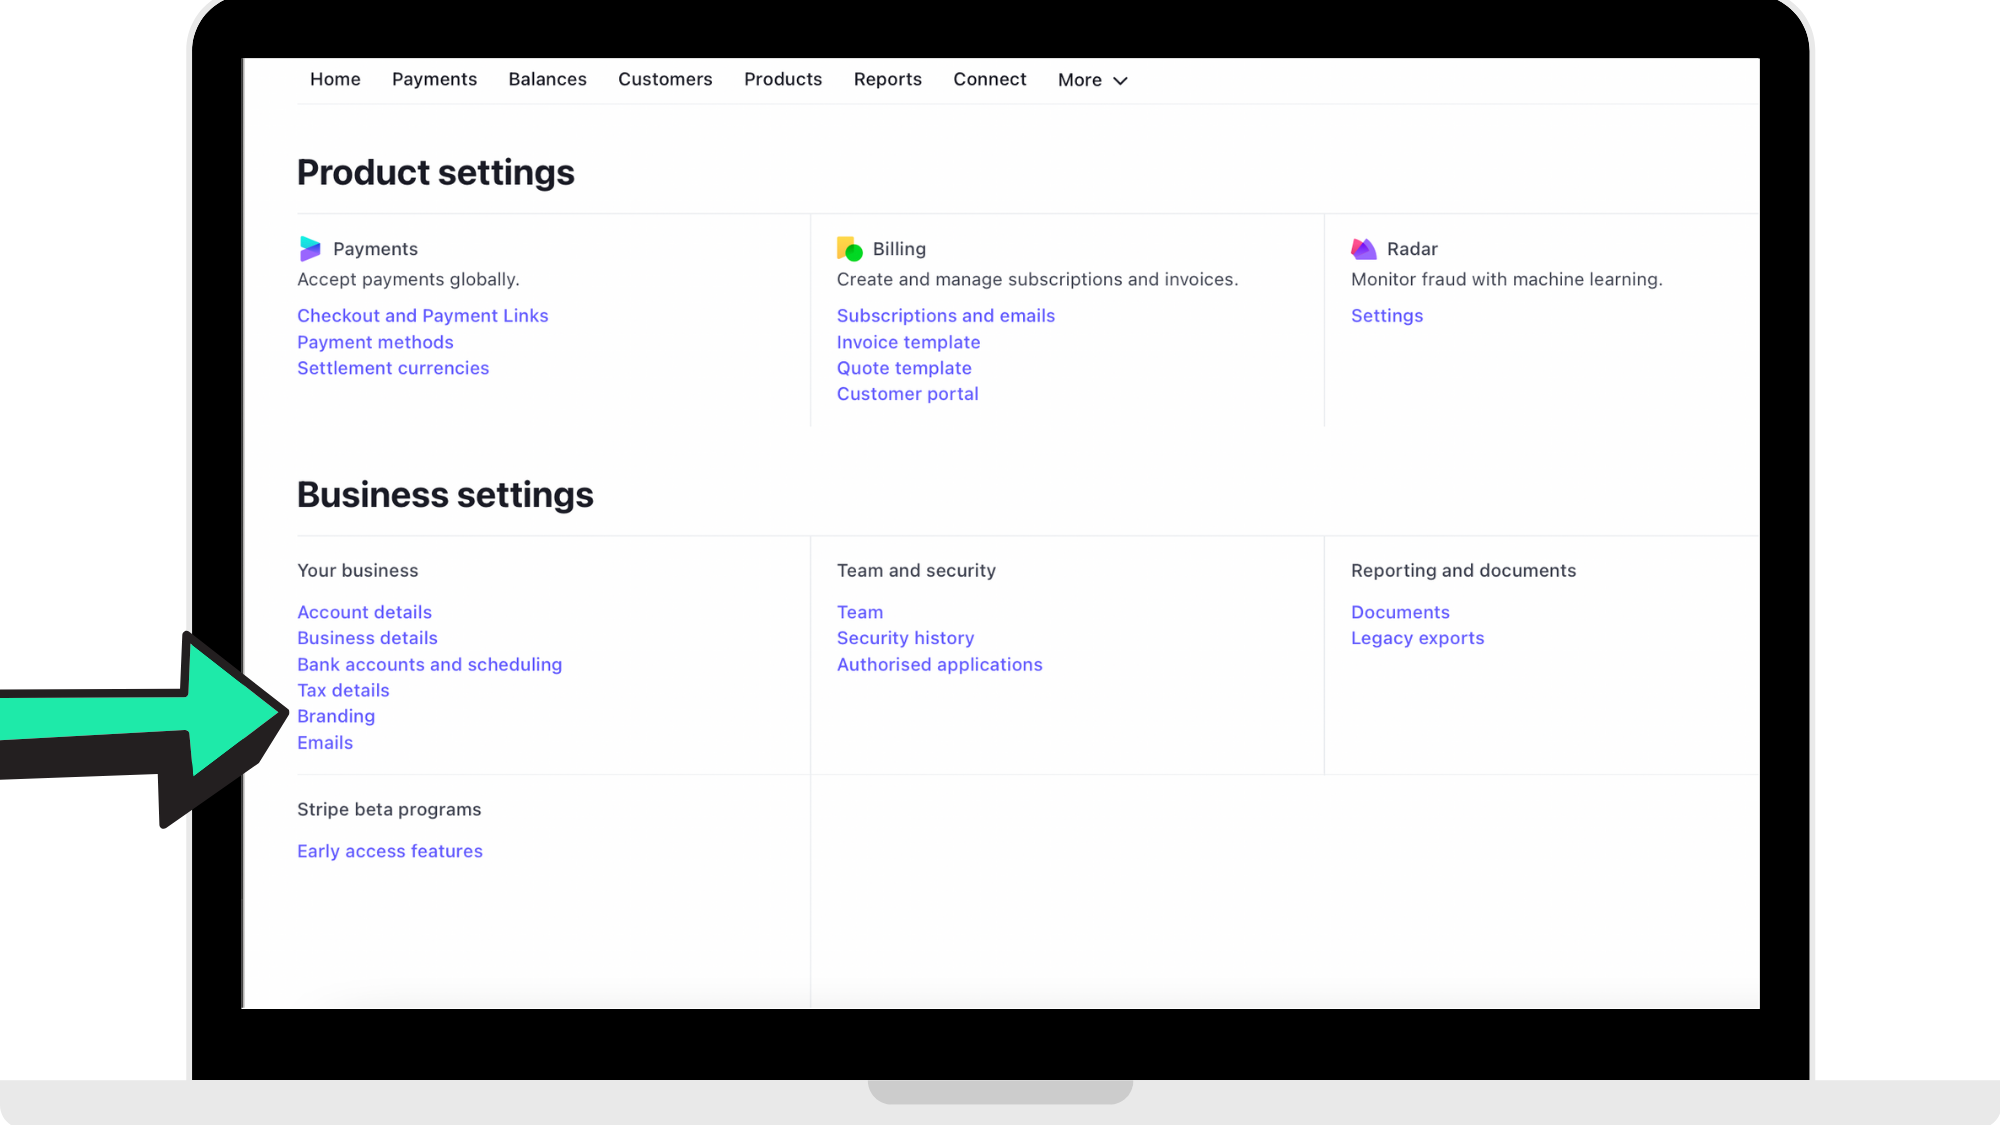
Once that is located and clicked on, enter in your brand information.
Step 6: Click on 'Product' on the panel
In the panel on the home page, you will see 'Product' in the panel on the top. Click on 'Product'.
Step 7: Click 'Add Product'

Step 8: Fill out Monthly Subscription information
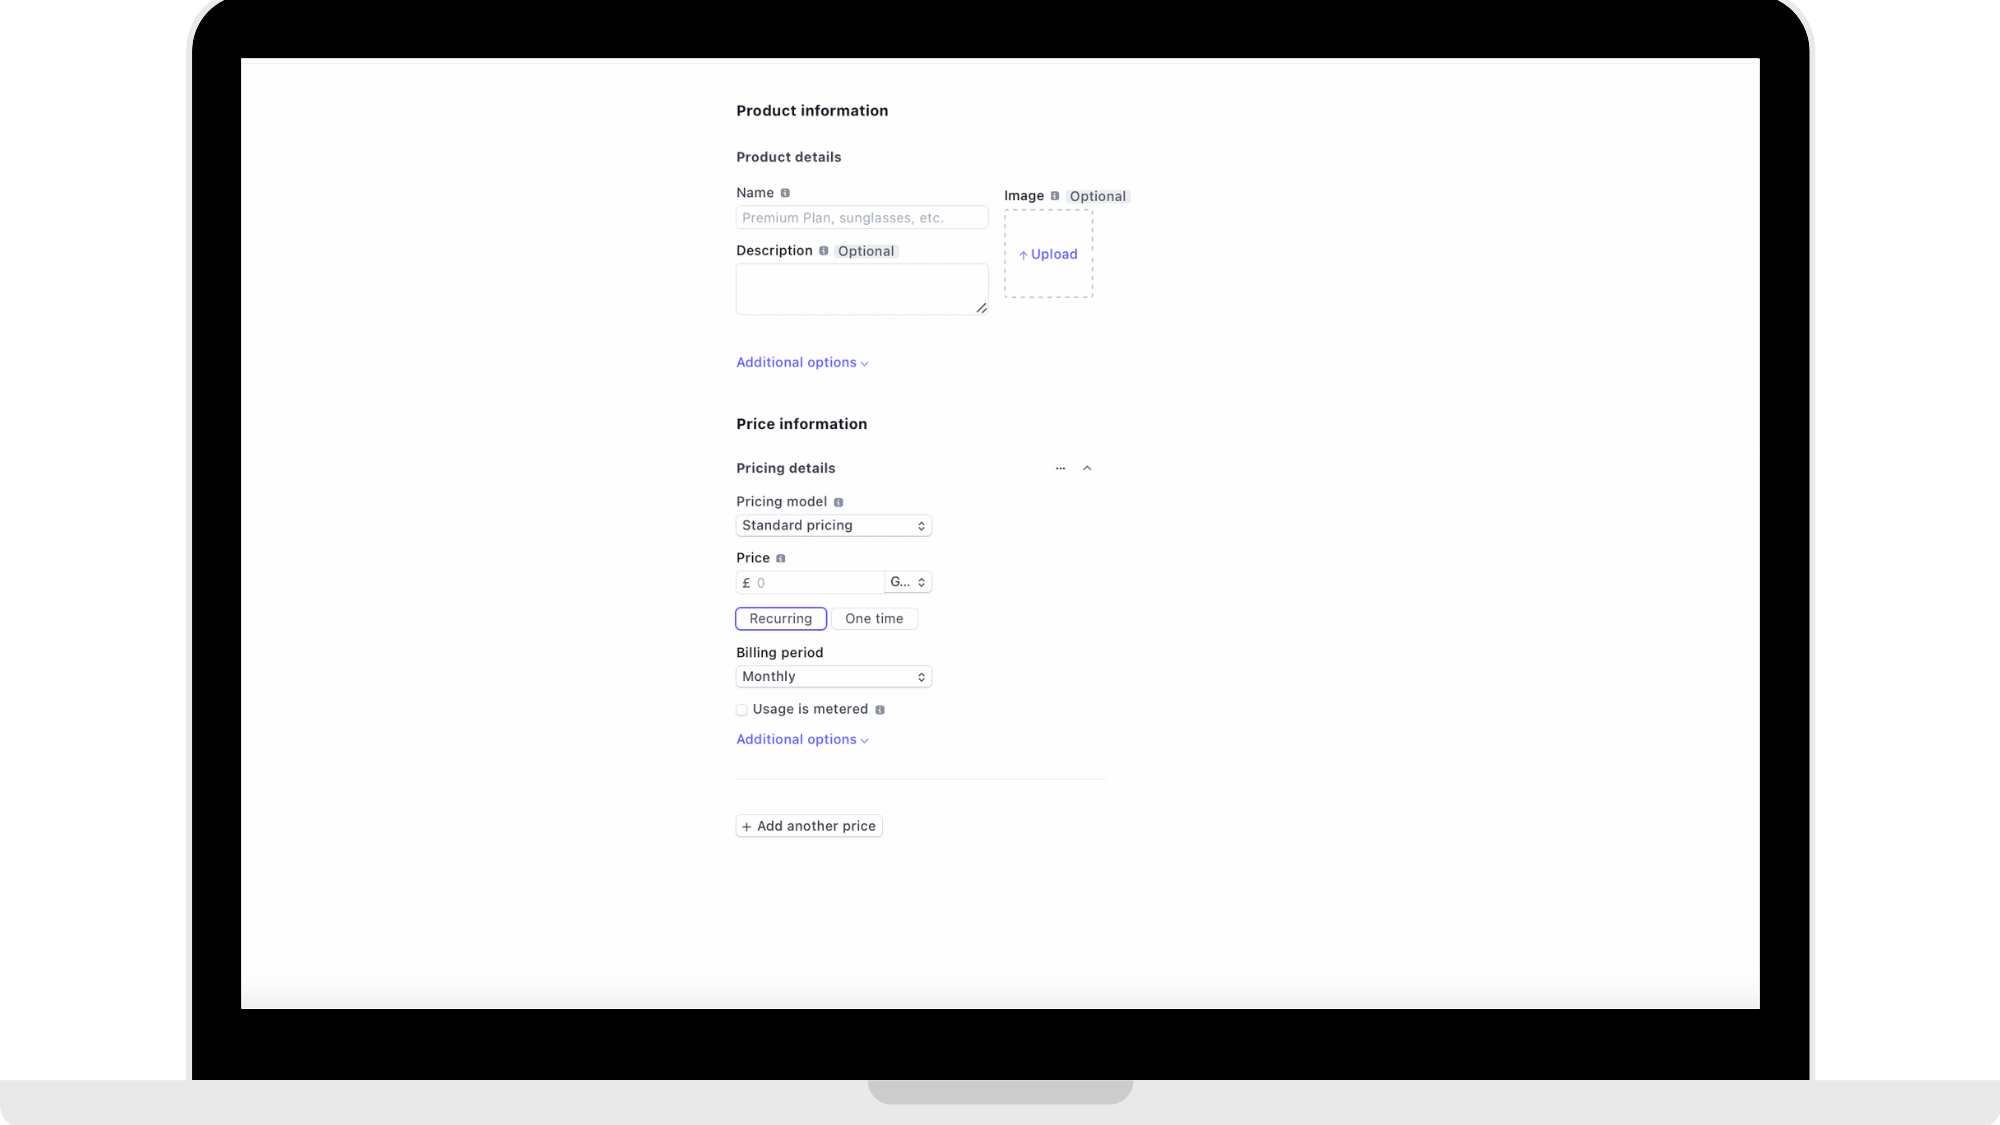
Product Details
Name
Enter the name of the product. Product names are visible to your customers at checkout, in their bank statements, and their customer portal.
For example, if it is a monthly subscription and the name of your app is 'Fitness'... the name you would enter here is: Fitness Monthly.
Description
This step is optional but if you wish to describe the monthly subscription to help the customer, you can enter that here. Product descriptions appear to your users when they checkout.
Tax Code
What you will find in the drop down menu is a list of options to choose from. These options are used for calculating automatic tax. Since you are providing an electronically provided service being a fitness app, the option you will choose is 'General - Electronically Supplied Service'.
Image
This is an optional step but the image you would upload here would be your logo.
Pricing Details
Pricing Model
For the pricing model you have the option between 4 options: standard pricing, package pricing, graduated pricing, and volume pricing.
The pricing model you are choosing is the standard pricing model. You will choose this option for both monthly and yearly subscription products.
Price
Enter the amount that you wish to charge for monthly subscriptions here. In the reference picture below you can see that it is in GBP but you have the option to change the currency if it suits your fitness business model.
Billing Period
For the monthly subscription, you will be choosing the option 'Monthly' for the billing period. This means that the user will be charged automatically every 4 weeks after they sign up to the monthly subscription.
Step 9: Repeat for Yearly Subscription information
Repeat Step 8 for yearly subscription information:
Product Details
Name
Enter the name of the product. Product names are visible to your customers at checkout, in their bank statements, and their customer portal.
For example, if it is a yearly subscription and the name of your app is 'Fitness'... the name you would enter here is: Fitness Yearly.
Description
This step is optional but if you wish to describe the yearly subscription to help the customer, you can enter that here. Product descriptions appear to your users when they checkout.
Tax Code
What you will find in the drop down menu is a list of options to choose from. These options are used for calculating automatic tax. Since you are providing an electronically provided service being a fitness app, the option you will choose is 'General - Electronically Supplied Service'.
Image
This is an optional step but the image you would upload here would be your logo.
Pricing Details
Pricing Model
For the pricing model you have the option between 4 options: standard pricing, package pricing, graduated pricing, and volume pricing.
The pricing model you are choosing is the standard pricing model. You will choose this option for both monthly and yearly subscription products.
Price
Enter the amount that you wish to charge for monthly subscriptions here. In the reference picture below you can see that it is in GBP but you have the option to change the currency if it suits your fitness business model.
Billing Period
For the yearly subscription, you will be choosing the option 'Yearly' for the billing period. This means that the user will be charged automatically every 12 months after they sign up to the yearly subscription.
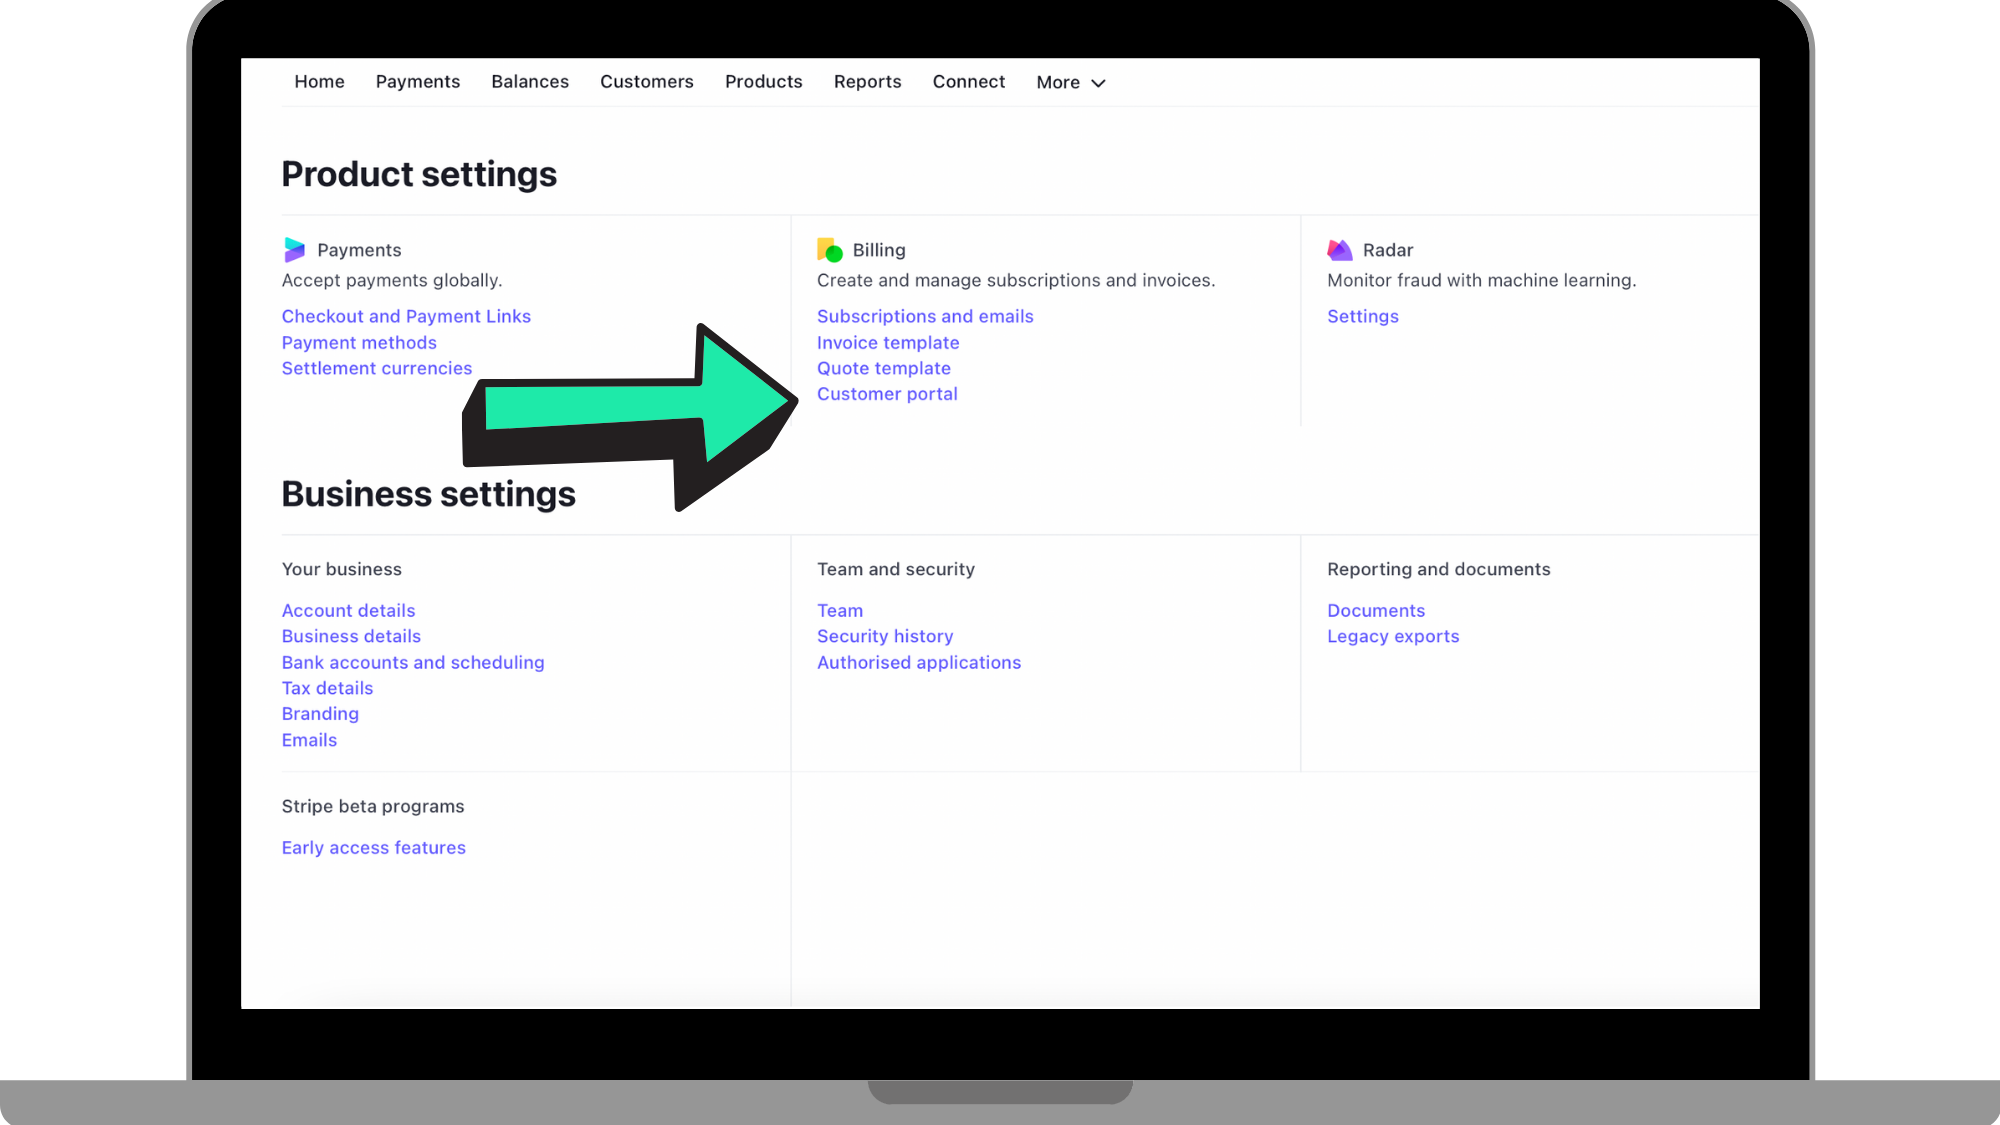
Step 10: Go to 'Settings'
Go back to your Dashboard and click the 'Settings' icon in the top right hand corner next to your profile.
Step 11: Go to 'Customer Portal'
Under 'Billing', click on 'Customer Portal'.
Step 12: Tick 'Payment Methods'
Click the button by 'Payment Methods' to turn it on. This will allow the customer to update their payment method.
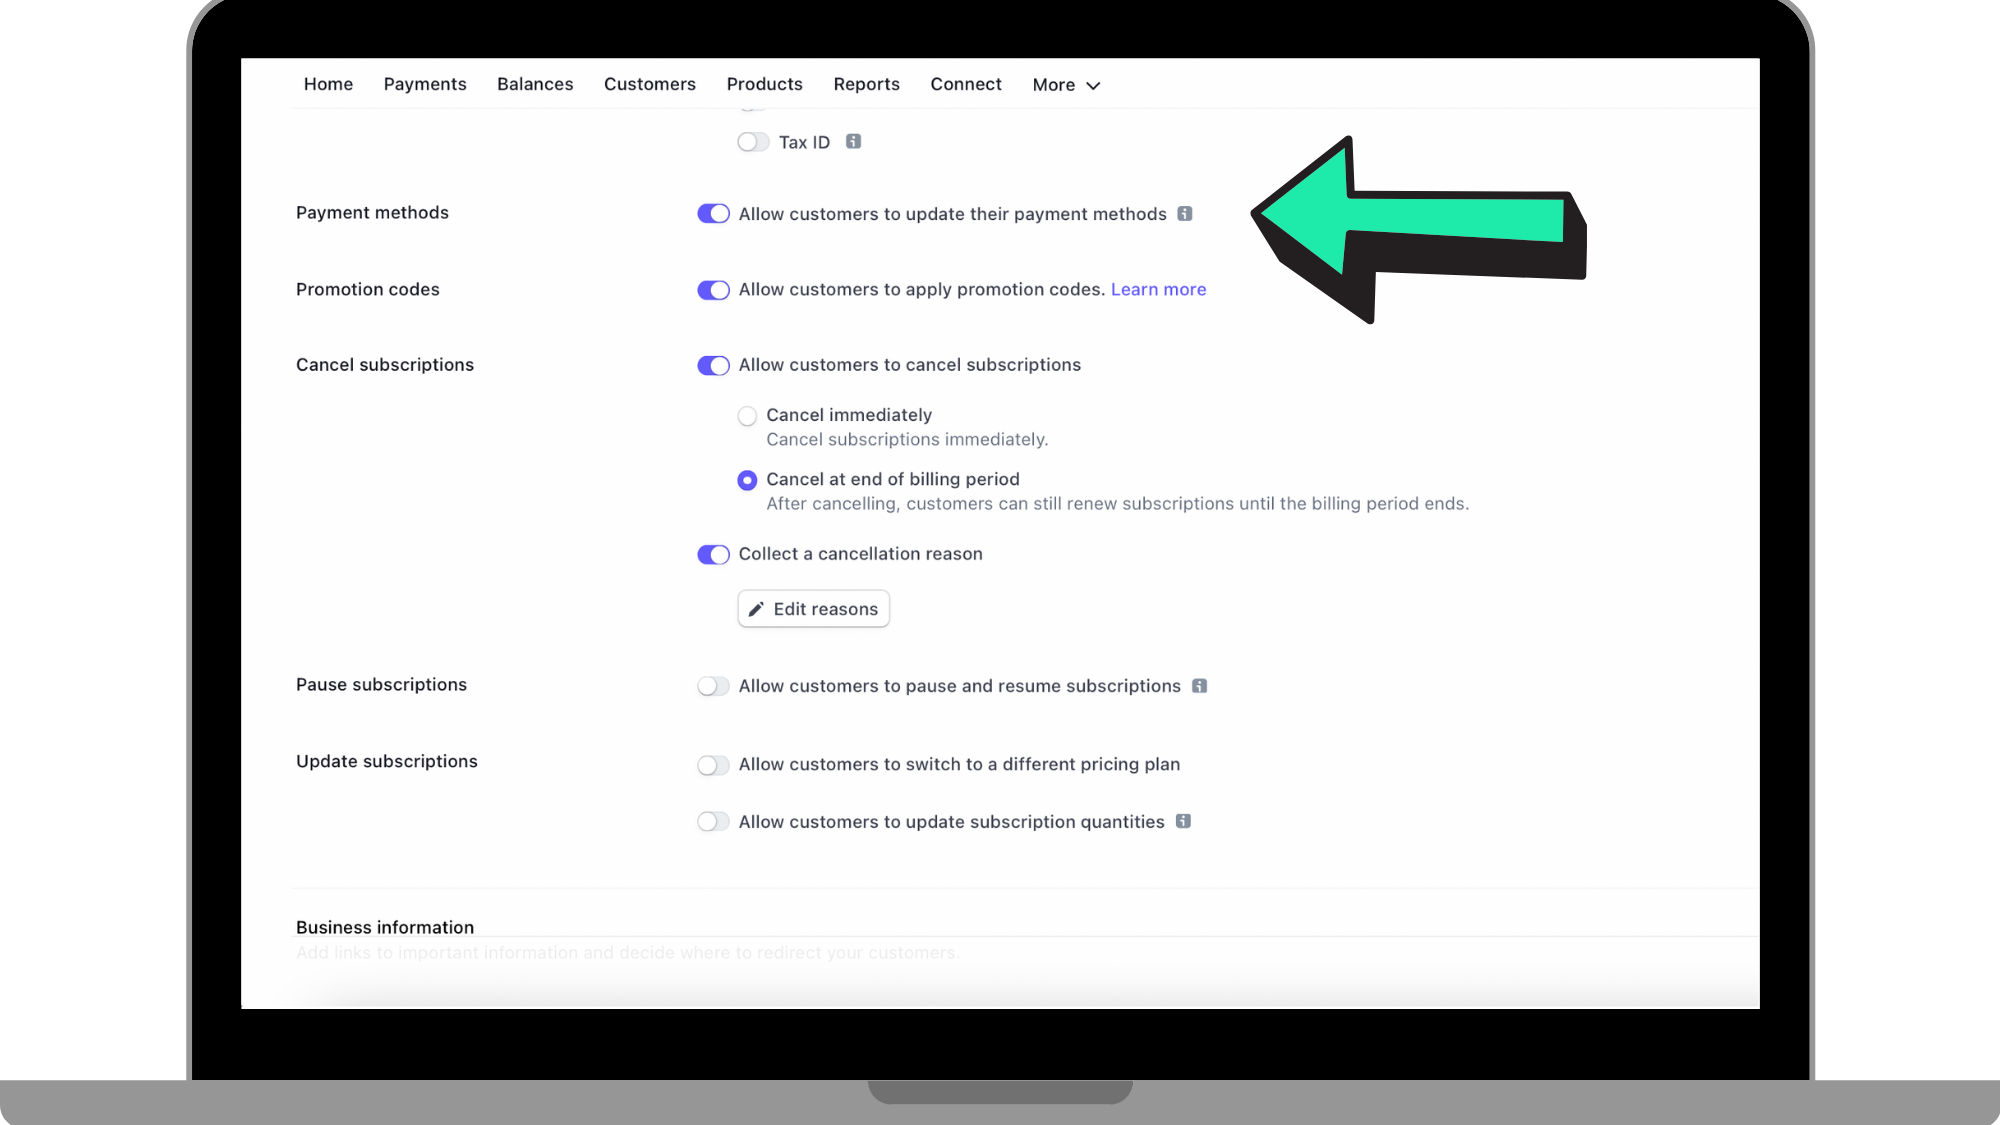
Step 13: Tick 'Promotion Codes'
Next to 'Promotion Codes' click the button to turn it on. This will allow a customer to apply a promotion code when signing up through your web subscription page.
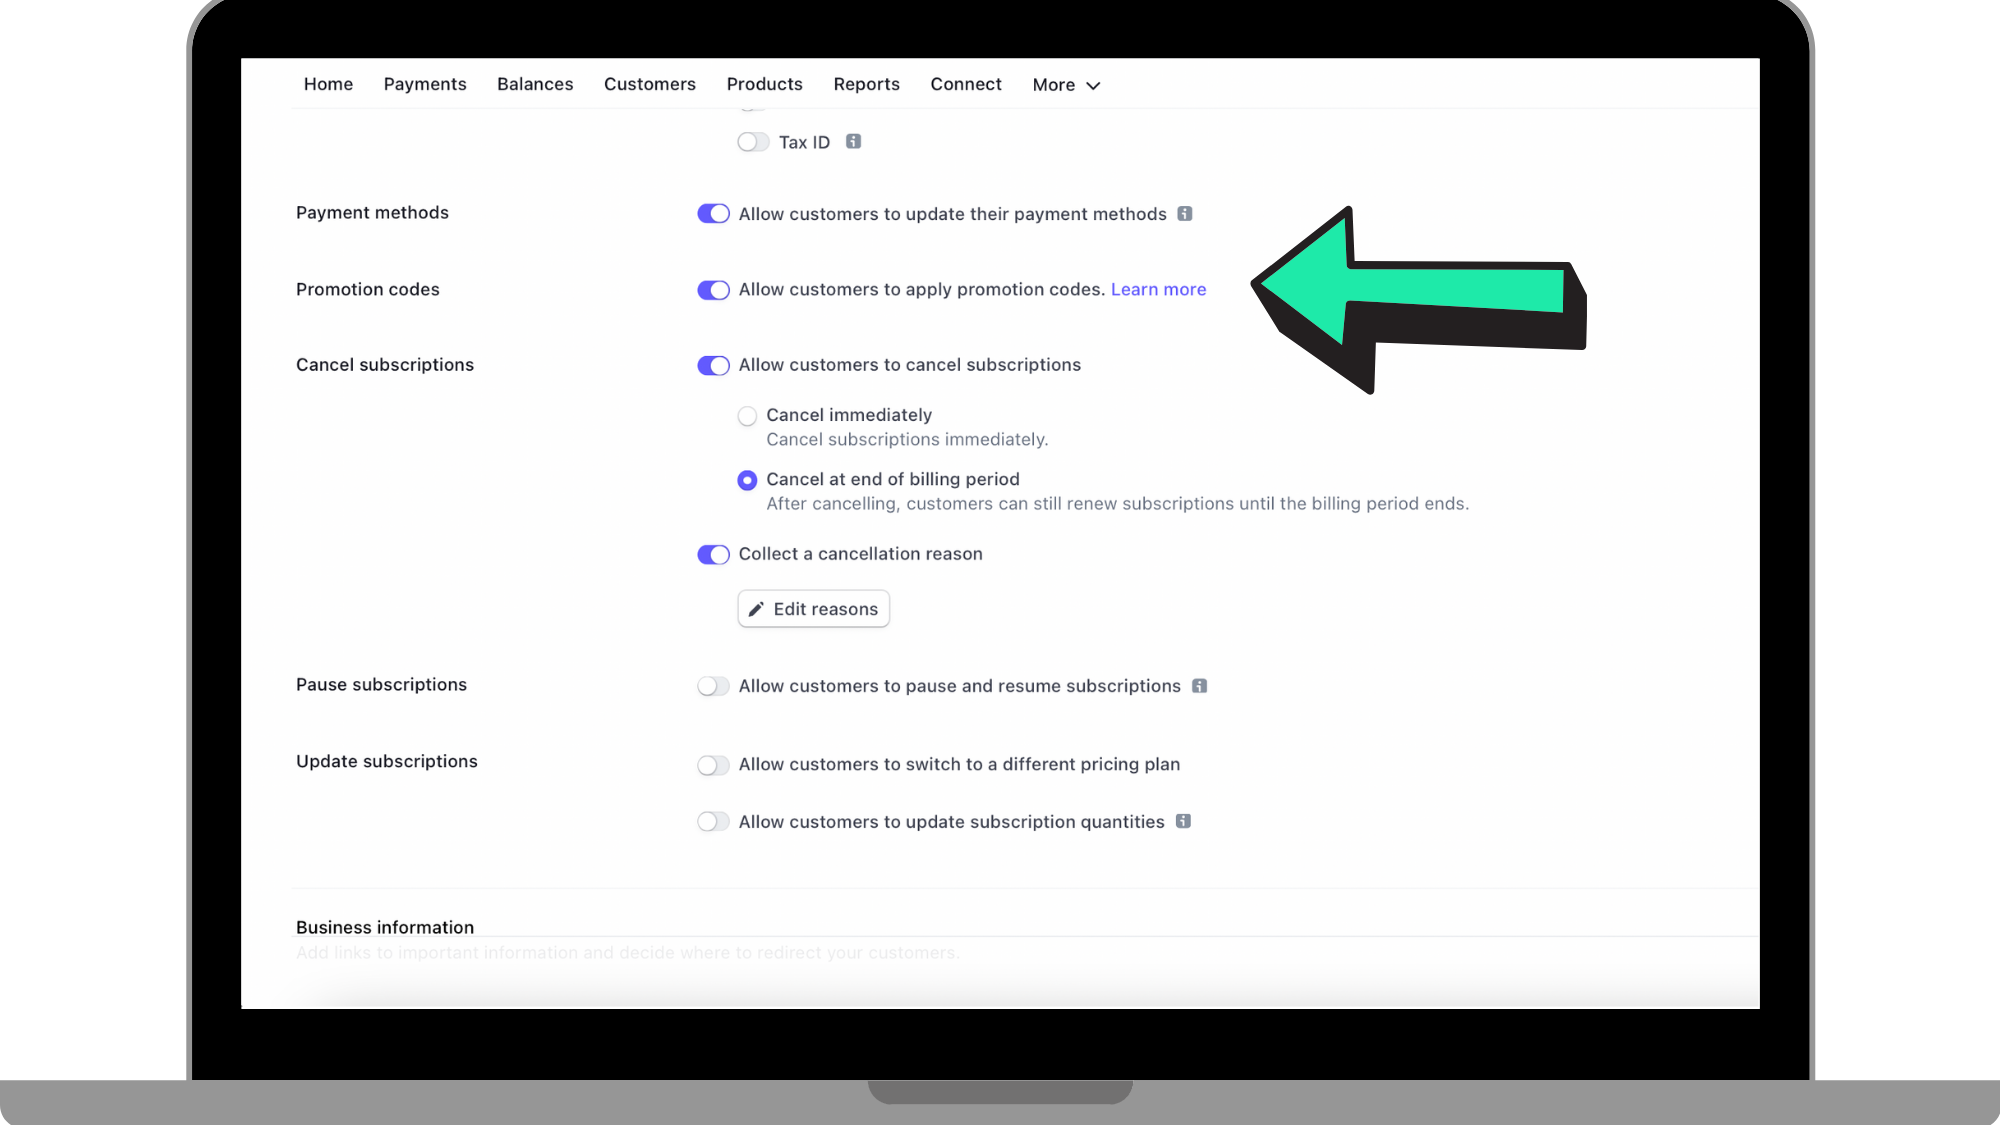
Step 14: Tick 'Cancel Subscription'
Next to 'Cancel Subscriptions', click the button to allow the customer to cancel their subscriptions. Click the option that their subscription will be cancelled at the end of the billing period.
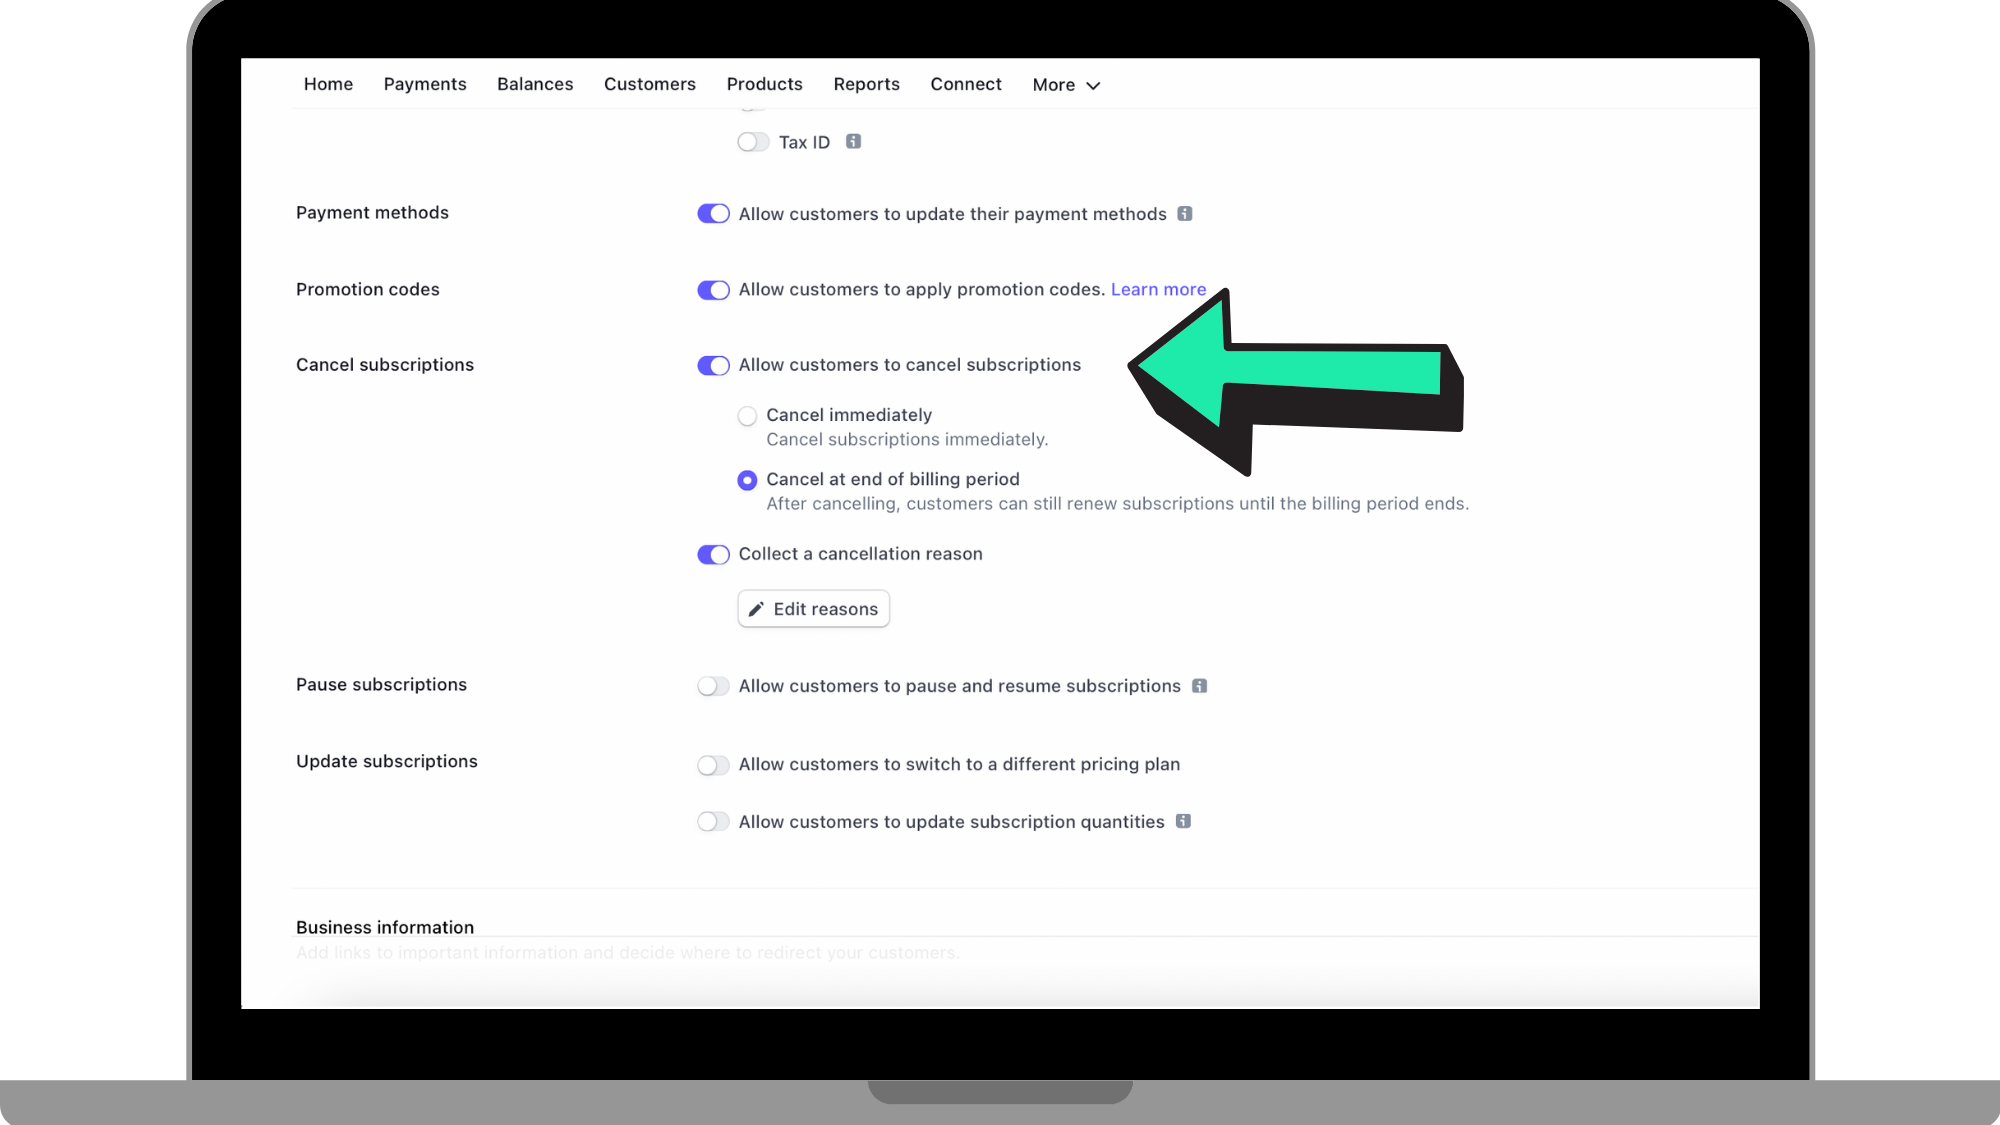
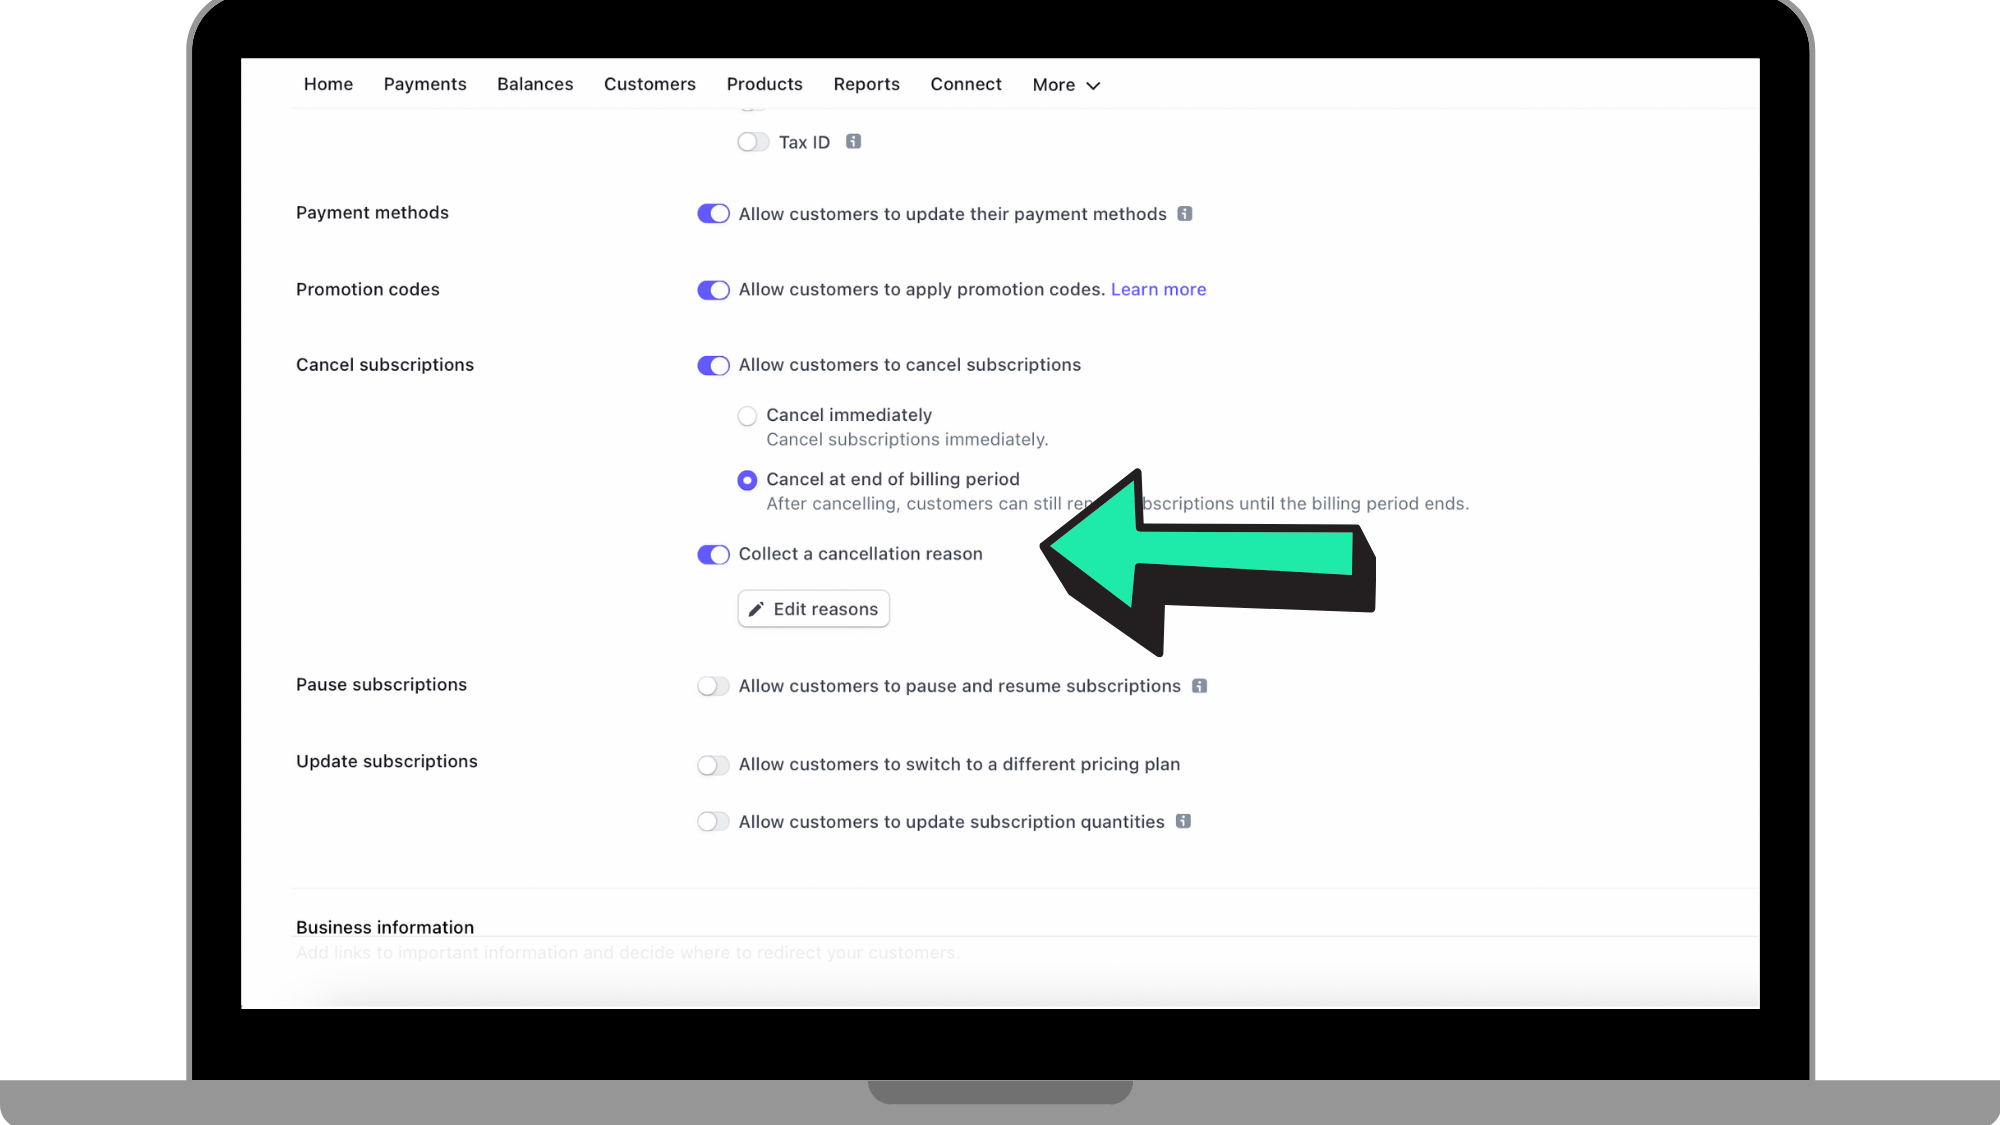
Step 15: Tick 'Collect A Cancellation Reason'
Turning this on will make it so that if a customer is to cancel their subscription, they will be asked to provide a reason why they are cancelling. When turning this on, Stripe will give you reasons that you can choose to show up for the customer.
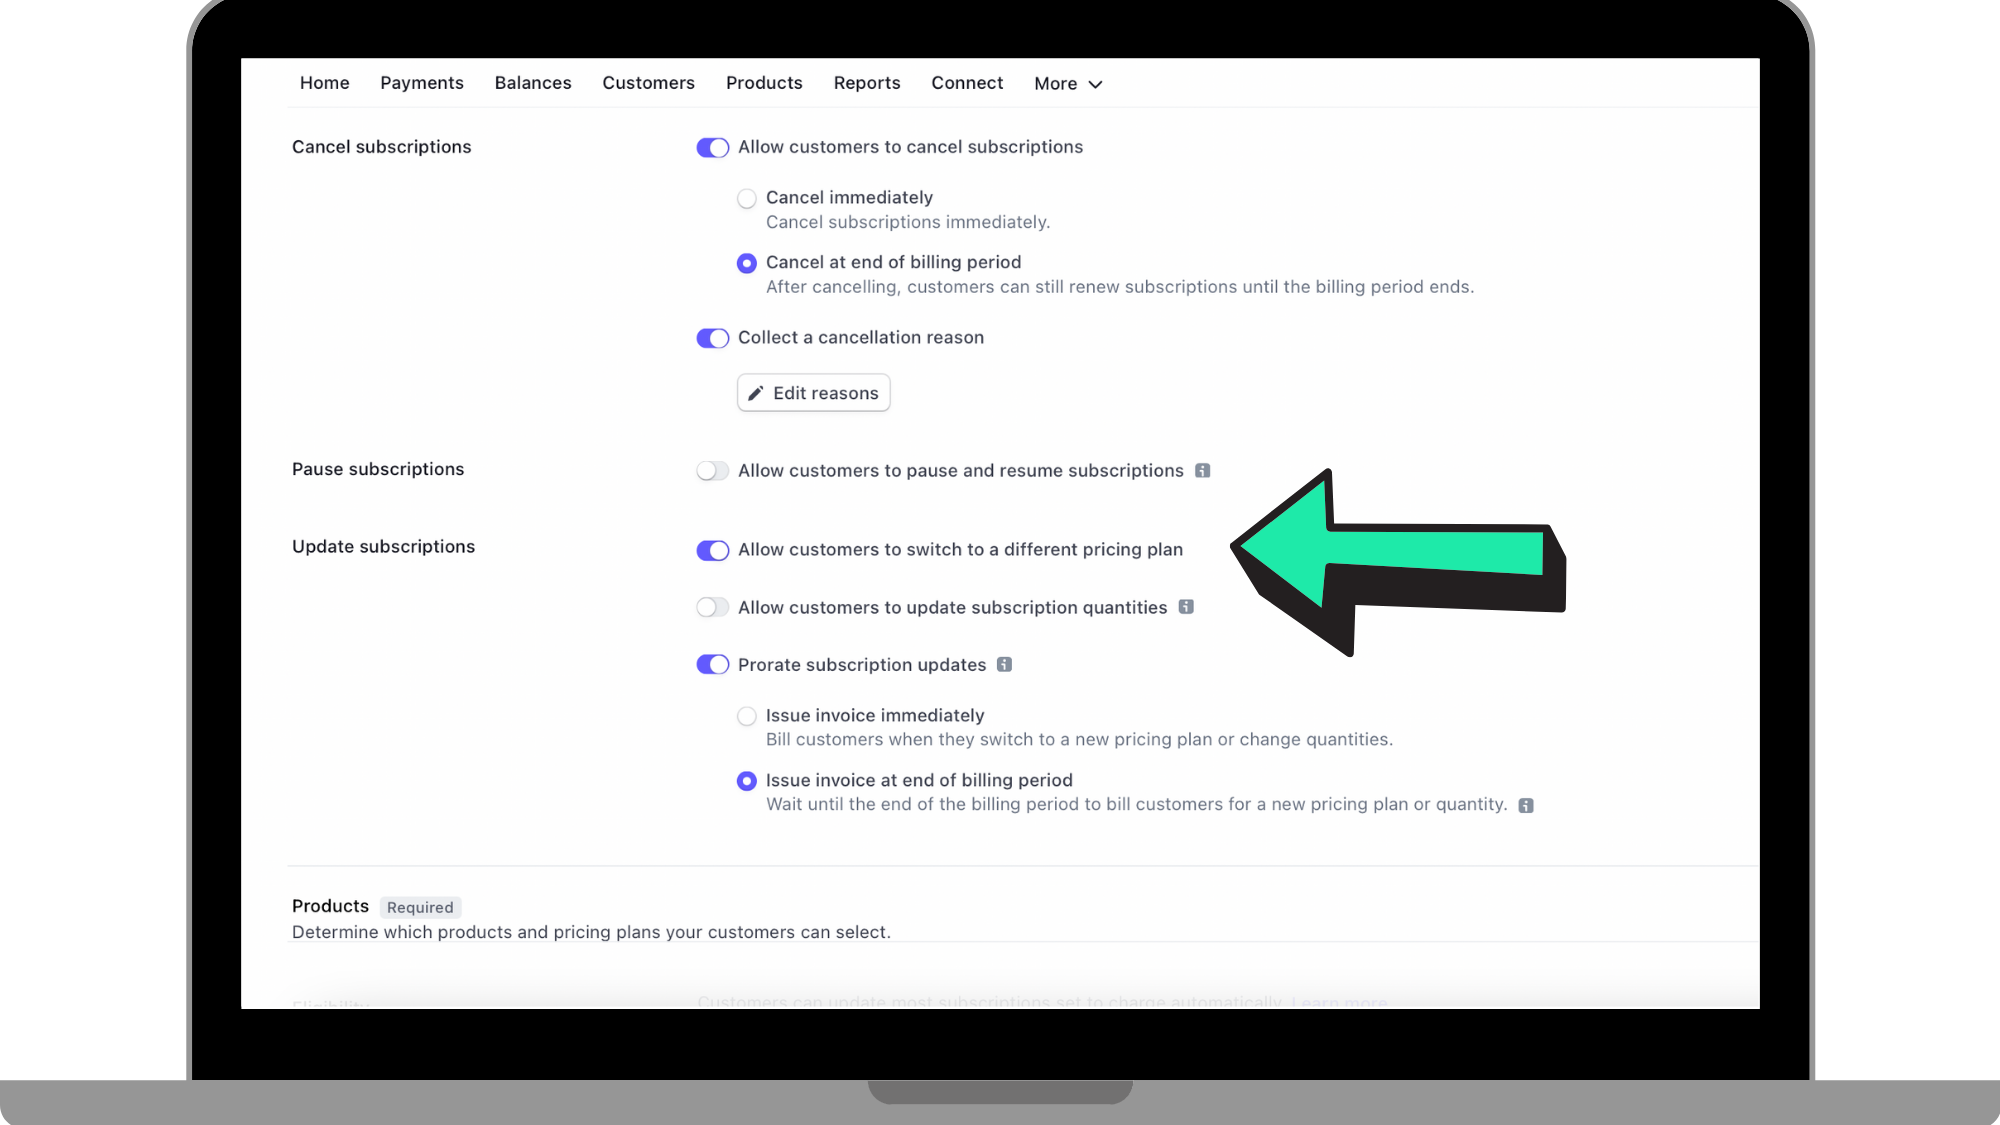
Step 16: Tick 'Update Subscriptions'
Next to 'Update Subscriptions', click to turn on the option that a customer can switch to a different pricing plan. This is seen where the arrow is pointing in the reference picture below. This will allow a customer to upgrade or downgrade their subscription plan. Make it so the invoice is issued at the end of the billing period.
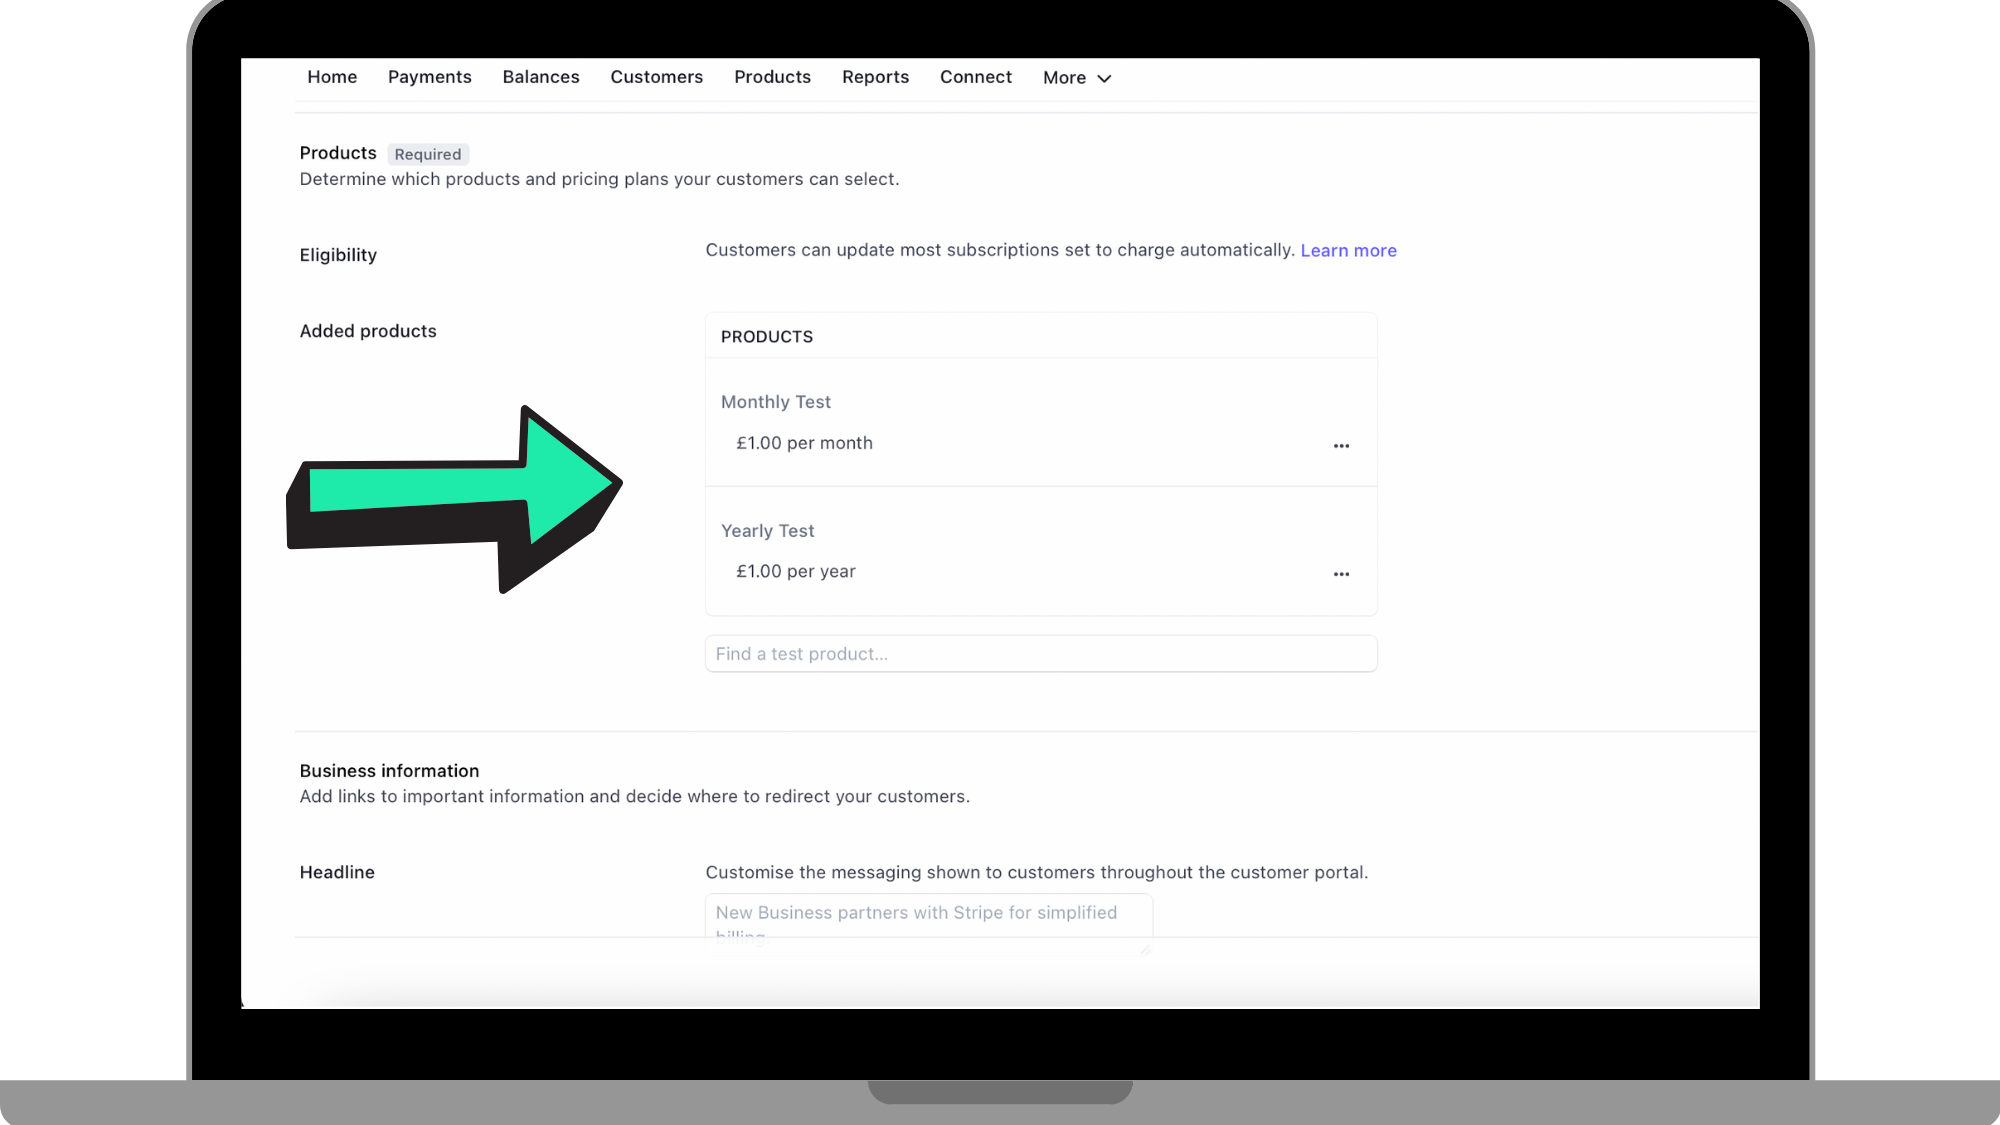
Step 17: Add Products
As seen in the reference picture below, add the 'Monthly' and 'Yearly' products you created earlier on. This is necessary in your web subscriptions as products added here are ones that the customer is able to select from.
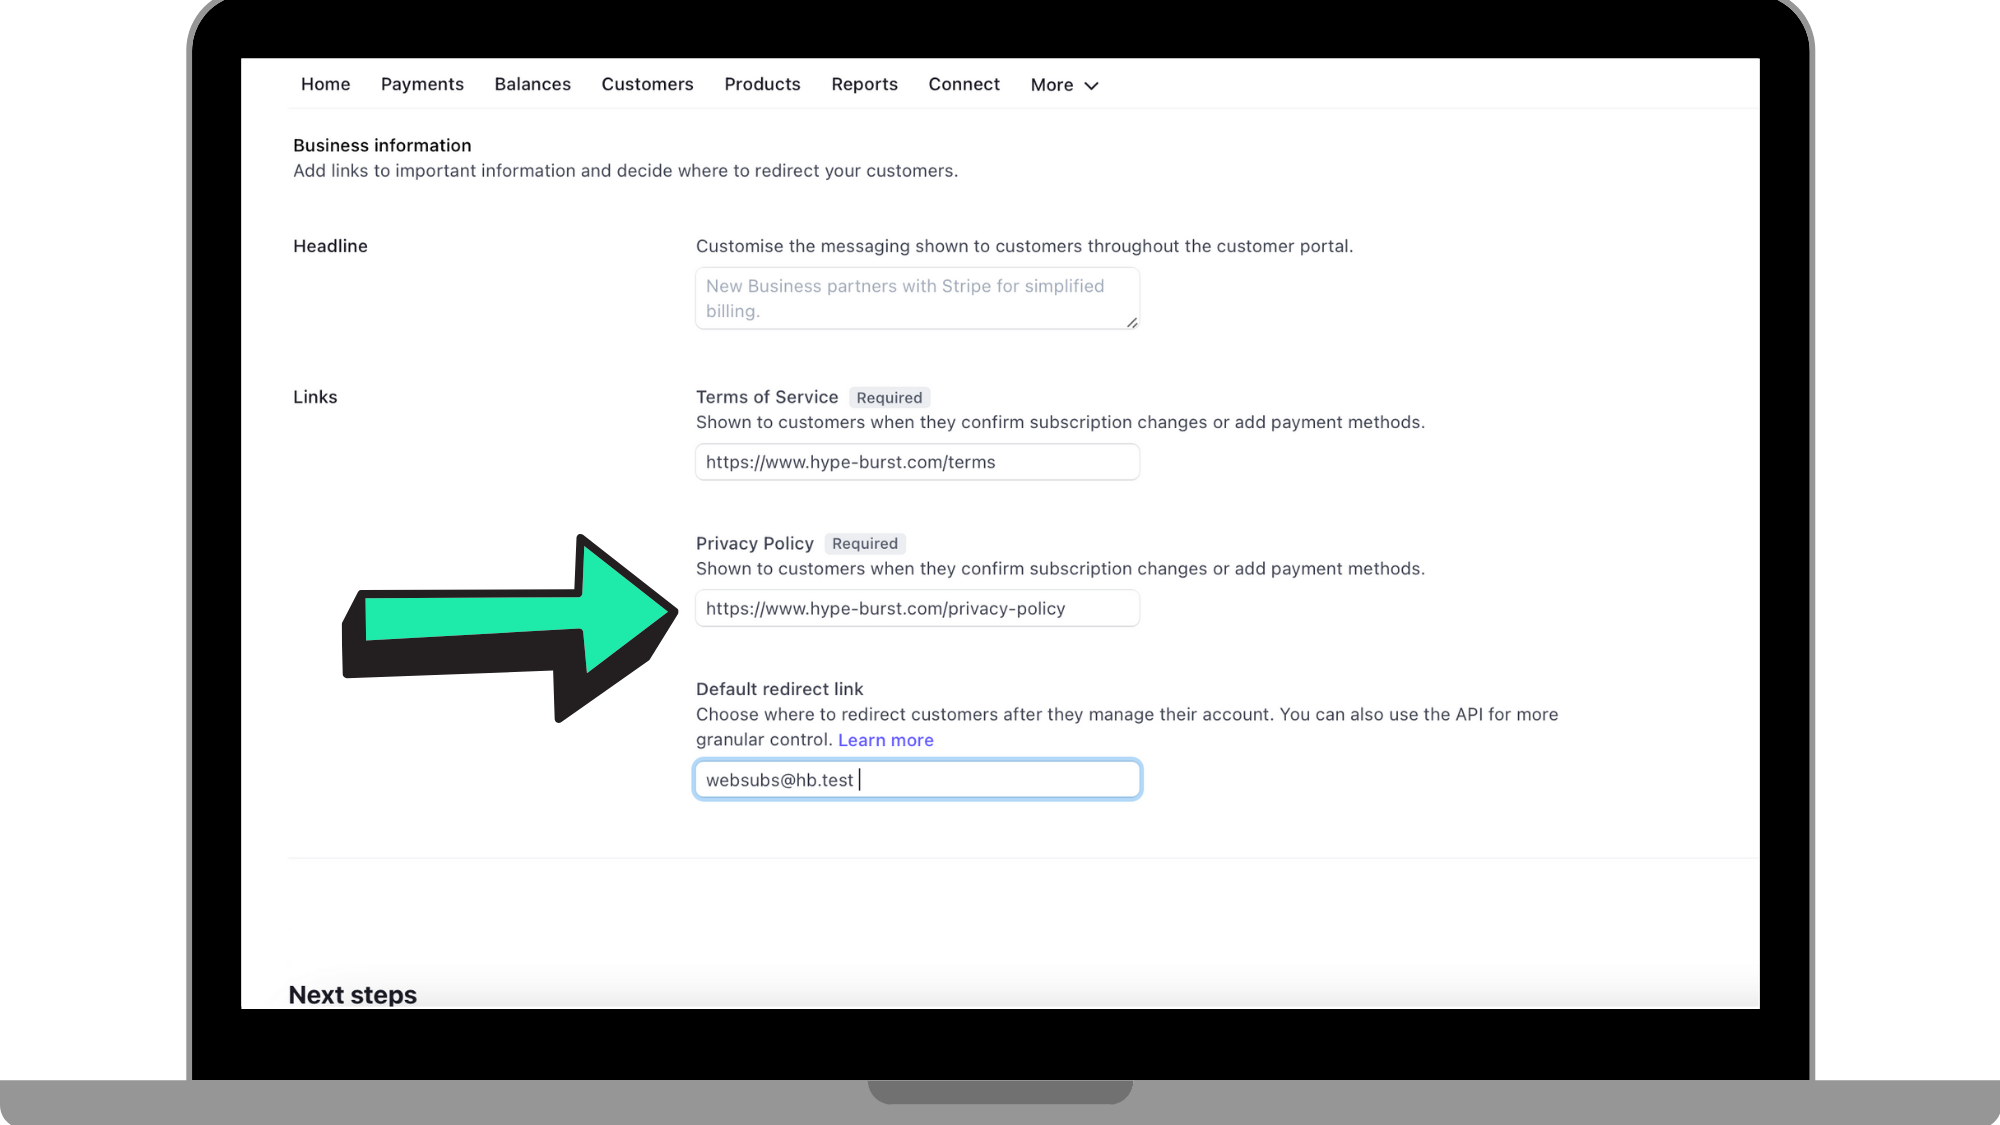
Step 18: Add 'Business Information'
In this section, you will be adding 'Terms of Service' and your 'Privacy Policy'.
Terms of Service
Where the arrow is pointing below, enter in the following link: https://www.hype-burst.com/terms.
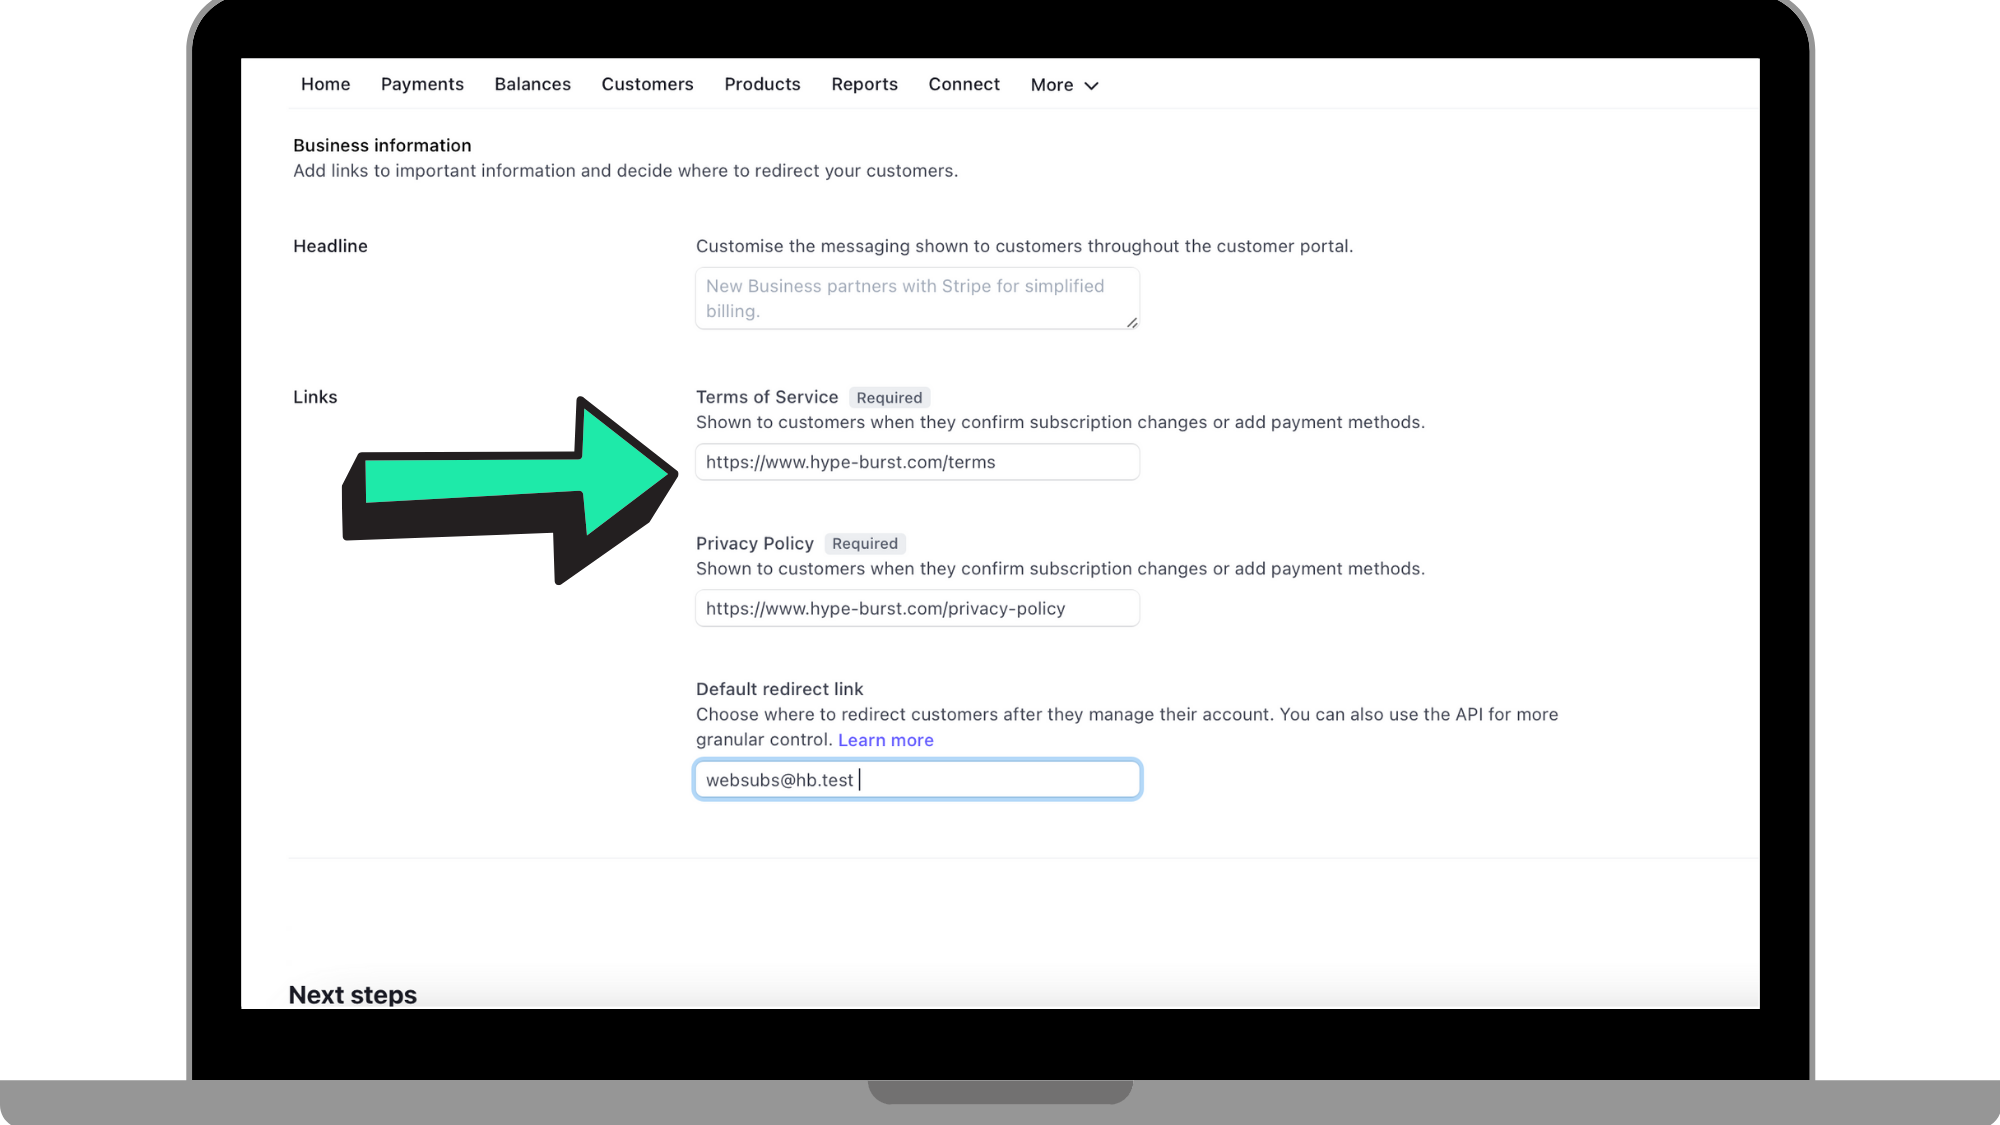
Privacy Policy
Where the arrow is pointing below, enter in the following link: https://www.hype-burst.com/privacy-policy.
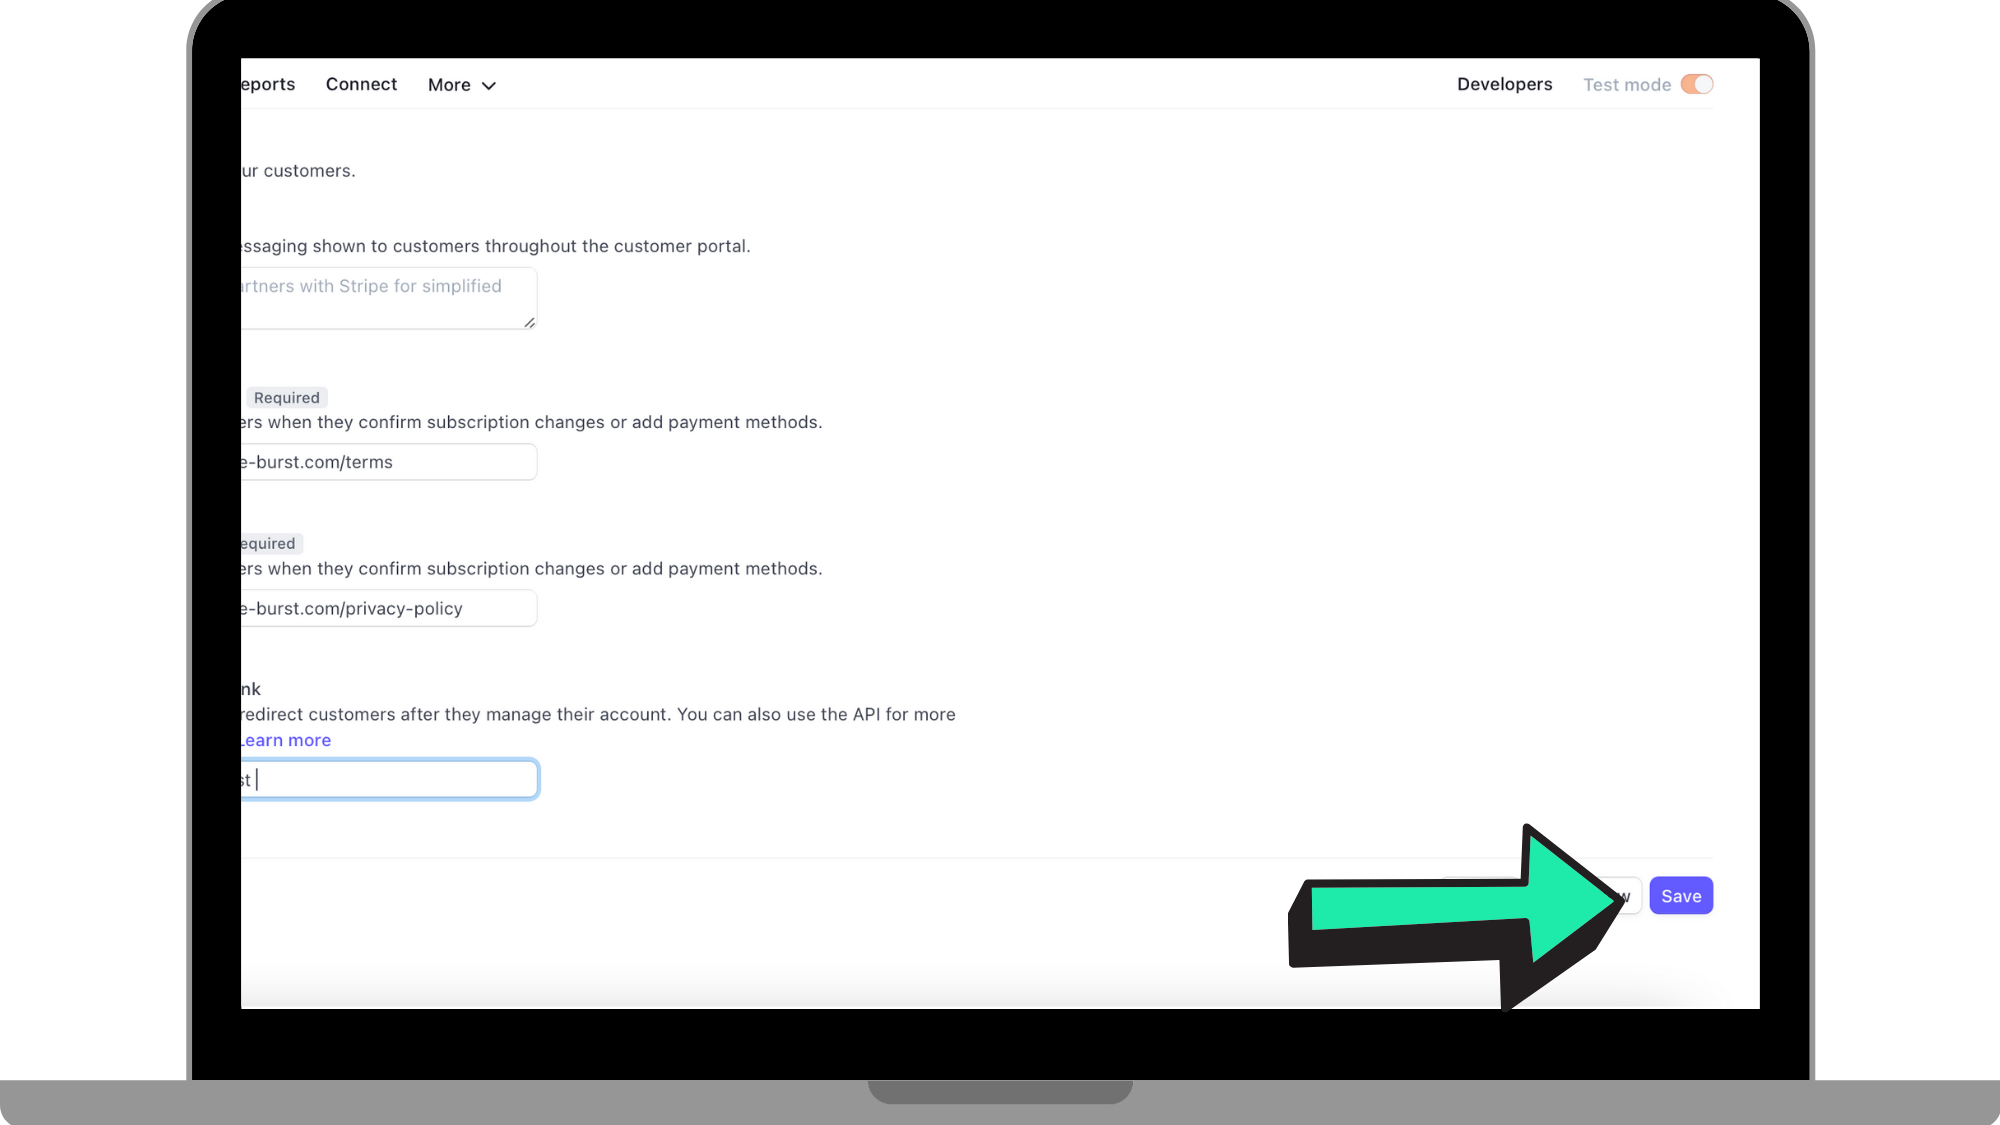
Step 19: Click 'Save'
Once you have gone through and completed all the steps, click 'Save' in the bottom right hand corner.
Step 20: Connect your Stripe account to your Hype Burst account
Once you have successfully created your Stripe account, you are ready to connect it to your Hype Burst account. For instructions on how to connect your Stripe account to your Hype Burst account, read the guide here:
What now?
Now that you know how to both create your Stripe account and connect it... head to https://dashboard.stripe.com/register to get started!
Once you are done following through the steps in creating your Stripe account, read the guide on how to connect your Stripe account to your Hype Burst account here: XYZ.
Comments
0 comments
Please sign in to leave a comment.