
Google handles all in-app purchases made in an app on an Android device. Google does not allow developers to use any other third party payment processing services for purchases made inside the app.
Google bills the customer to their Google account and then passes on the revenue to your designated bank account minus their fees.
To accept in-app subscription payments on Android, you must complete the Agreements, Tax and Banking forms.
Steps in setting up Google Agreements, Tax, and Banking
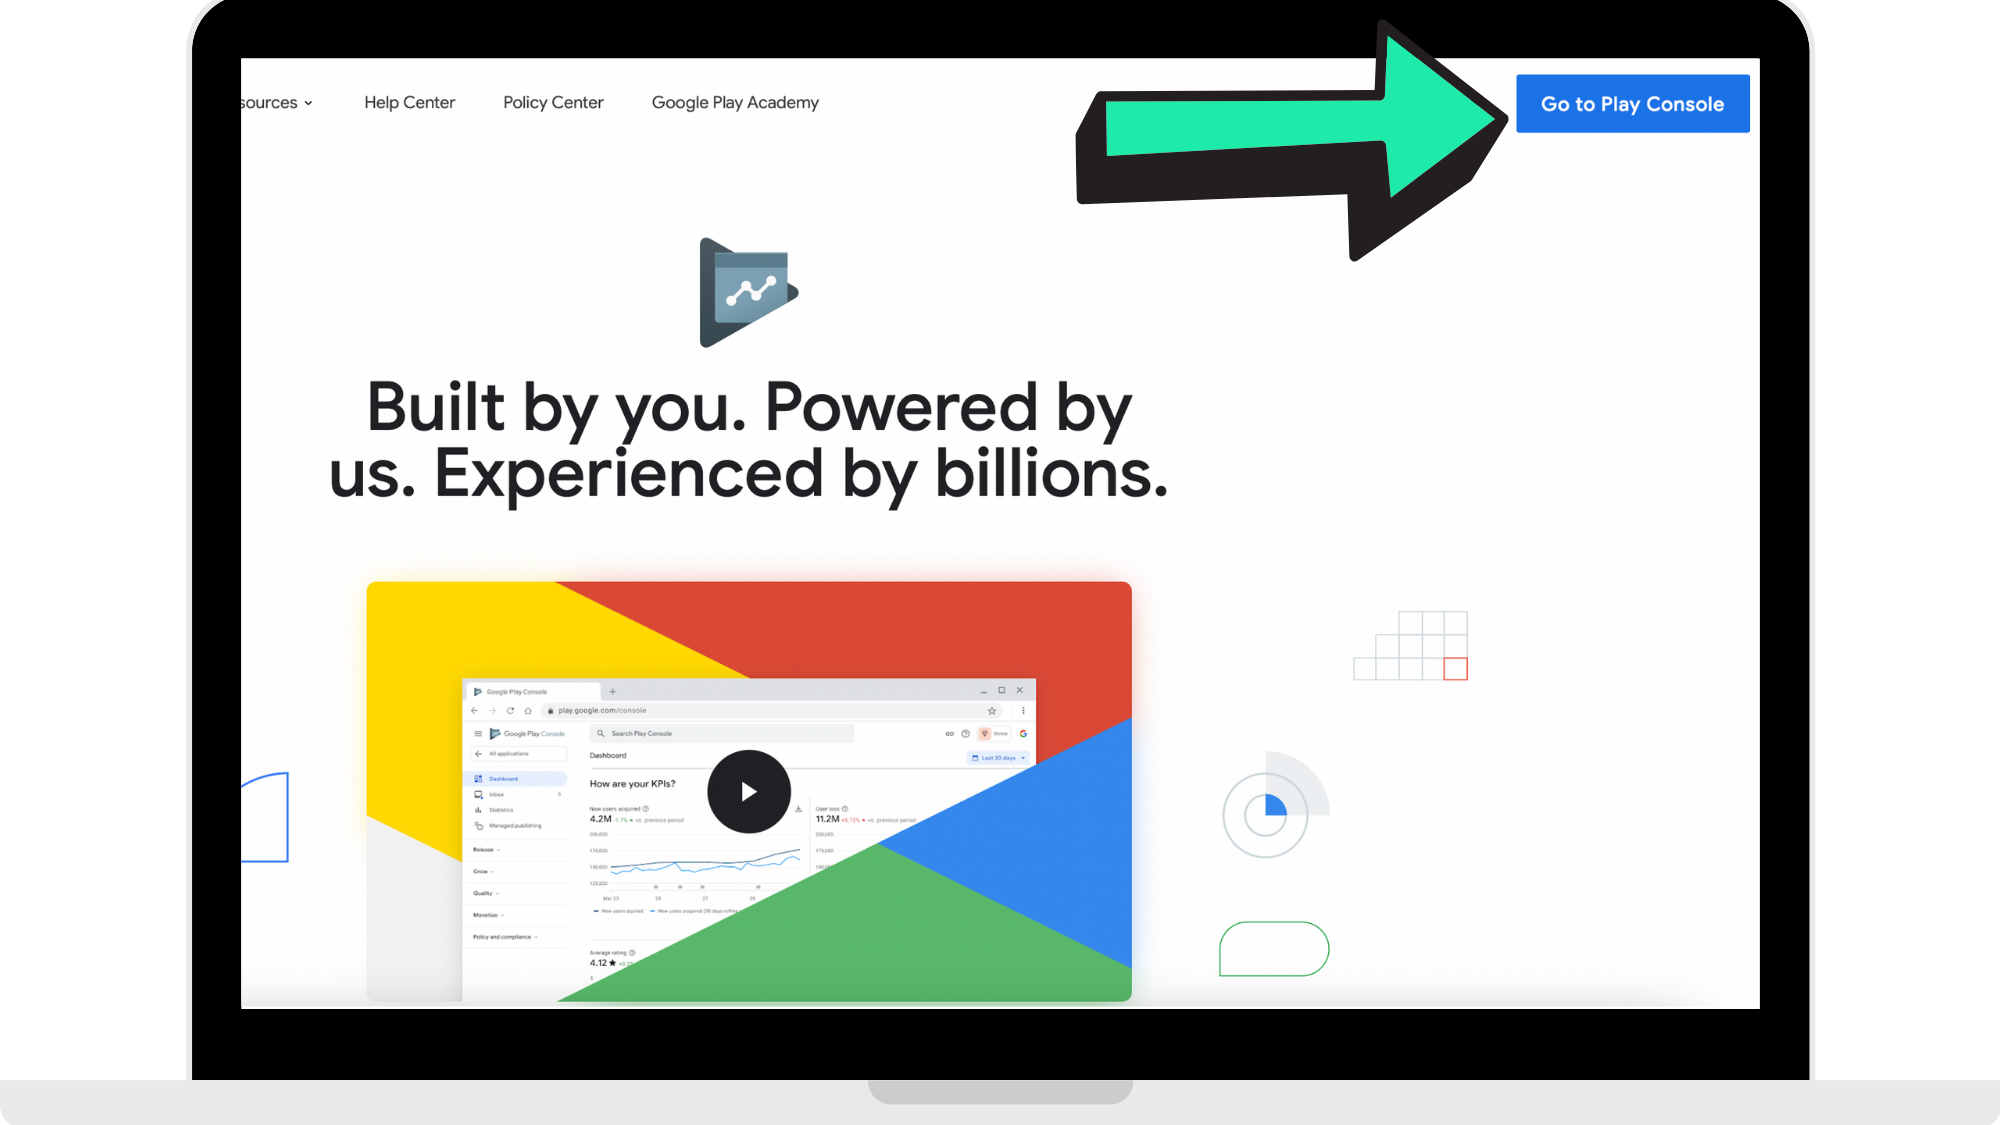
Step 1: Log into the Google Play Console
Head to https://play.google.com/console/about/ to log into your Google Play Developer account.
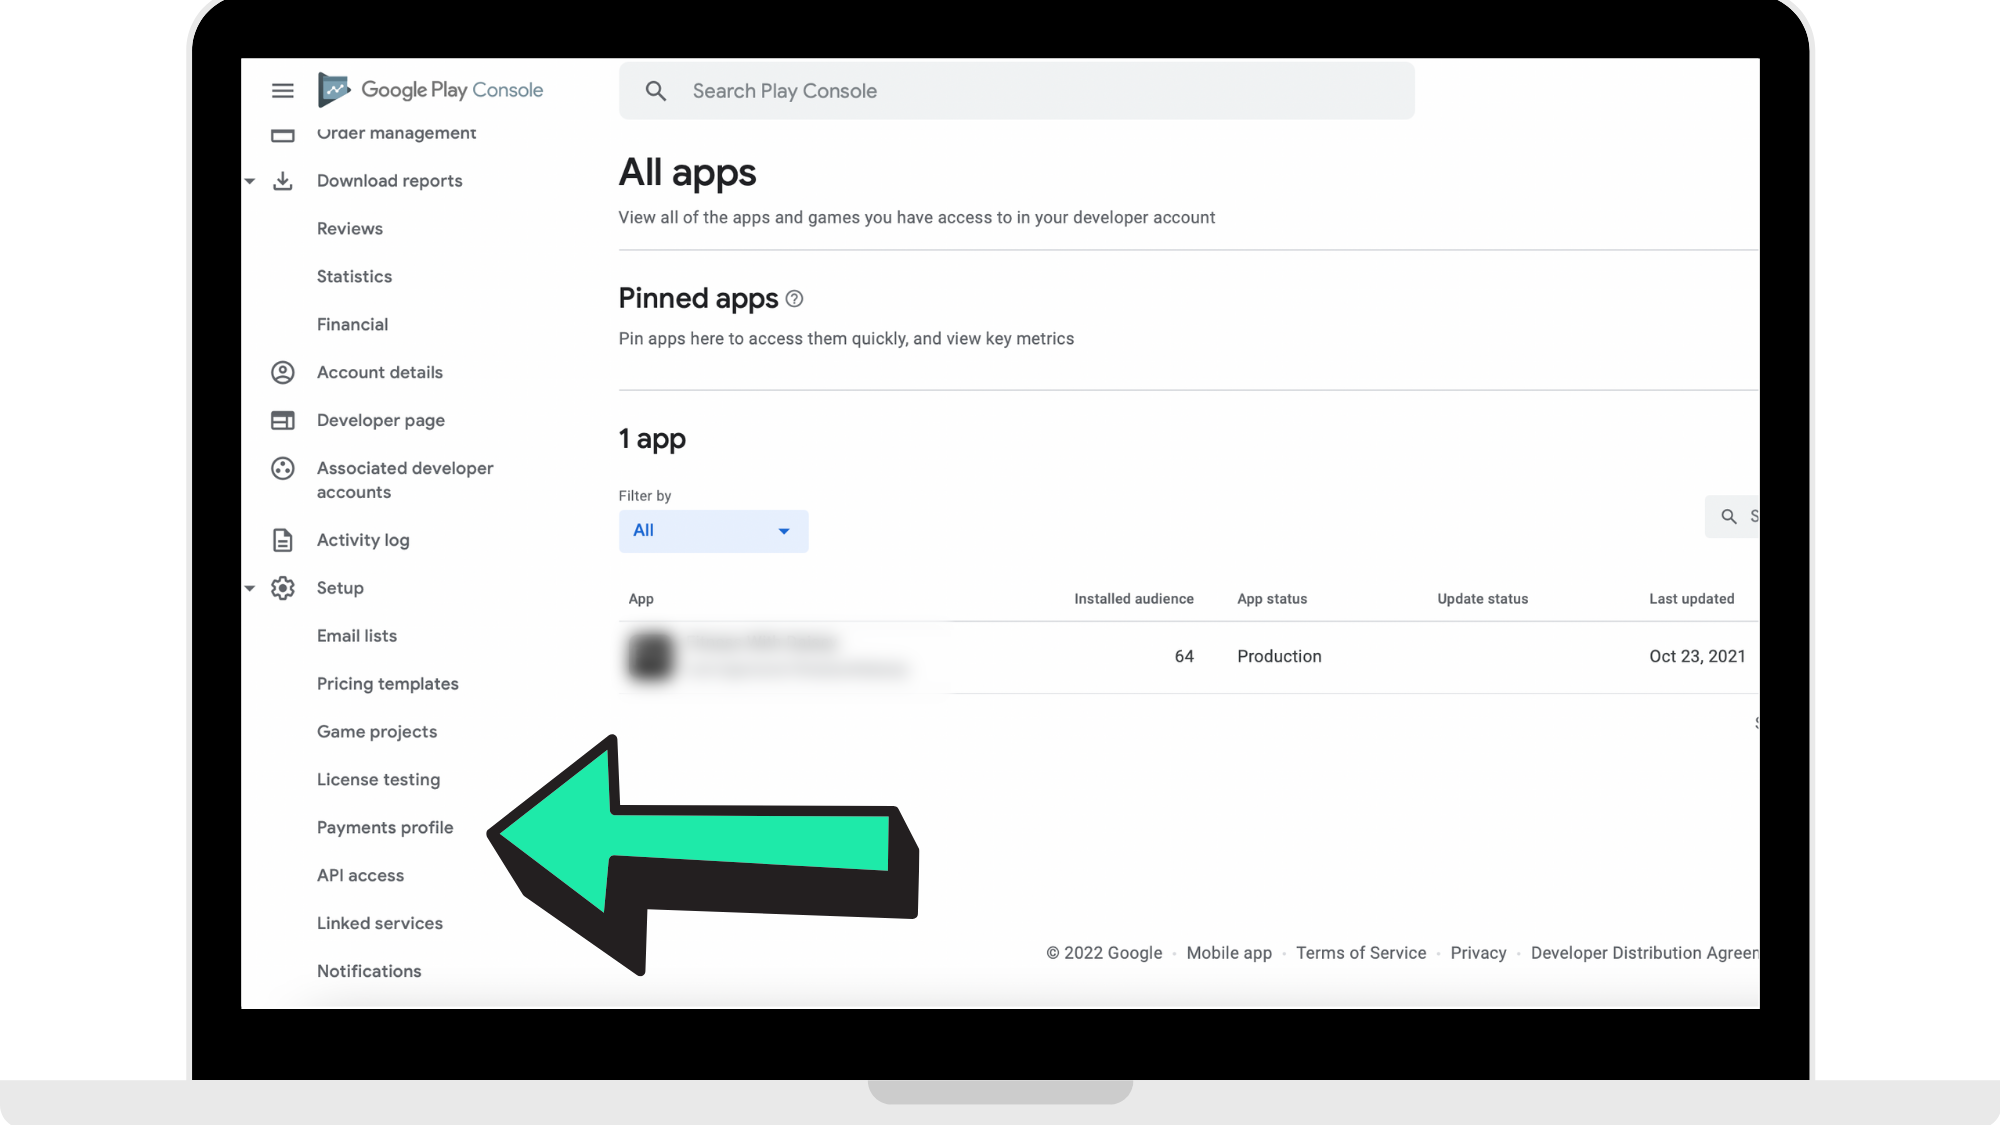
Step 2: Go to your 'Payments Profile'
In the sidebar, under the section 'Set Up', click 'Payments Profile'.
Step 3: Click 'Create Payment Profile'
If one does not already appear, click 'Create Payment Profile'.
Step 4: Complete your personal information
Fill in the fields with your personal information and then click 'Create' once completed.
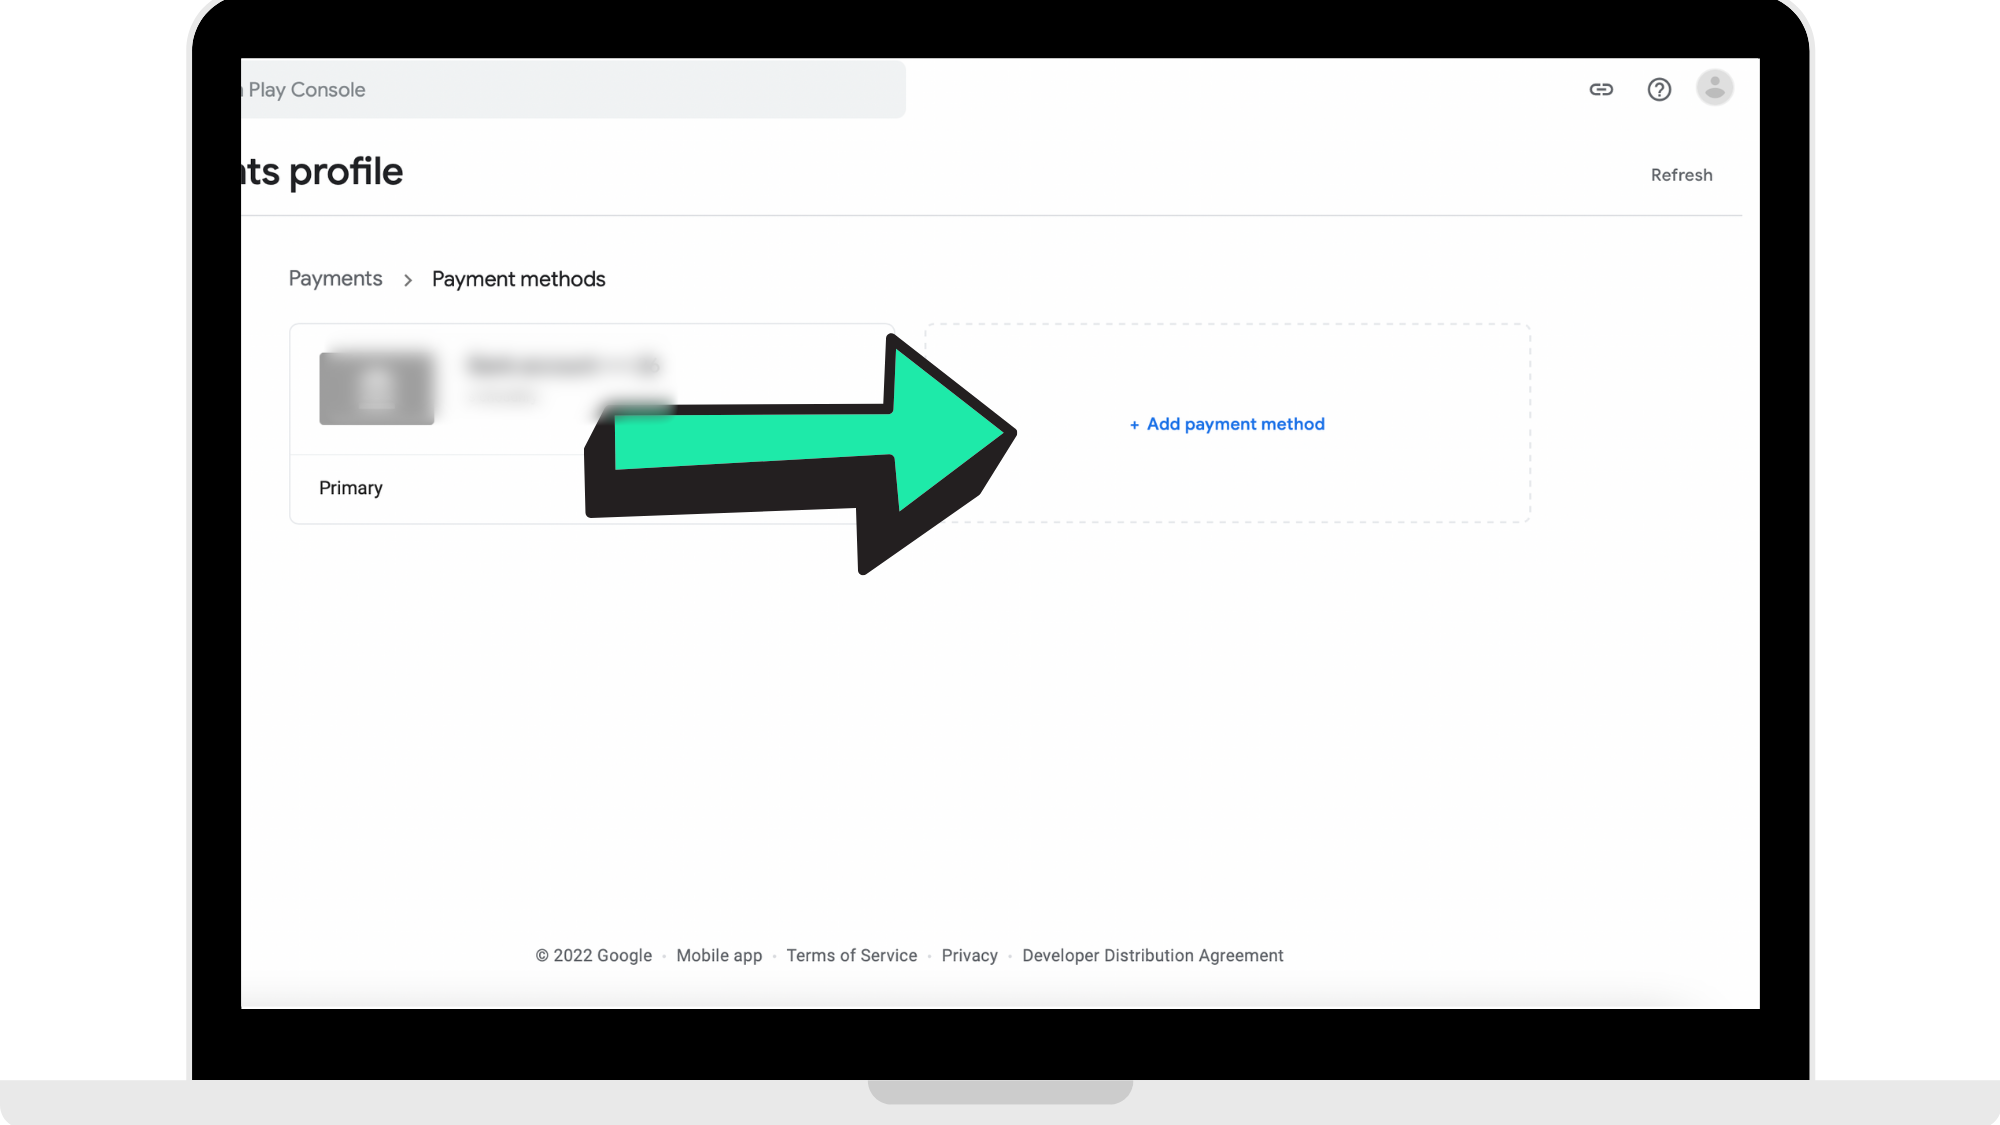
Step 5: Click 'Add Payment Method'
On the 'Payments Profile' page, click 'Add Payment Method'. This is the account where you will receive app revenue.
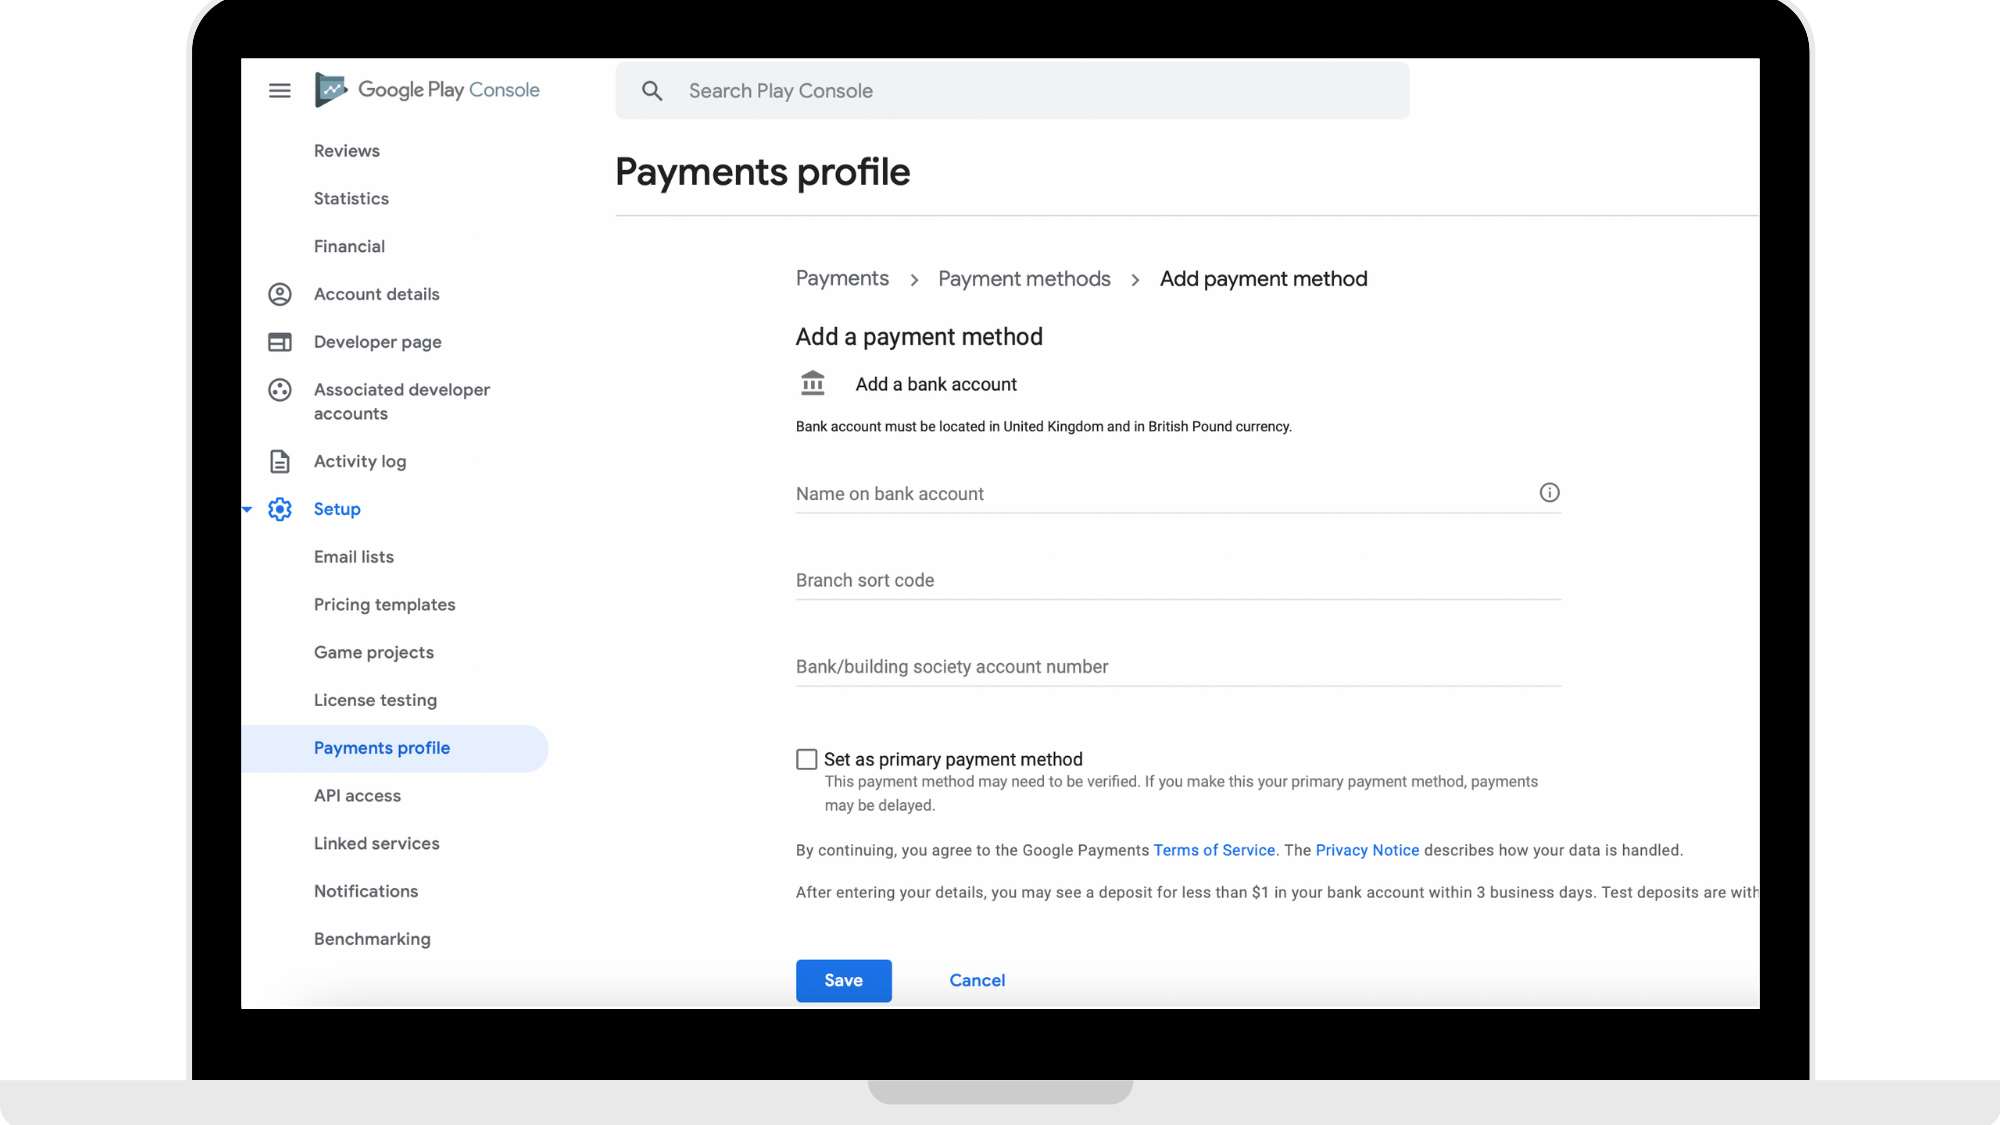
Step 6: Enter bank account details
Enter bank account details and then click 'Save'. Please note that your bank details may need to be verified. If so, follow the instructions to verify your account.
Step 7: Add Tax Information
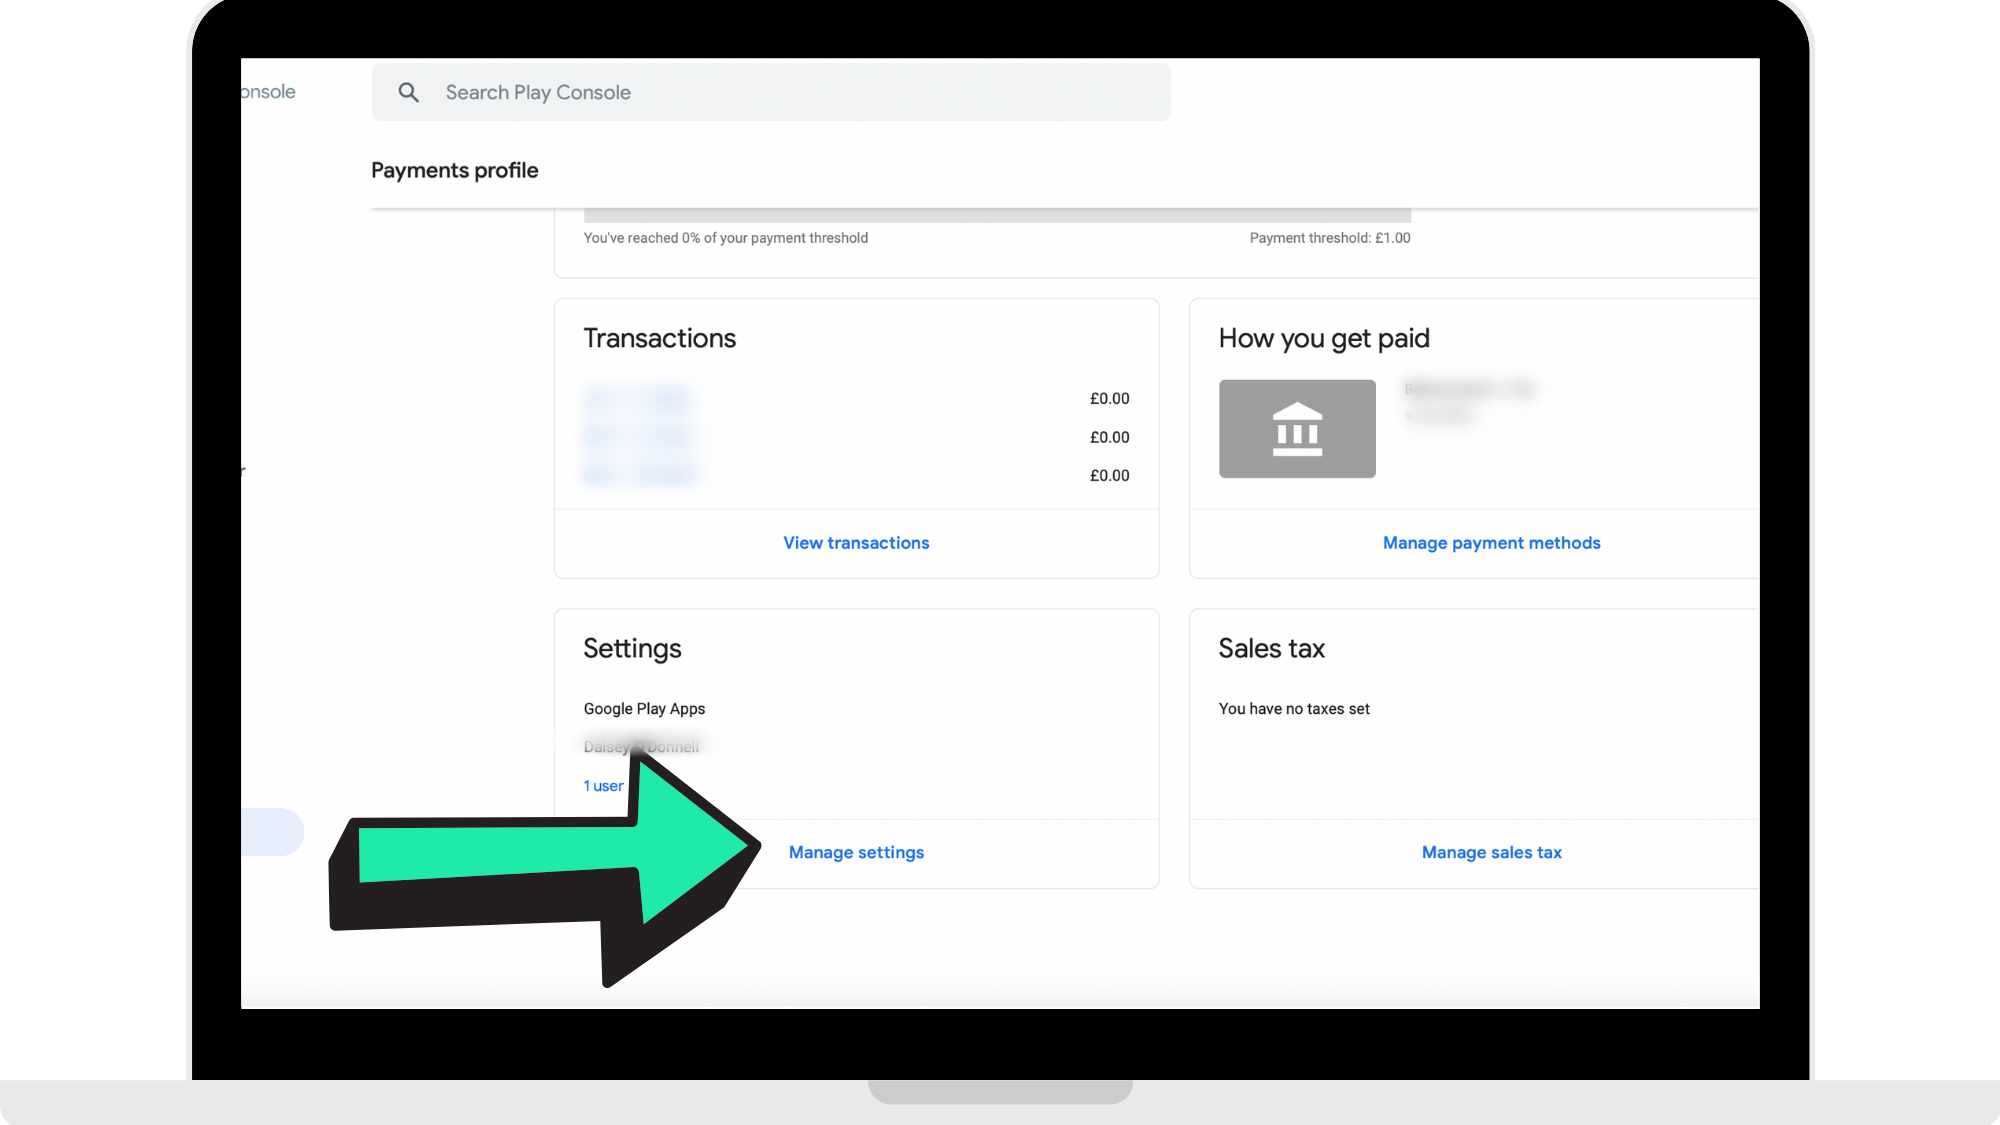
On the 'Payments Profile' click 'Manage Settings'. Then under 'United States Tax Info' click 'Manage Tax Info'. Click 'Add Tax Info'. This will lead you to fill out and submit the W-9 form to the IRS.
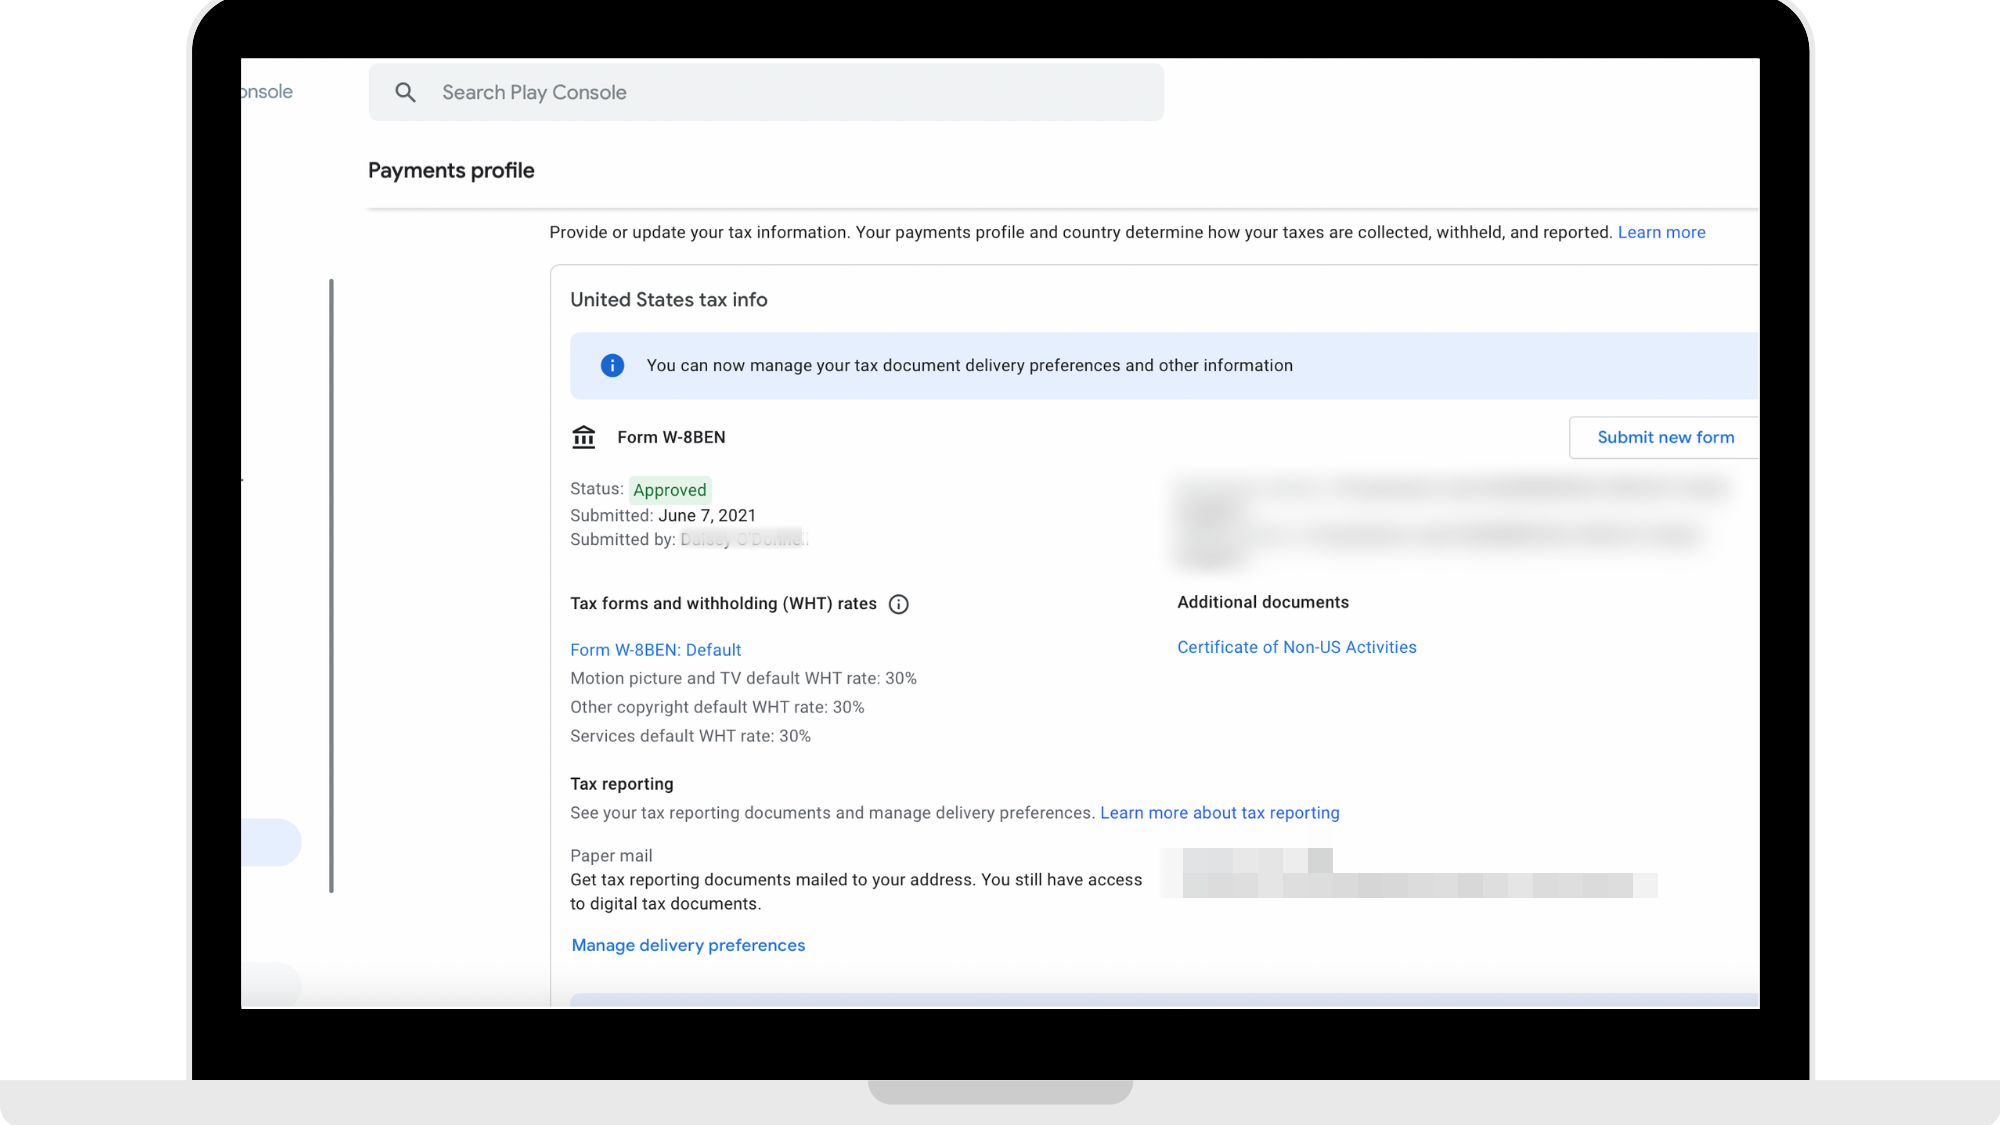
Step 8: Complete US Tax Information and Forms
Complete US Tax information and forms to be able to receive payouts from Google. Once you have completed the forms, click 'Submit' and then click 'Save'.
You can view your submitted forms and its status under your Payments Profile as seen in the reference picture below.
How to get started
Head to https://play.google.com/console/about/ to log into your Google Play Developer account to set up your Google Agreements, Tax, and Banking.
Comments
0 comments
Please sign in to leave a comment.